GIFs are more engaging than images. Statistics show that daily 70 million GIFs are shared via WhatsApp and 36 million via Facebook. It implies that GIFs are a great addition to attracting the viewer’s attention. Therefore, how to make a GIF in Photoshop is one of the frequently asked questions on Google.
Well, creating GIFs is an easy task in Photoshop. But most people need help to pull out the exact door of Photoshop. In this article, you are going to get this most demanded tutorial.
I have provided step-by-step guidance. You create GIFs using a single image and using a series of images. Here you will get a tutorial on both the categories of GIF creation procedures. So without further delay, let’s get into the main topic.
What is a GIF file?
A GIF (Graphics Interchange Format) file is an image file format. It supports static images and short animations. A GIF was developed in 1987 by CompuServe. After that, it has become widely popular due to its ability to store multiple frames in a single file. Thus, it allows for simple animations and visual effects.
Key characteristics of GIF files
A GIF has several characteristics. These characteristics help us to get a proper idea about GIFs and their uses. Let’s learn them in detail:
Animations
One of the distinctive features of GIFs is their ability to support animations. A GIF can contain multiple frames arranged in sequence. The images are displayed one after the other to create a looping animation.
Lossless compression
GIFs use a form of compression. It is known as LZW (Lempel-Ziv-Welch) compression. It is a lossless compression type. That’s why no image quality is lost during compression. And the file sizes are generally smaller than other formats.
Limited Color Palette
GIFs are limited to a maximum of 256 colors in their color palette. This little color depth can reduce color accuracy. It makes GIFs more suitable for images with simpler color schemes or graphics than complex photographs.
Transparency
GIFs can also support transparency. So, you can designate one color in the color palette as transparent. This allows the background of the GIF to be see-through. Thus, it becomes useful for images placed on various backgrounds.
Simple and Efficient
GIFs are simple to create and view. They are supported by virtually all web browsers and image-viewing software. Consequently, they become a widely compatible format.
Interlacing
GIFs can be interlaced. Therefore, the image is loaded in a series of passes, starting with a low-resolution version and progressively refining the details. This can lead to a more visually pleasing loading experience.
How to Make A GIF Using A Series of Photoshop
Creating a GIF in Photoshop involves creating multiple frames. And then combining them into a single animated GIF. Here’s a step-by-step guide on how to make a GIF in Photoshop using a series of photos:
Prepare Your Content
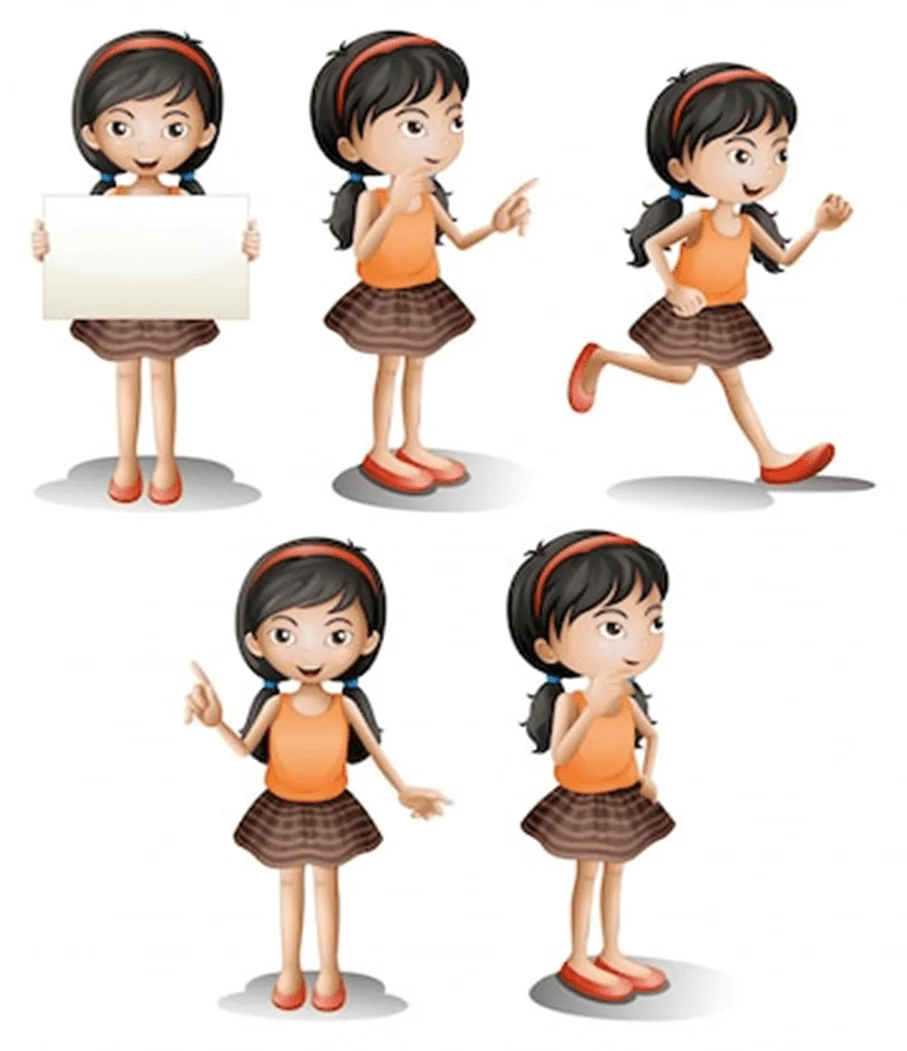
Decide what you want to animate. It could be a series of images, drawings, or text. Ensure your content is saved as separate image files or layers in a Photoshop document. I will be using the following images for this tutorial.
Create a New Document
Open Photoshop on your system. Go to “File” > “New” to create a new Photoshop document. Set the document dimensions, resolution, and background color according to your preferences.
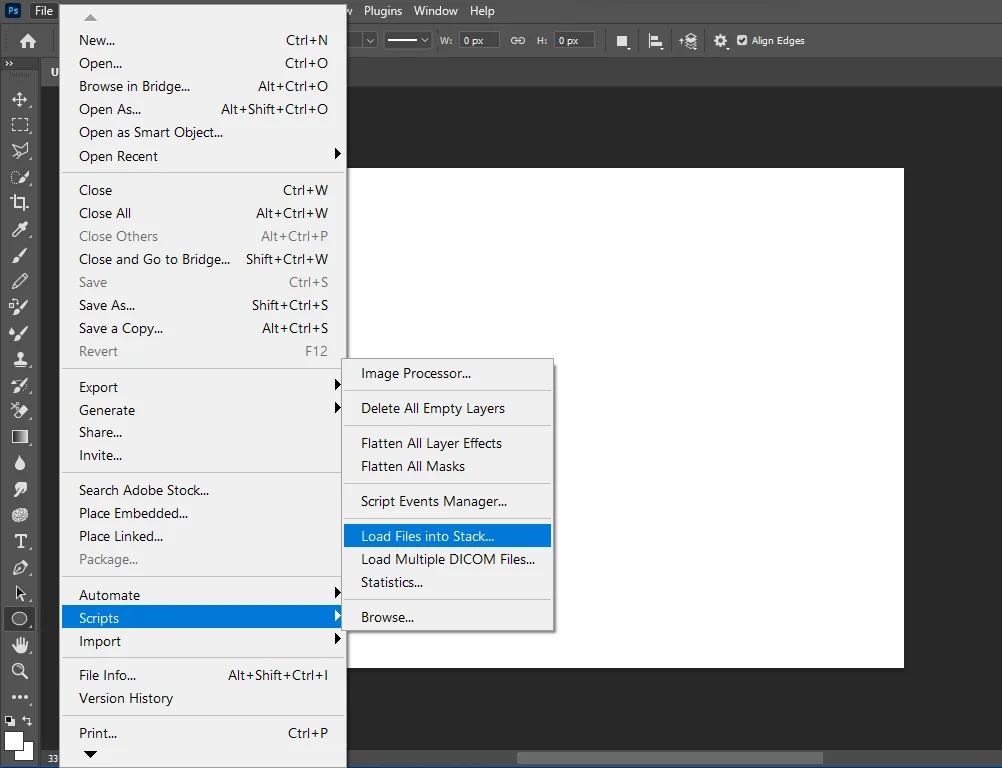
Then navigate to the File tab from the menu bar. Then, click “Scripts” from the list. Now click on “Load Files into Stack” from the side menu. It will bring up a new window.
Now browse the image series that you want to transform into a GIF. So, you have to navigate to File > Scripts > Load Files into Stack.
Select Images
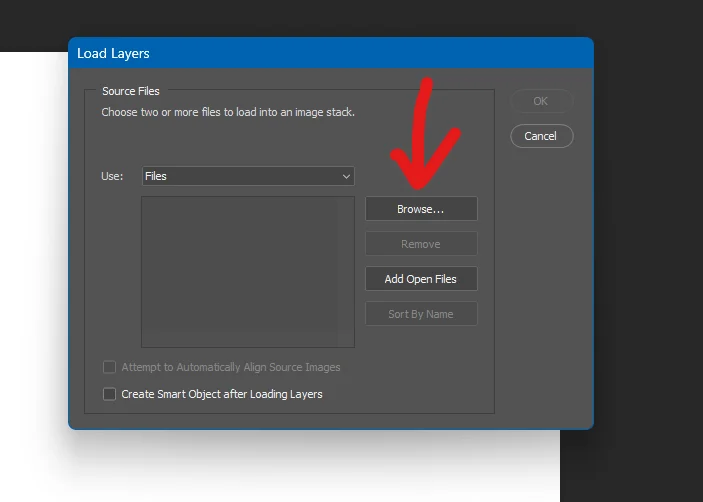

Next, locate and choose the images you’ve saved on your computer to create a sequential GIF. Ensure that you carefully maintain the correct order of your photos, as any mistake in the sequence could affect the quality of your final GIF.
Once selected, your images will be displayed in a list format. Simply click the ‘OK’ button to proceed to the next step.
Timeline Panel
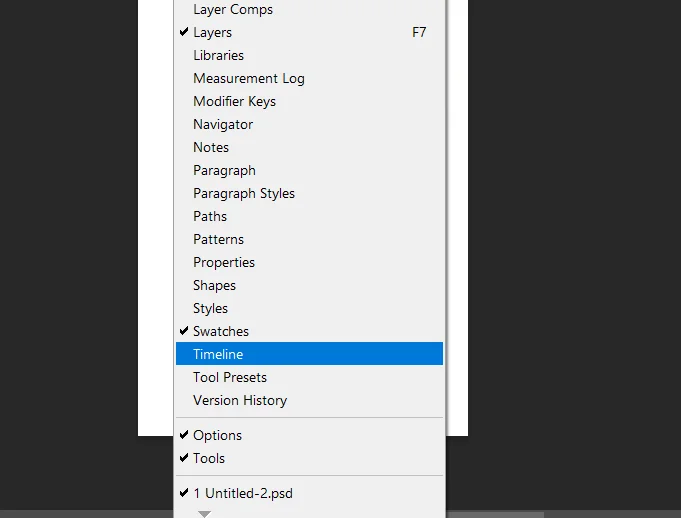
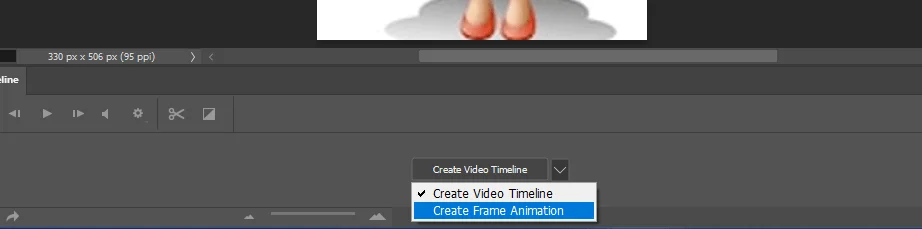
Go to “Window” > “Timeline” to open the Timeline panel. In the Timeline panel, click the menu icon and select “Create Frame Animation.”
New Layers for Each New Frame
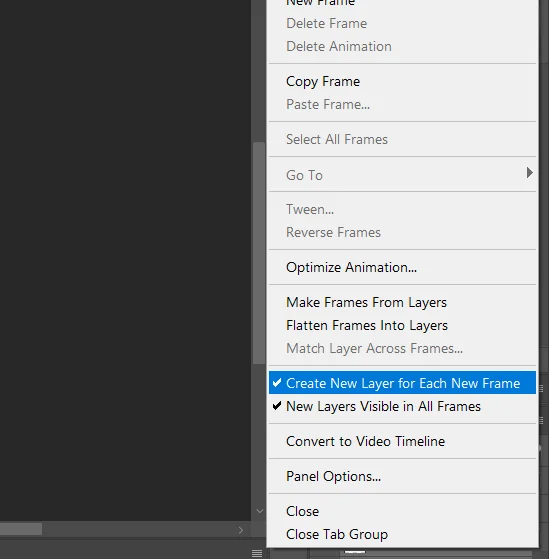
Then click the menu icon on the right side of the timeline window. Choose “Create New Layer for Each New Frame from the dropdown list of options.
Select The Layers
Now, return to the menu bar and click on the “Select” section, then choose “All Layers” from the options. Alternatively, you can use the keyboard shortcut Alt + Ctrl + A to select all layers quickly.
Transform The Layers Into Animation Frames
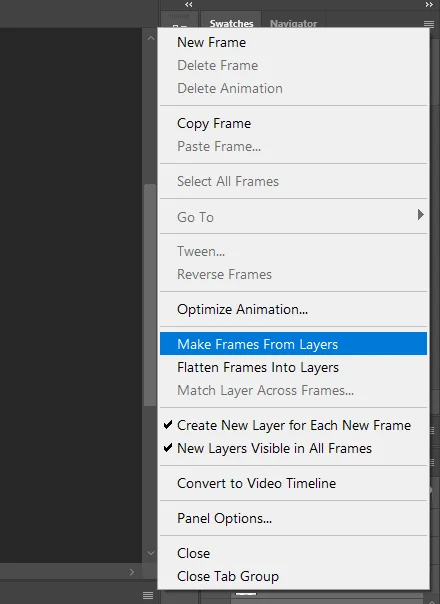
Next, once more, click on the menu icon within the timeline window. From the menu that appears, choose the option labeled “Make Frames from Layers.”
Export and Save The Frames
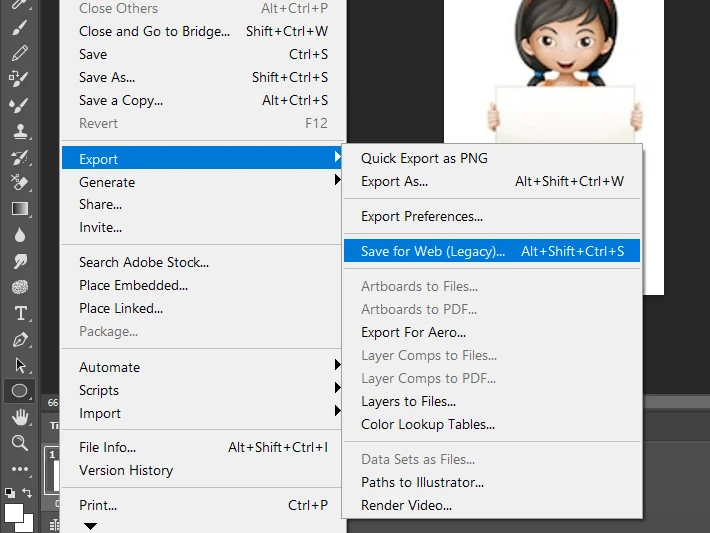
You’re nearly finished creating an animated GIF from an image sequence in Photoshop. However, before proceeding, you need to save the frames. To do this, navigate to the “File” menu, then select “Export” from the dropdown menu. Choose “Save for Web (Legacy)” from there to export the animation. The pathway is: File > Export > Save for Web.
Final Touch | Preview Your Animation
Click the “Play” button in the Timeline panel to preview your animation. Adjust frame durations and content as needed for smooth animation. If required, adjust the loop settings. You can set the animation to loop once, a specific number of times, or infinitely.
Save as GIF
Once you’re satisfied with your animation, go to “File” > “Export” > “Save for Web (Legacy).” Select the GIF format from the dropdown menu in the “Save for Web” dialog box.
Adjust settings like the number of colors, dithering, and more based on your preferences and the quality you want to achieve.
Preview the GIF in the dialog box to see how it will look. Click the “Save” button to save your animated GIF to your desired location. Choose your GIF’s file name and location and click “Save.”
Final Thoughts
In summary, GIFs and images serve different purposes based on their characteristics. GIFs are commonly used for simple animations and graphics with limited colors.
At the same time, various image formats like JPEG, PNG, and others are chosen based on the image’s specific content and quality requirements. You can create GIFs by following the rules. Also, you can hire an expert editor to do that task for you.
Read Our Latest Articles-
FAQ
Can I edit the frame duration in a GIF animation?
Yes, you can edit the frame duration in a GIF animation using the Timeline panel. Click on each frame to adjust its duration in seconds.
How do I make a GIF loop continuously in Photoshop?
In the Timeline panel, select “Forever” in the “Looping Options” dropdown to make the GIF loop continuously.
Can I add text to a GIF animation in Photoshop?
You can add text to a GIF animation by creating a text layer for each frame in the Timeline panel.