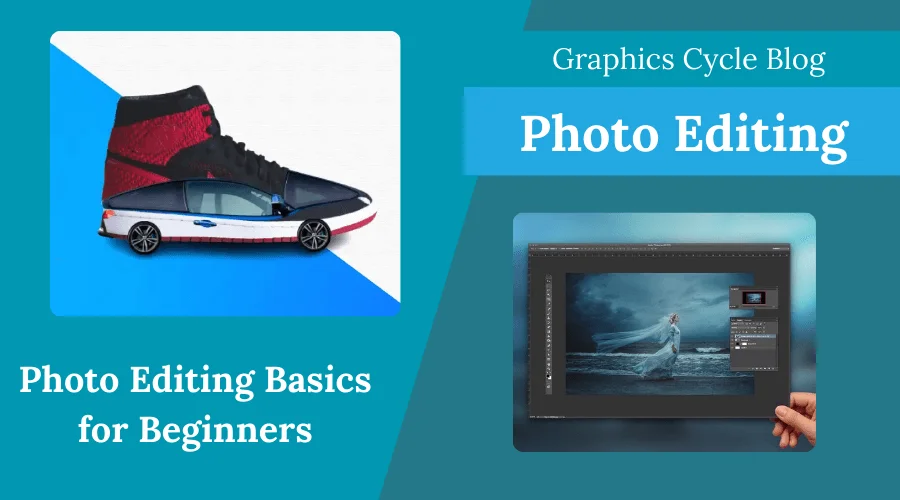
Photo editing has become an integral part of our lives. It is nothing but giving your photos the best possible look. However, photo editing gives you scope to be creative with it. But photo editing is like a puzzle that is difficult to solve without knowing the basics. That’s the aim of this post: to give you insights into photo editing basics for beginners.
First, you have to start with photo editing software. There are a lot of desktop and mobile photo editing applications available. Your goal is to learn any of these software thoroughly to edit your images. When you learn the basics of a software, you can apply them to other software as well.
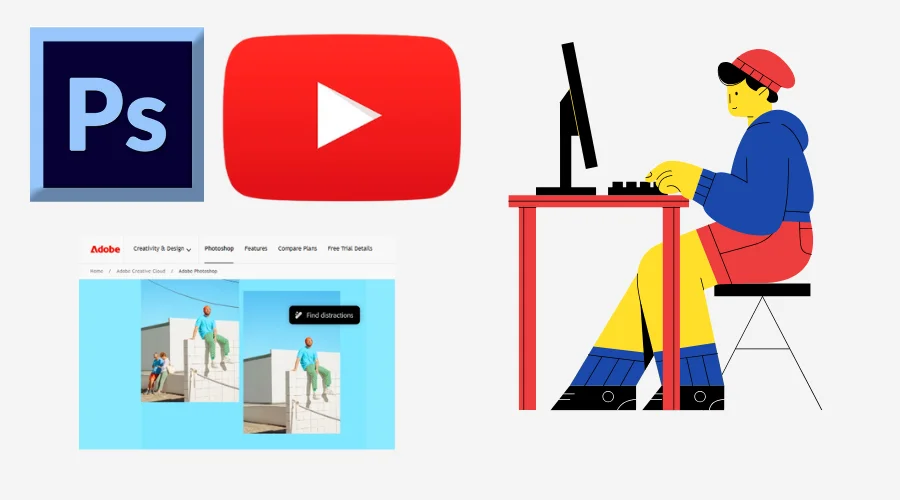
However, in this tutorial, we are going to help you learn the photo editing basics using Photoshop. Photoshop is the most popular and used program for photo editing. It has a great number of features for both beginners and professionals.
But remember that whatever tips and tricks we will provide you here will be useful if you practice them regularly. Photo editing is going to test your patience level. So, do not dishearten easily. Practice a lot to become a master of these tools.
How to Get Started with Photo Editing?
To me, photo editing is like a structured research program. First, you have to look at the photo and understand the changes you want to apply to make it look perfect.
Then, you have to move to the experimentation part, using different tools and changing parameters to give the image the best look. This is how the professionals work.
Let’s learn about some programs for photo editing basics for beginners:
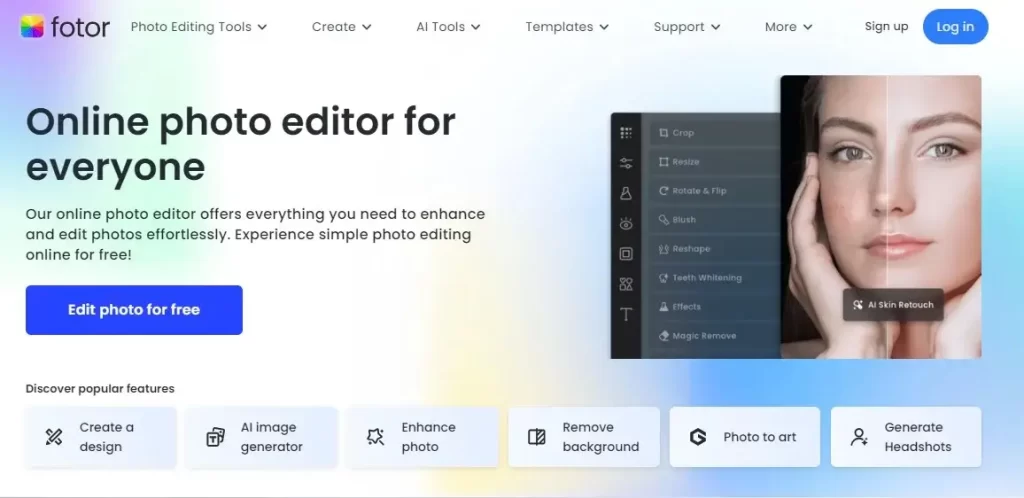
01. Canva | Visual Suite for Everyone

Canva is a web-based photo editing program. Also, you can download the software for desktop, iOS, and Android.
Canva is popular among photo editing and designers who want to edit their photos quickly. Also, there are a lot of presets available that you can use for creating different professional designs.
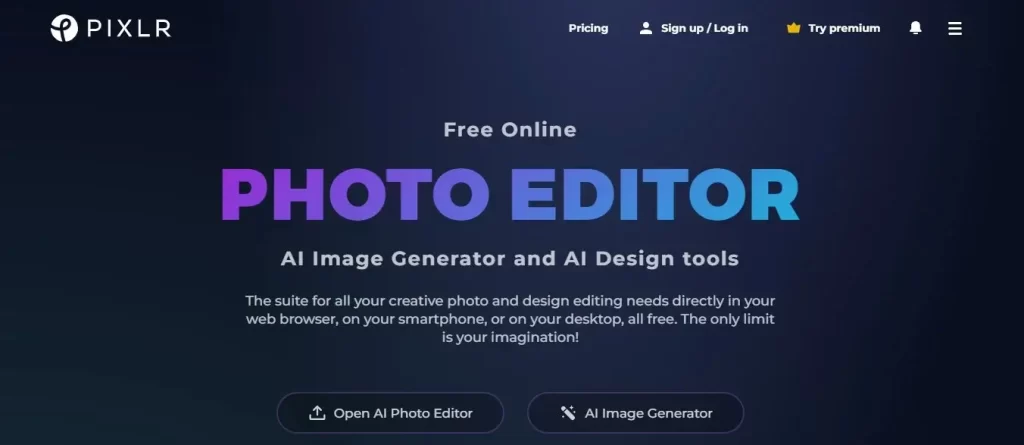
02. Pixlr | AI Art Photo Editor

Pixlr is another web-based application. It is also available for iOS and Android devices. Pixlr is considered an alternative to Photoshop. Its features allow photo editors to perform basic to intermediate photo editing. Additionally, Pixlr is free with ads.
03. GIMP | GNU Image Manipulation Program

GIMP is only available for desktop platforms. It is for beginners who want to learn more advanced editing techniques for free. GIMP has features like layers, masks, filters, color correction, cloning, text, and much more.
Can Beginners Start Learning Photo Editing with Photoshop?
Beginners are usually afraid of the high-end features of Photoshop. As a result, they start learning photo editing with other programs. But starting with Photoshop can give you a lot of advantages.
It is one of the most powerful photo editing programs. And it can be rewarding if you’re willing to invest time in learning this program.
Though Photoshop offers extensive features for professionals, it has a lot of beginner-friendly features. Additionally, the inclusion of AI has made this program helpful for beginners.
Moreover, photoshop has a wealth of tutorials for beginners. You will get a lot of tutorials on our site. Also, you will get free tutorials on YouTube and Adobe’s website.
These tutorials will guide you through specific tasks. So, Photoshop is an ideal tool for photo editing basics for beginners.
First, you will need to download and install Photoshop on your device. You can download the file by going to the official website of Adobe Photoshop. Then you can either start a free trial or purchase a plan based on your requirements.
However, you should check the system requirements before downloading the installation file. Here are the minimum system requirements for Photoshop:
- Operating System: Windows 10 or macOS (v10.15 or later)
- RAM: At least 8 GB (16 GB recommended)
- Processor: Intel or AMD processor with 64-bit support
- Hard Drive: 4 GB of available space (SSD recommended)
- Graphics: GPU with DirectX 12 support and 1.5 GB of dedicated memory (optional but recommended for optimal performance)
After the installation is complete, open Photoshop on your computer. Let’s start editing your photos.
A. Background Removing | Remove Background from Image
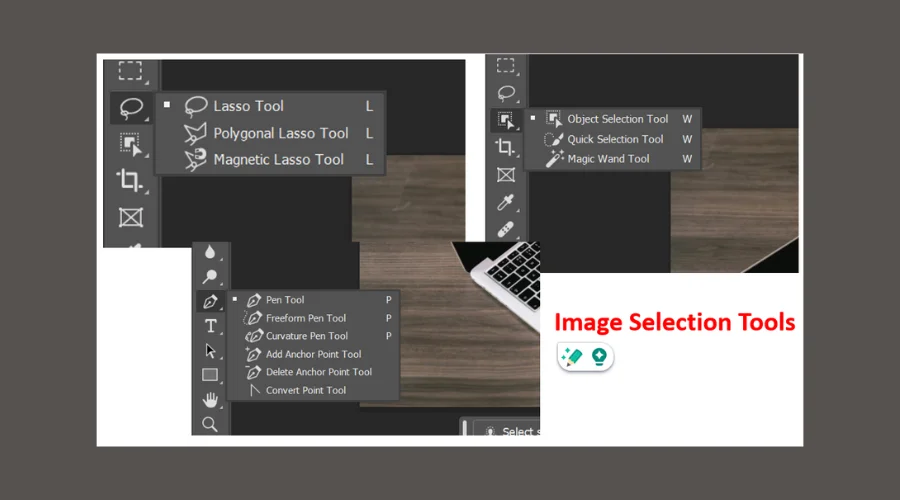
Background Removal is the most demanding task in the photo editing industry. You may need to remove an unwanted background for different purposes but the principle is always the same. To remove the background, you have to select the subject or the subjects in the image and cut them out from the background.
Photoshop has different tools to make a selection of the subject. For instance, the quick selection tool allows one to make a selection around the subject quickly. Also, there are tools like the magic wand tool, and the magnetic selection tool that allows one to make selections efficiently.
However, I like the object selection most among these tools. It efficiently works on selecting the object in the image.
So, select this tool from the Photoshop toolbar and then drag the cursor around the object that you want to select. The Photoshop AI will process the selection for a moment and it will give the result.
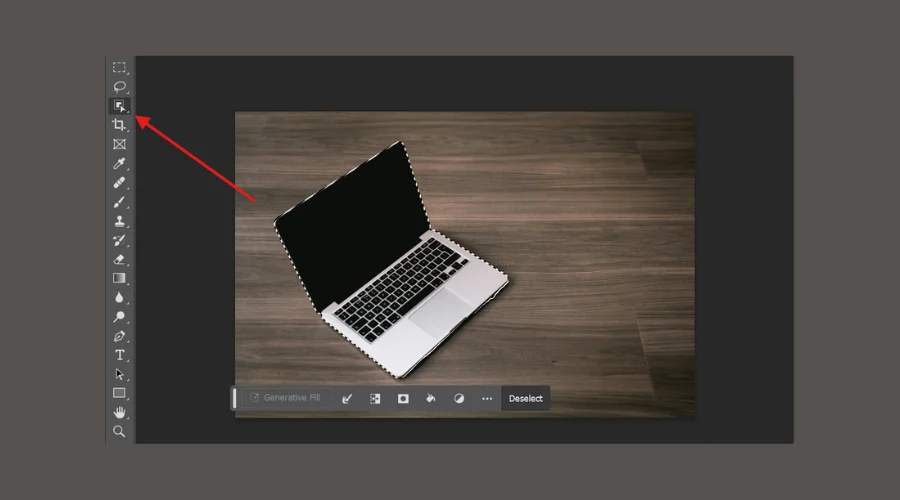
Moreover, Photoshop shows two buttons “Select Subject” and “Select and Mask” at the top below the option bar whenever you choose a selection tool from the toolbar.
If you click on the “Select Subject” button Photoshop will select the subject automatically.
After making the selection, you can copy it by right-clicking the mouse and selecting copy selection. Also, you can take the selection to any layer by pressing Ctrl+J.
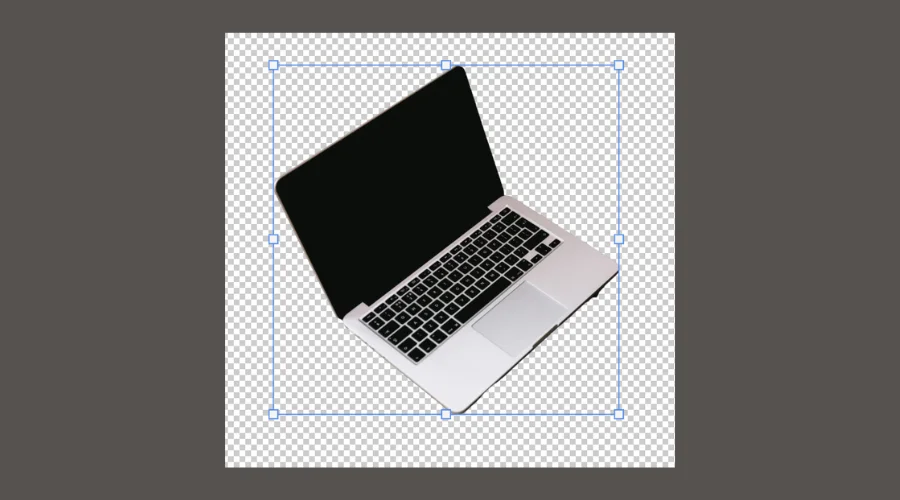
This is how you can use Photoshop to remove the background.
B. Image Resizing | Resize Your Images with Photoshop
Image resizing is an important photo editing technique. You may need to resize your image to make it compatible with different platforms. Image resizing with Photoshop is super easy.
All you need is to open your image on Photoshop. Then, go to the option bar and click on the Image. Now click on Image Size to get options to change the height, width, and resolution of the image.
Here you will get a chain icon. If you make it active, the image size will be changed without distorting the image. That means, the height will be changed automatically, whenever you change the width and vice versa. On the right side of the dialogue box, you will get options to change the units of the heights and widths.
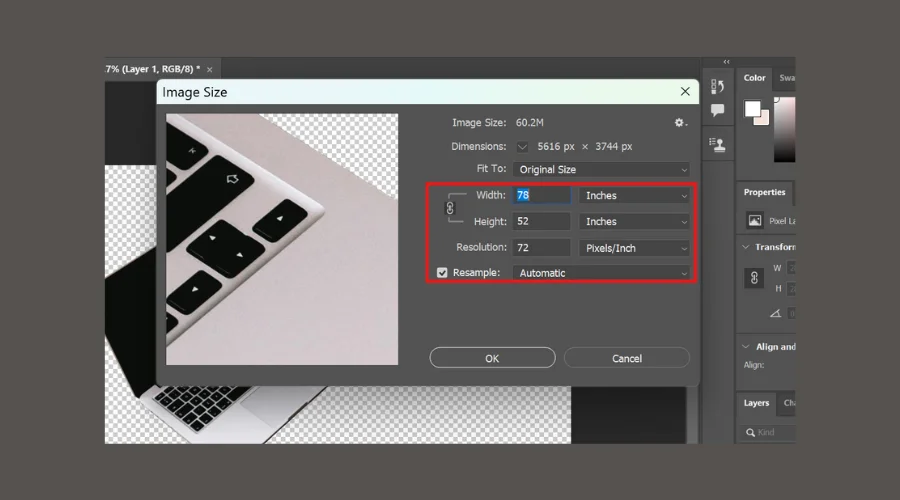
Thus, you can resize your image to a particular height and width.
C. Image Cropping with Photoshop | Crop Tool Photoshop
The crop tool is a frequently used image editing tool. The main purpose of this tool is to crop out the unwanted areas of the image. This is how we can focus on the subject. You will get the Crop tool in the Photoshop toolbar. After selecting the tool, a box will appear on your image.
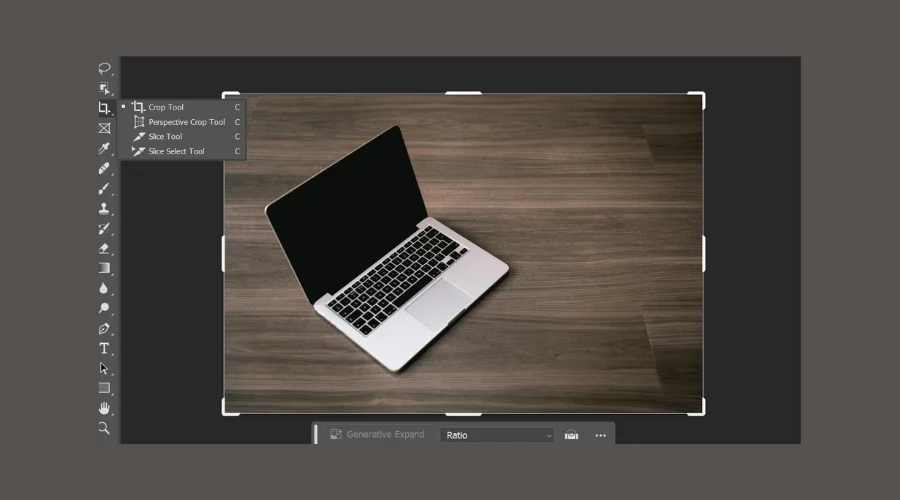
All you need is to drag the sidelines to get rid of the unwanted areas. If you are satisfied, click the tick mark that appears at the top of the window. After that, you will see the result.
D. Adding Text in Image | Photo Editing Basics for Beginners
Photoshop is a Versatile photo editing tool. It has all the features that you may need to edit your image. Likewise, Photoshop allows you to add text to an image and give it an eye-catching effect.
So, open your photo in Photoshop. Now select the text tool from the Photoshop toolbar. Place the cursor on your image, it will create a default lorem ipsum text. Select this default text by double-clicking on it and writing your text.
After completing the writing, you can create a text effect by double-clicking on the text layer from the layers panel. It will take you to the layer-style dialogue box.
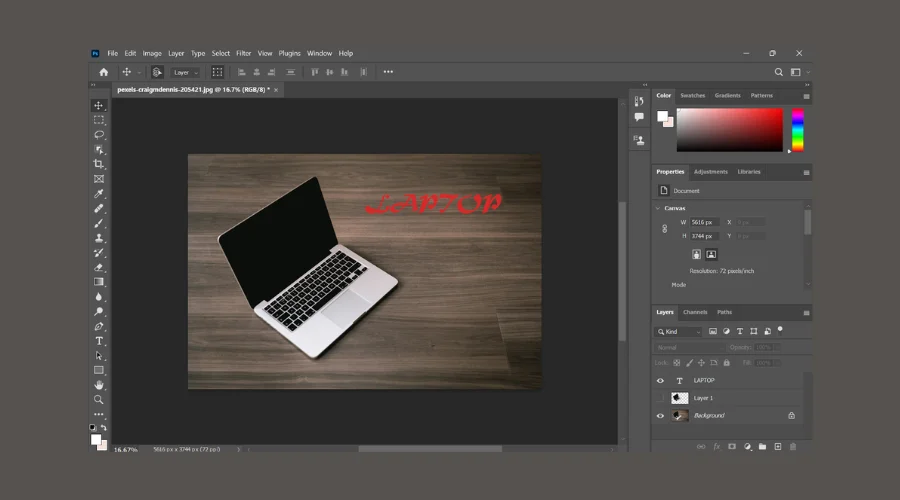
Now you can change the stroke of the text, give shadows to the text, or add gradients to it.
Moreover, at the top of the window, you will see options to change the font size, font color, and color of the text. By utilizing these options, you can create striking text effects.
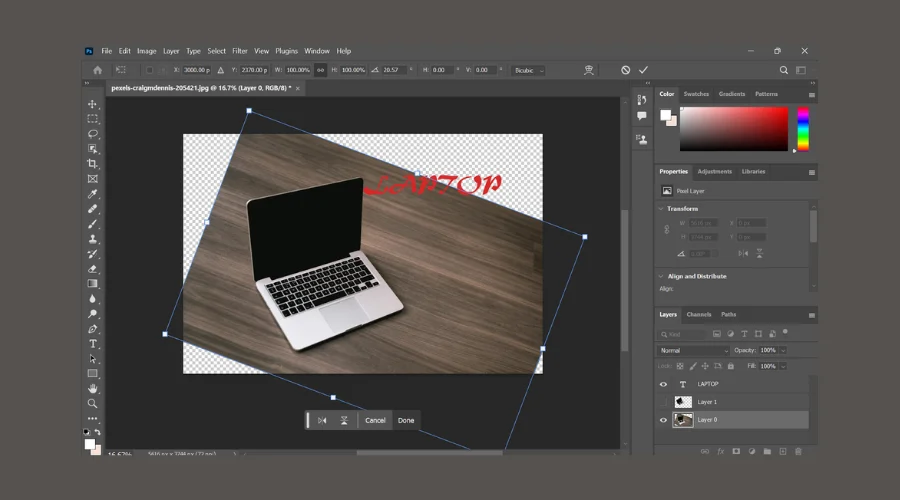
E. Changing Image Position | Transform Tool Photoshop
We may need to change the image, or text position in the canvas or we may need to rotate them to create a particular effect. In Photoshop, you can do it easily by using the transform tool. To get the transform tool, you can simply press ctrl+T.
F. Color Correction Using Photoshop | Adjust Image Color
Color Correction is the most important part of photo editing. The colors in the photo make it look eye-catching and deliver the message accurately. Color Correction involves adjusting the colors, brightness, contrast, saturation, and overall tone of an image. The goal is to achieve a more balanced look.
Photoshop gives you all of these options to adjust colors in your image. For instance, you can adjust Levels to change the shadows, mid-tones, and highlights. Thus you can control the brightness and contrast.
You can get the Levels by going to Image > Adjustments > Levels or pressing Ctrl + L (Windows) or Cmd + L (Mac). Now, move the sliders for shadows (left), mid-tones (middle), and highlights (right) until the image looks balanced.
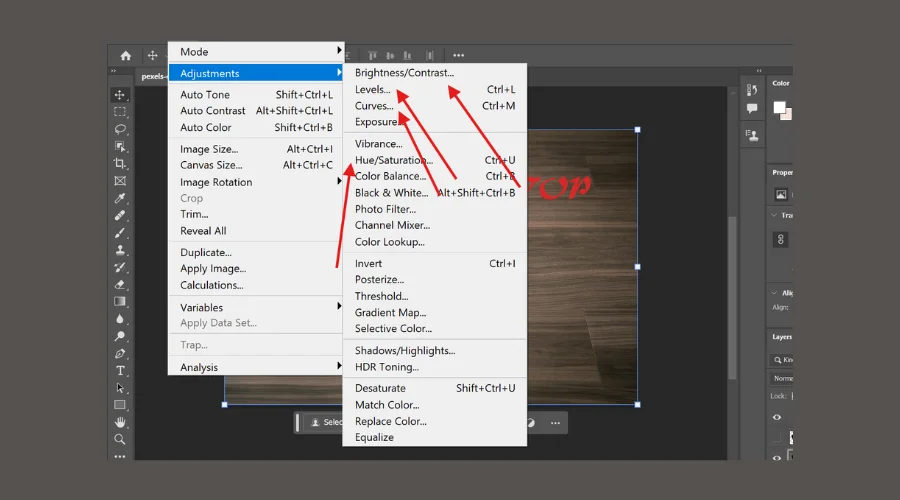
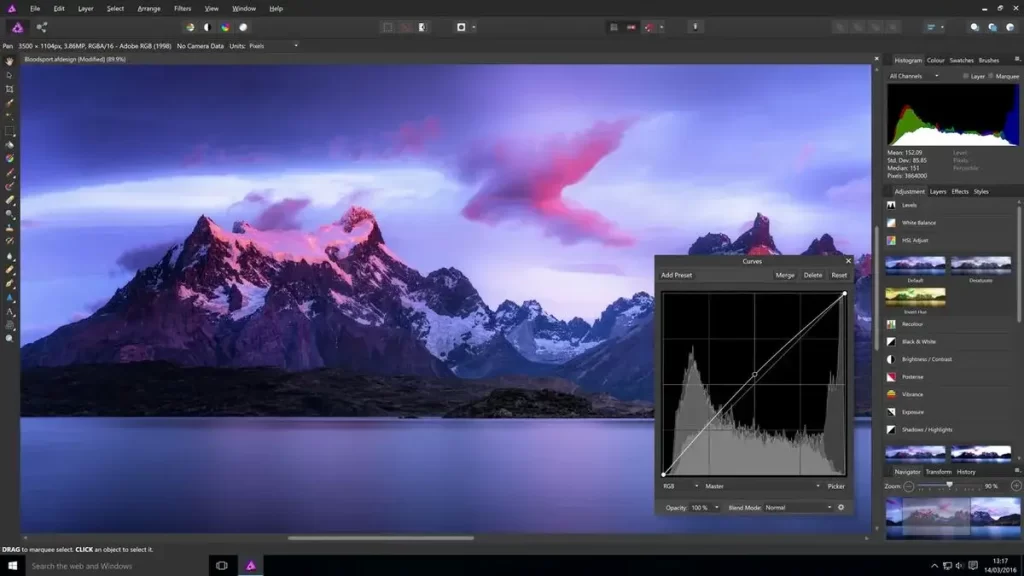
Another way to adjust the colors is by using the Curves. It provides more precise control over the color adjustments. You can get the Curves by navigating Image > Adjustments > Curves. Now you need to click on the diagonal like. It will create an anchor point on the line. If you drag the curve upward, it will lighten the image. And by dragging the curve downward, you can darken it.
The hue and saturation adjustments of Photoshop are also an efficient way of intensifying the colors in the image. So, go to Image > Adjustments > Hue/Saturation. Now move the saturation and hue slider to get the desired color.
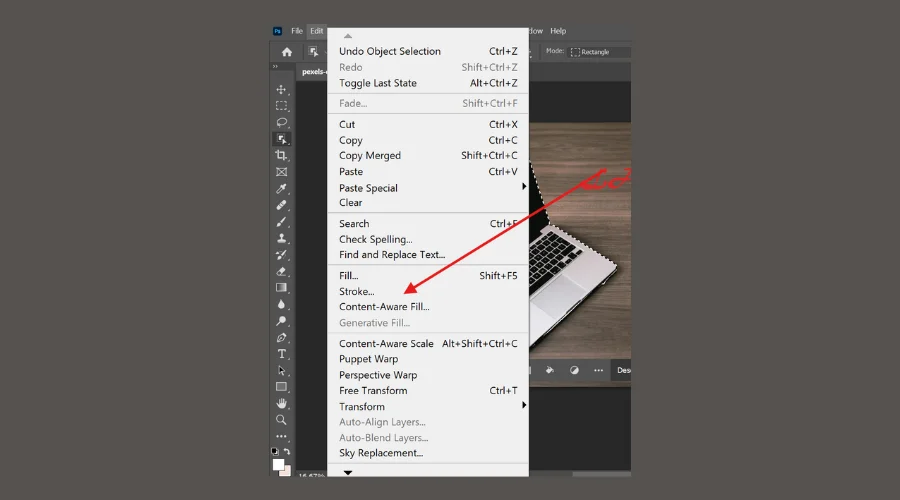
G. Remove Object Like Magic | Content-Aware Fill Photoshop
The content-aware fill works like magic. It allows us to get rid of unwanted elements of objects in the background. For example, there is a man in the background in your image and you want to remove him. The Content-Aware Fill works in this case.
First, you have to select the object using an image selection tool. After making the selection, go to Edit > Content-Aware Fill. A new window will pop up with Content-Aware Fill options.

Photoshop will process the selection and remove the object.

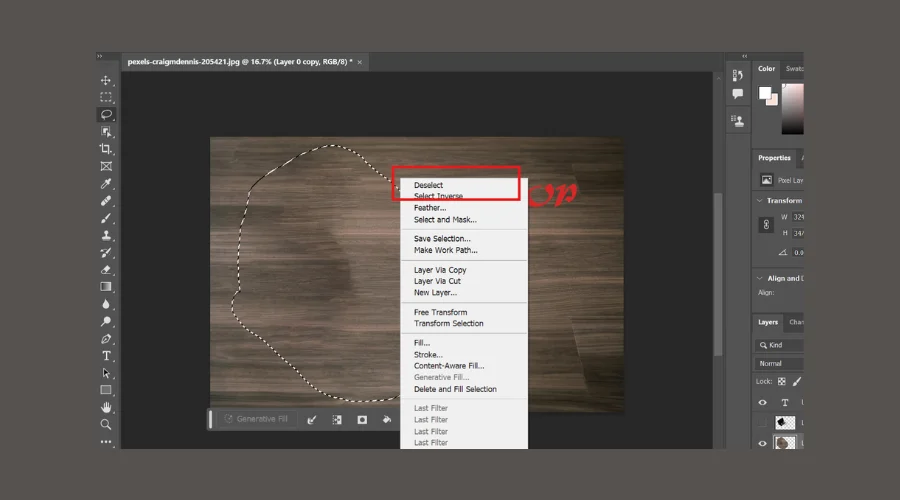
After that, you have to deselect the area. You can do it in three ways:
- By going to Select > Deselect
- Right-click the mouse and click Deselect
- Press Ctrl + D (Windows) or Cmd + D (Mac)
Related Articles on Photo Editing
- How To Do Photo Manipulation in Photoshop
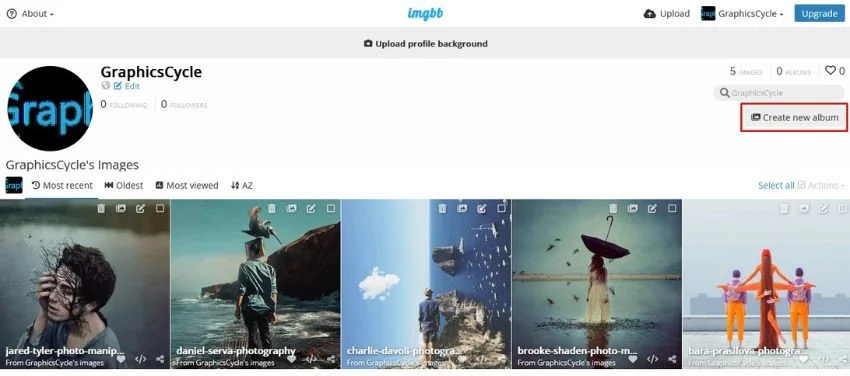
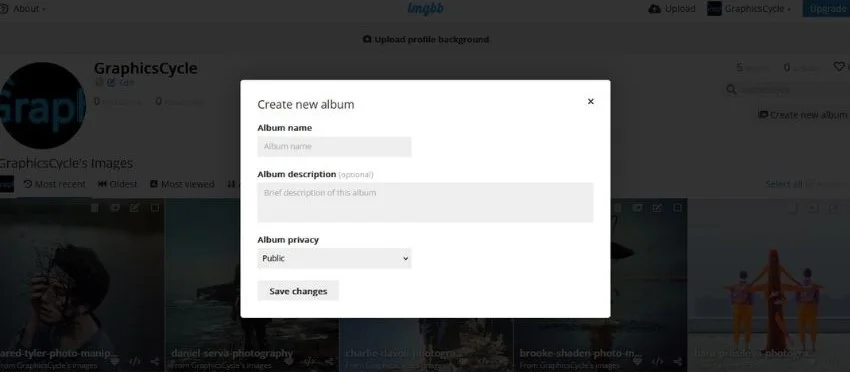
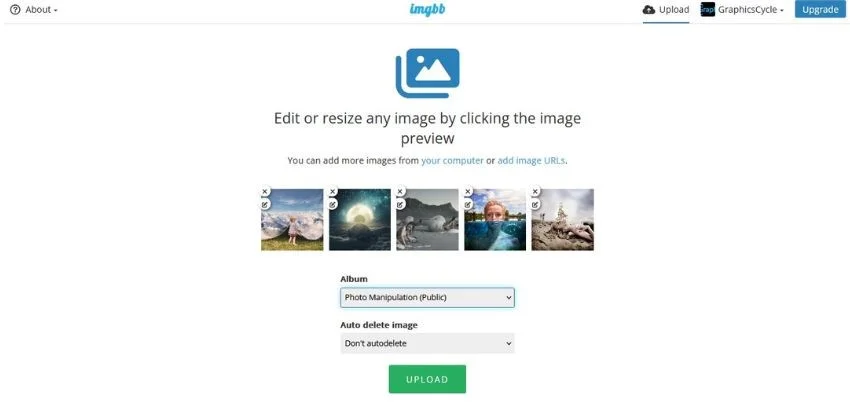
- How to Use ImgBB in 2024 | Best Tutorial for Beginners
- What Is Graphic Design? A Complete Guide for Beginners
FAQ | Photo Editing Basics for Beginners
How Much Does It Cost to Edit a Photo?
Well, the price of photo editing depends on several factors like complexity, urgency, and the type of editing. However, the average price for the background removal service starts at $0.25 per image.
How Do Professionals Edit Their Photos?
Professional photo editors first make sure the composition of the image looks good. Otherwise, they use the crop tool or straightening tool. If the background looks noisy they remove the background and replace it with a more accurate one. Then they work on the color of the image to ensure that the image looks eye-catching.
Final Thoughts | Photo Editing Basics
So, this is photo editing basics for beginners. Here, we have given you an insight into these photo editing techniques. So you have to practice a lot to master these. Meanwhile, you can follow us to get advanced photo editing tips and techniques.
However, if you are dealing with a large number of photos, we can help you complete them. We have professionals with years of experience in this field.