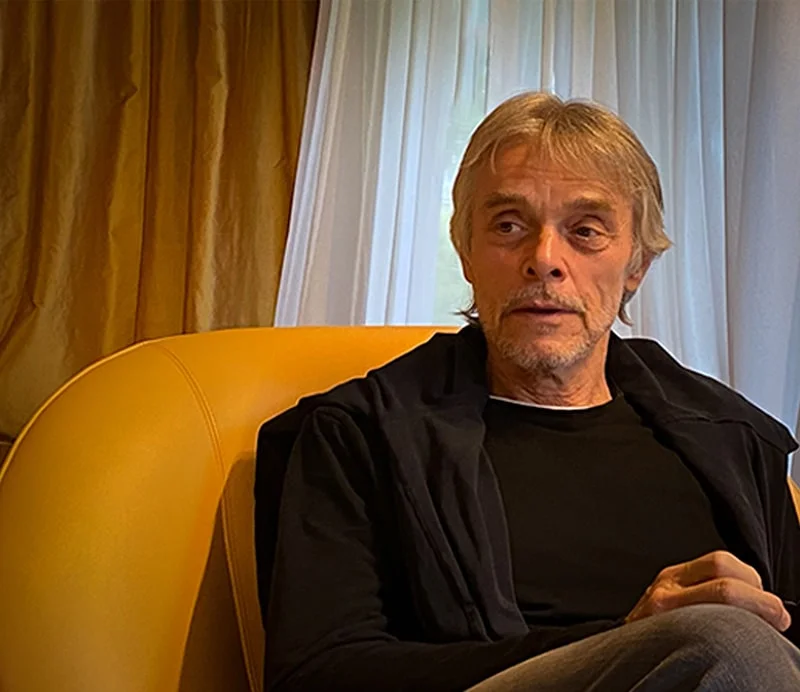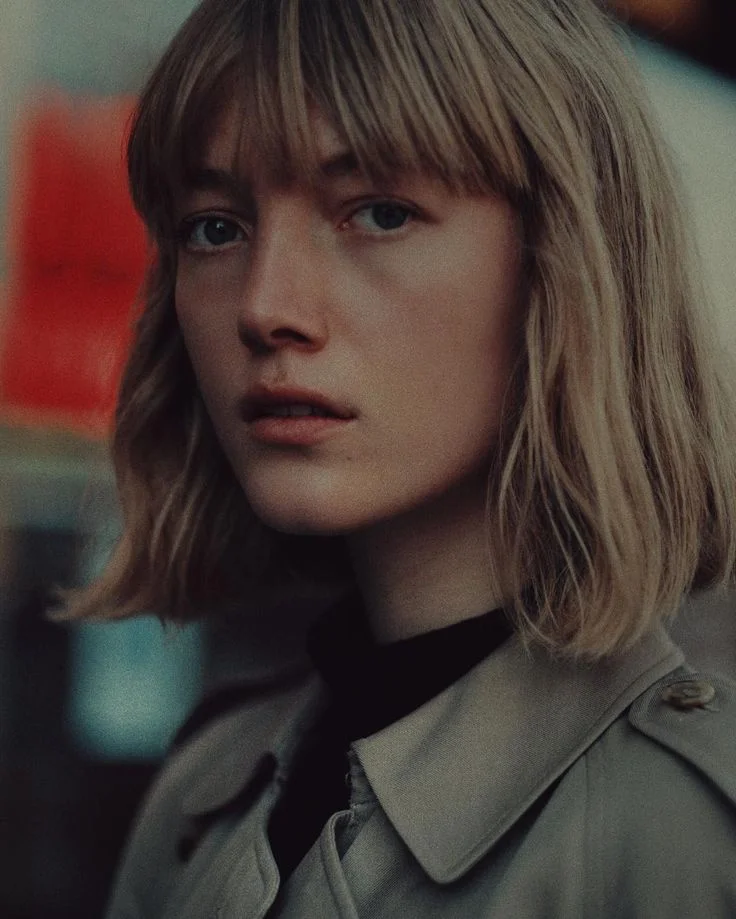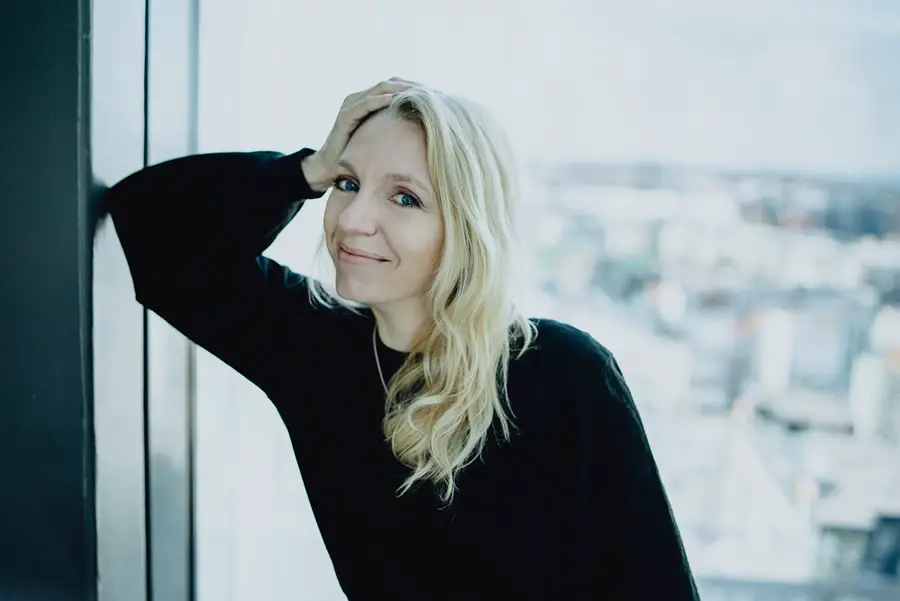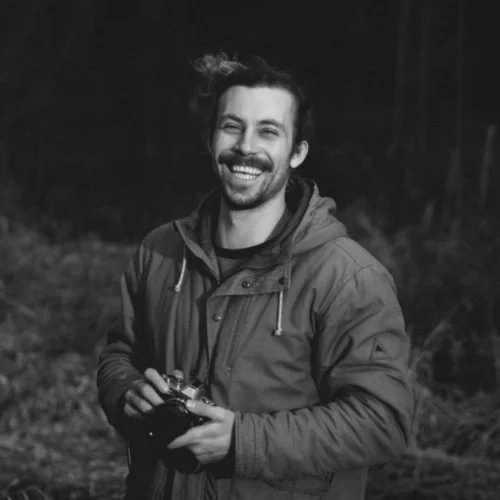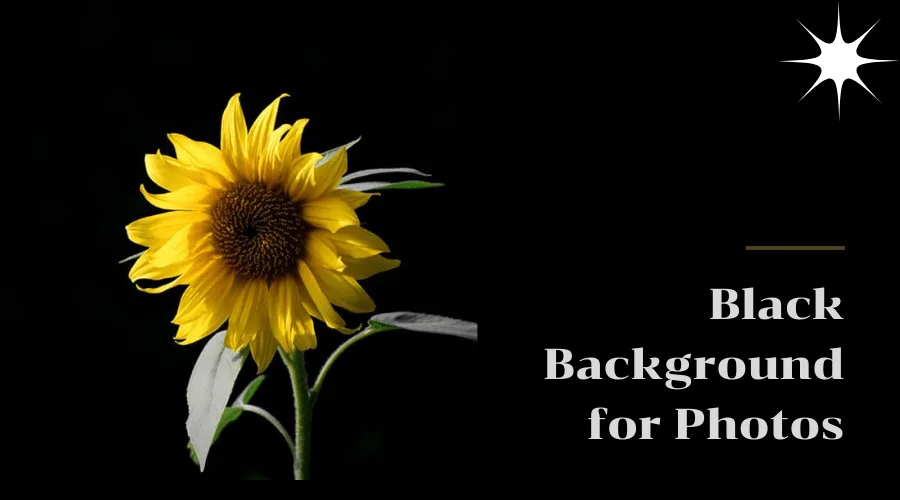
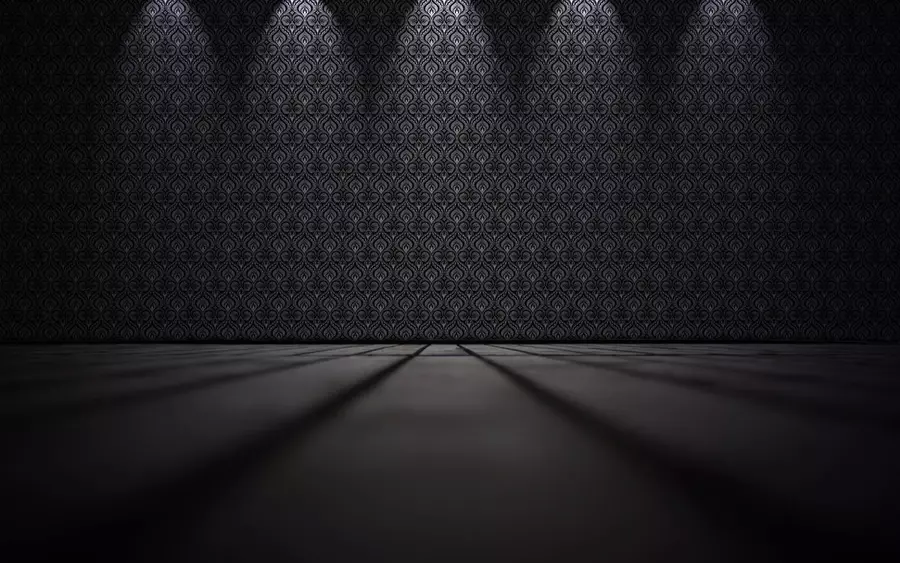
A black background appears completely black. It has no visible details or distractions. Black backgrounds are the best way to create a minimalistic look. The primary purpose is to make the subject stand out. Thus, you can draw the maximum attention to the subject.
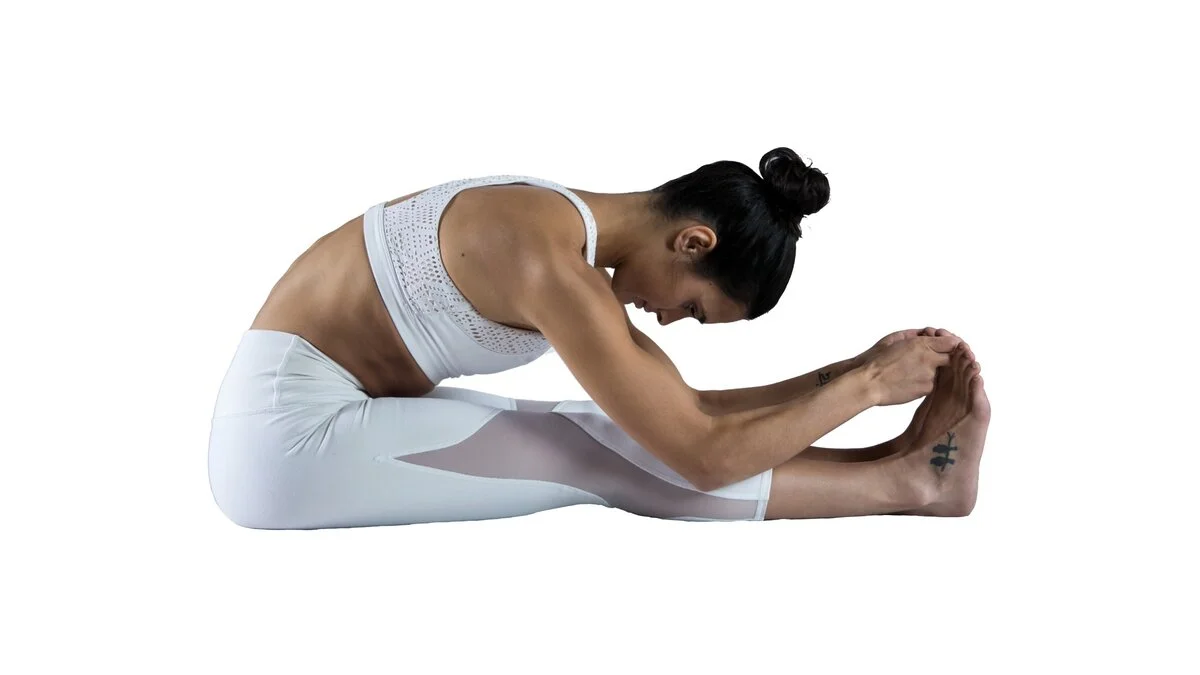
Again, the black backgrounds make the subject the sole visual point of interest in the photograph. Also, it has become a trend in social media to use a black background for portraits, headshots, flowers, animals, and product photos. That’s why learning how to make full black backgrounds has become essential.
Here, you are going through the 12 most straightforward ways to create the backgrounds you require for your photos. Read the article to learn and apply these methods according to the requirements.
Importance of A FullBlack Background for Photos

A full black background picture can have several significant benefits and purposes:
Subject Emphasis
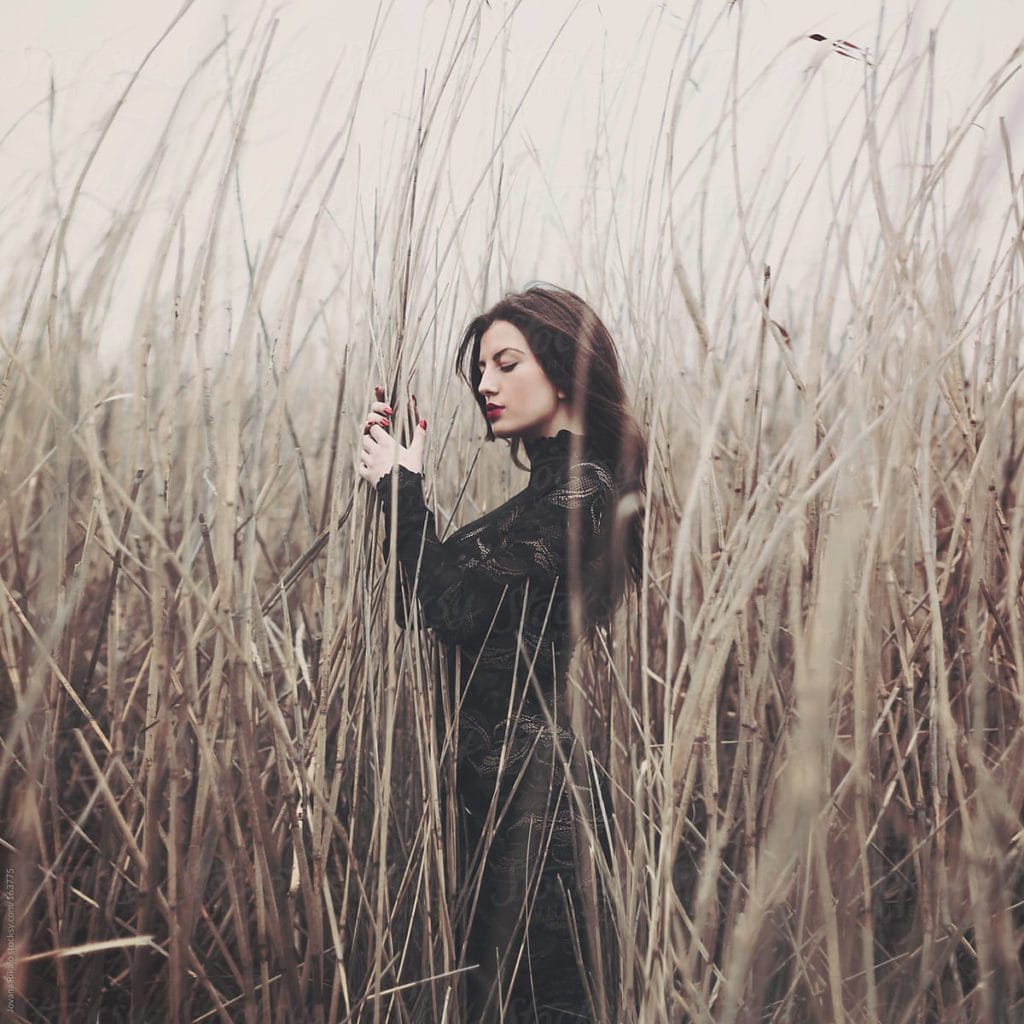
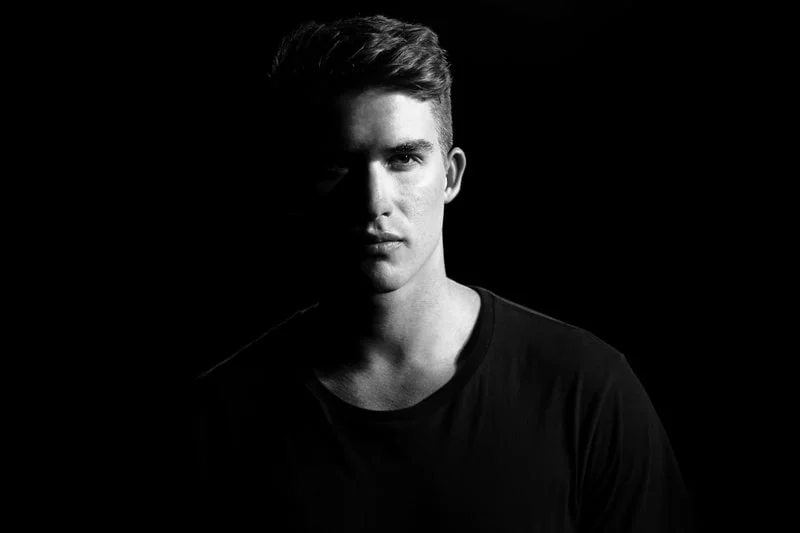
A complete black background helps to emphasize the main subject of the photo. The issue becomes the primary focus by eliminating distractions and other elements, allowing viewers to focus solely on it.
Visual Impact
The contrast between a dark black background and the subject creates a striking and dramatic effect. It can add depth, elegance, and professionalism to the image.
Simplification
A black background simplifies the composition by reducing visual clutter. It creates a clean and minimalistic aesthetic, allowing the subject to stand out clearly and eliminating any unnecessary elements that could distract or confuse viewers.
Versatility
A full black background is versatile and can work well with various subjects. It can be particularly effective for portraits, still life, product photography, and other genres where the main focus is on the topic.
Creative Possibilities
With a full black background, professional photographers can experiment and play with lighting, shadows, and creative compositions. The dark canvas offers a blank slate for artistic expression and allows photographers to create unique and visually captivating images.
Brand Consistency
A full black background in commercial photography or branding can help create a consistent and cohesive look. It can showcase products or convey a specific mood or style that aligns with the brand’s image.
Things To Know For Creating A Black Background For Photos

To create a black background for photos, here are some key points to consider:
Lighting
Proper lighting is essential for achieving a black background. The subject should be well-lit while the background remains in shadow or receives minimal light. This contrast between the subject and the background helps separate them and create a black background image.
Exposure Control
Controlling the exposure is crucial to prevent the background from becoming gray or washed out. Underexposing the image slightly can help darken the background. Experiment with different exposure settings to find the right balance.
Background Selection
Choose one of the black backdrop ideas or create one using materials like black fabric, paper, or foam board. Ensure the set is wrinkle-free and evenly lit to avoid visible textures or imperfections.
Distance & Positioning
Position the subject sufficiently from the background to minimize any light spills or reflections that could brighten the background. This helps maintain a solid black background for photo editing.
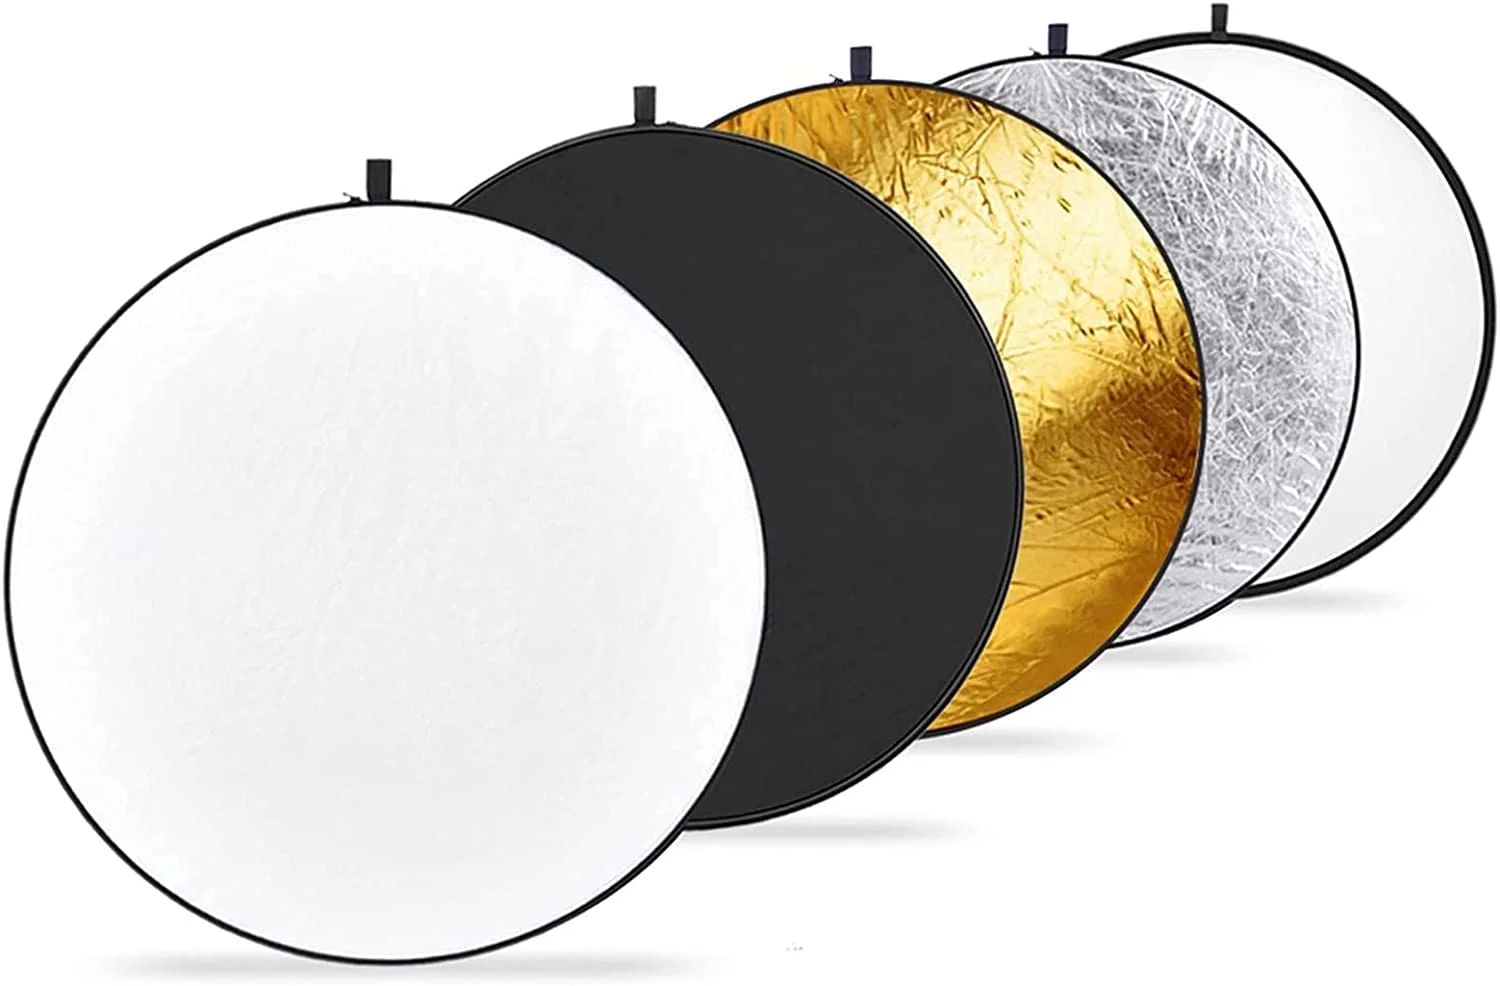
Use of Flags
Employ flags or gobos (go-betweens) to block or control light spillage onto the background. These can be placed strategically to prevent unwanted light from hitting the backdrop, keeping it dark.
Light Modifiers
Consider using light modifiers such as grids or snoots on your lights to control their direction and focus the light on the subject while minimizing spillage onto the background.
Post-processing Adjustments
After capturing the image, you may need to make some adjustments in post-processing software like Adobe Photoshop. You can selectively darken the background further, adjust levels or curves, and eliminate any remaining details to achieve a pure black experience.
Test and Experiment
Creating a black background requires experimentation and testing. Continually review your results, adjust your lighting setup and camera settings, and assess the impact on the background until you achieve the desired effect.
12 Most Straightforward Ways To Make a Black Background For Your Photos
You know, the queen of all colors is black. Black is a classic color that transcends trends and remains visually appealing across different periods. It has a universal appeal and can lend a timeless quality to photographs or designs.
Moreover, black is often associated with emotions such as mystery, power, and depth. It can evoke a sense of intrigue and create a mood or atmosphere that resonates with viewers.
Black color holds significant importance and symbolism in the world of art. Since ancient times, artists have used black color as charcoal or ink, to create a sense of depth and space in an artwork. By using various shades of black, artists can suggest shadows, voids, or the illusion of infinite space.
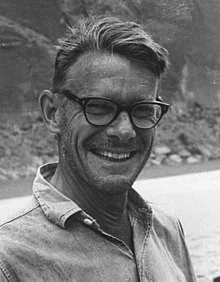
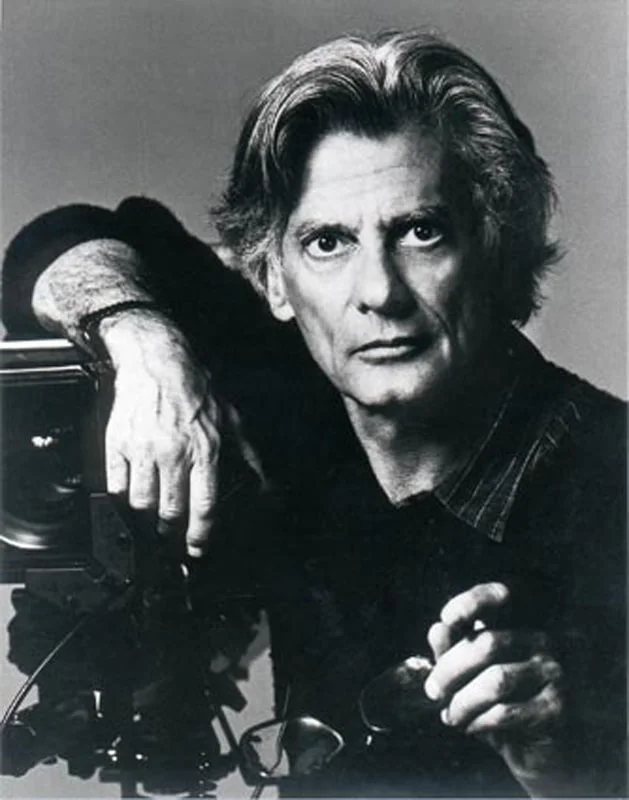
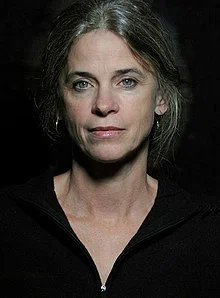
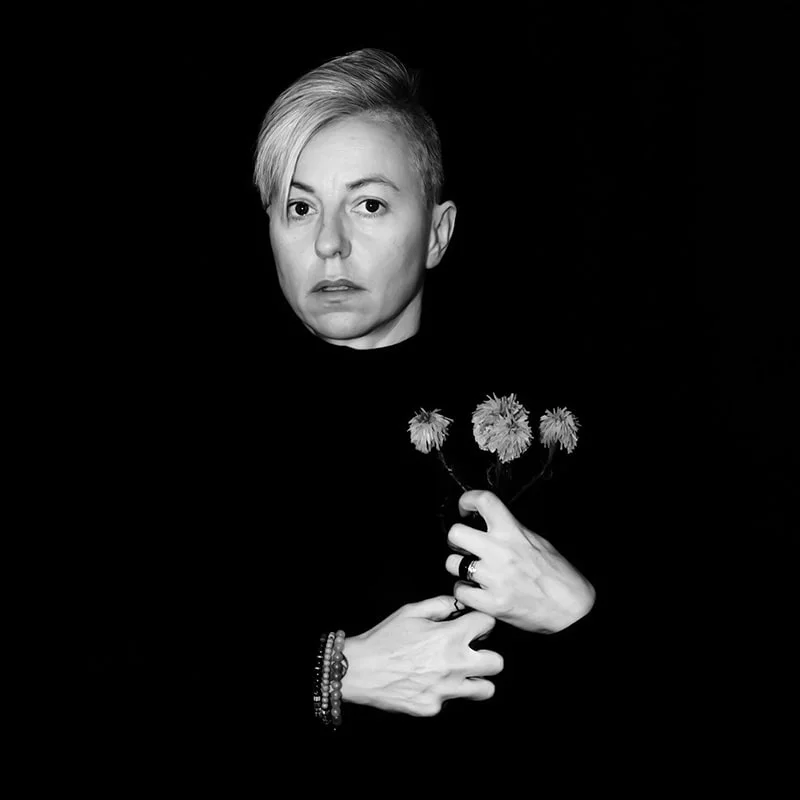
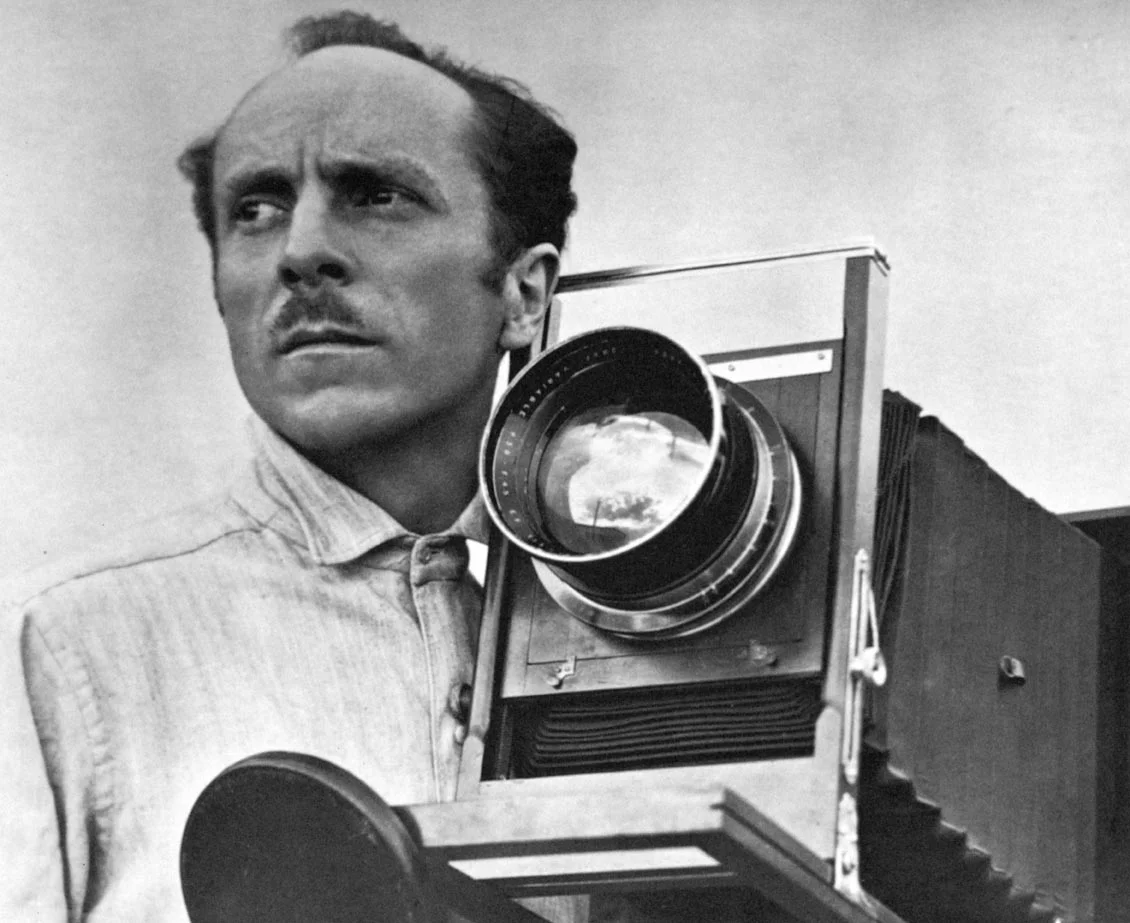
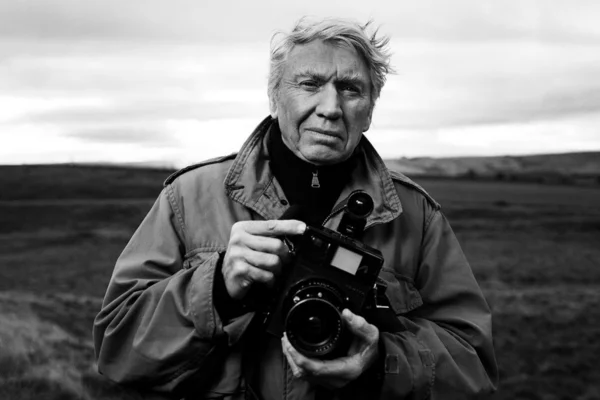
Black in photography also have a very long history. Photographers have been utilizing black to create mysterious photos. Famous portrait photographers such as Annie Leibowitz, Peter Lindbergh, and Richard Avedon had thought about rethinking black in photography.
However, making a perfect black background for photos is not challenging if you know the procedures. All you need is to give more focus to utilizing the natural light. No matter the original color, anything can become a black backdrop with the appropriate lighting and exposure.
These are the 12 ways that you can utilize to create a perfect black background. Let’s check these out:
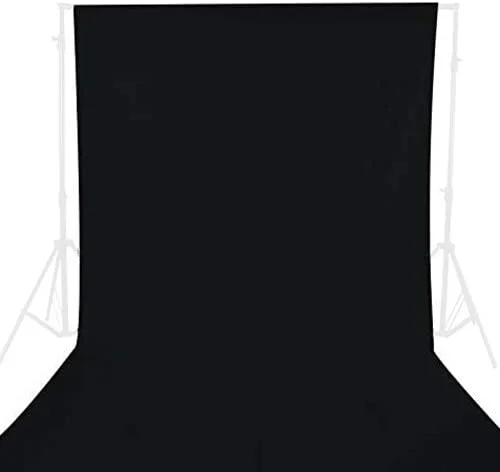
Use A Black Backdrop | Black Background Images
Set up a solid black backdrop behind your subject. This can be a black sheet, a black paper roll, or a black muslin cloth. However, you can get the same result from all types of black surfaces. You need to choose the backdrop based on your requirements. Consider the material of the backdrop.
Moreover, setting up the backdrop is also easier. You only need to hang it behind your subject using a backdrop stand or tape it to a wall. Ensure it is stretched out to avoid wrinkles or folds.
Also, you can use an MDF board painted black or gray. Whatever the type of material you have used, consider that it is not reflective. Some paper backdrops may have a shiny surface. Consider these things before starting to shoot.
Set Up A Black Background Panel
Select a large black foam board or wooden panel as your black background. Ensure it is sturdy enough to stand independently or propped against a wall. Then set up the black panel in a location where you want to shoot your photos. If the panel doesn’t stand independently, use clamps or tape to secure it to a stand or wall.
Place your subject in front of the black panel, ensuring it is far enough from the background to avoid casting shadows or causing unwanted light spillage onto the board. After that, position your lighting equipment. Use a key light to light your subject and additional lights or reflectors to fill any necessary areas.
Utilize The Spot Metering Mode
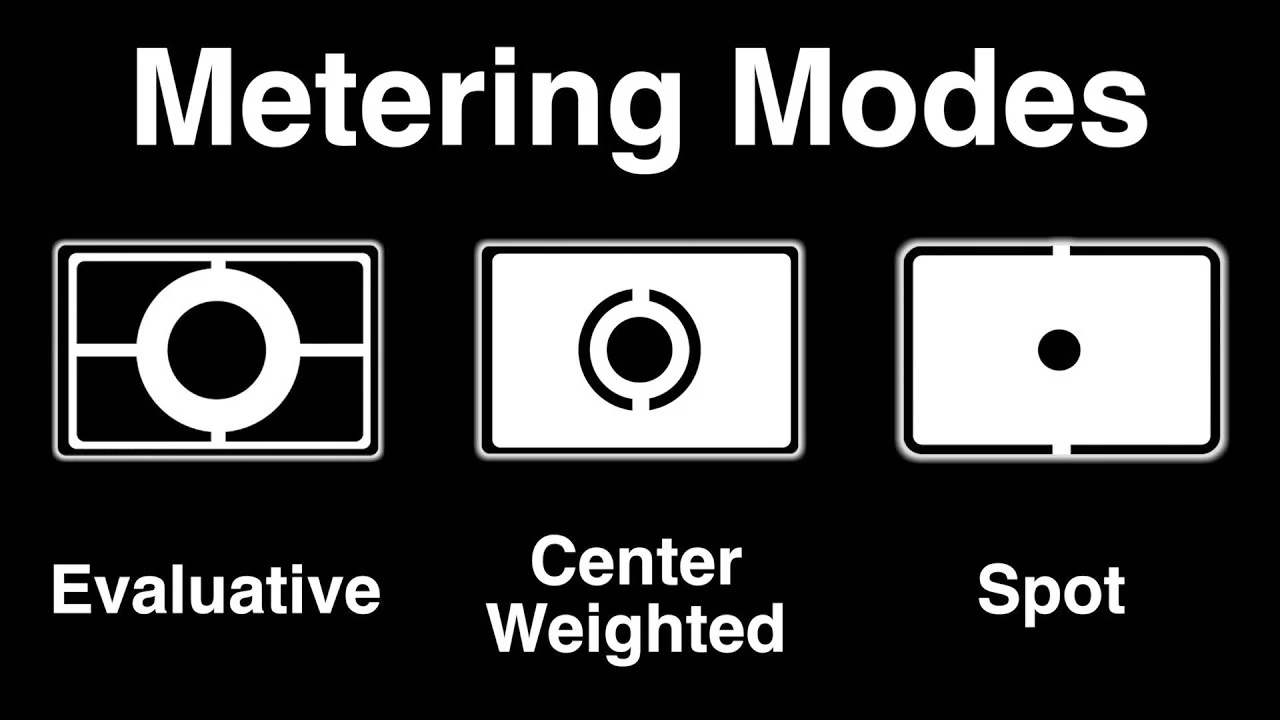
Using the spot metering mode, you can measure the amount of light on the subject. Different light metering modes are available on every DSLR and mirrorless camera. They gather information from a section of the frame (or the entire frame) and then modify the exposure using this combination of data.
Access your camera’s menu or settings and select the spot metering mode. This mode measures the exposure based on a small, specific spot (less than 5% of the surface) in the frame rather than the entire scene.
Moreover, you need to position the spot metering area over a mid-tone space of your subject. Now, half-press the shutter button or use the exposure lock button to lock the exposure reading. Recompose your shot as desired for the black background.
Use A Gray Card | Pink and Black Background

A gray card can help achieve accurate exposure when working with a black background. First, set your camera to manual or exposure mode with manual control. Adjust your aperture, shutter speed, and ISO based on your desired exposure values, considering your subject and lighting conditions.
Now, you must aim your camera at the gray card, ensuring it fills the frame or takes up a significant portion. Use your camera’s spot metering mode to measure the exposure specifically from the gray card.
Angle Lighting In The Proper Direction
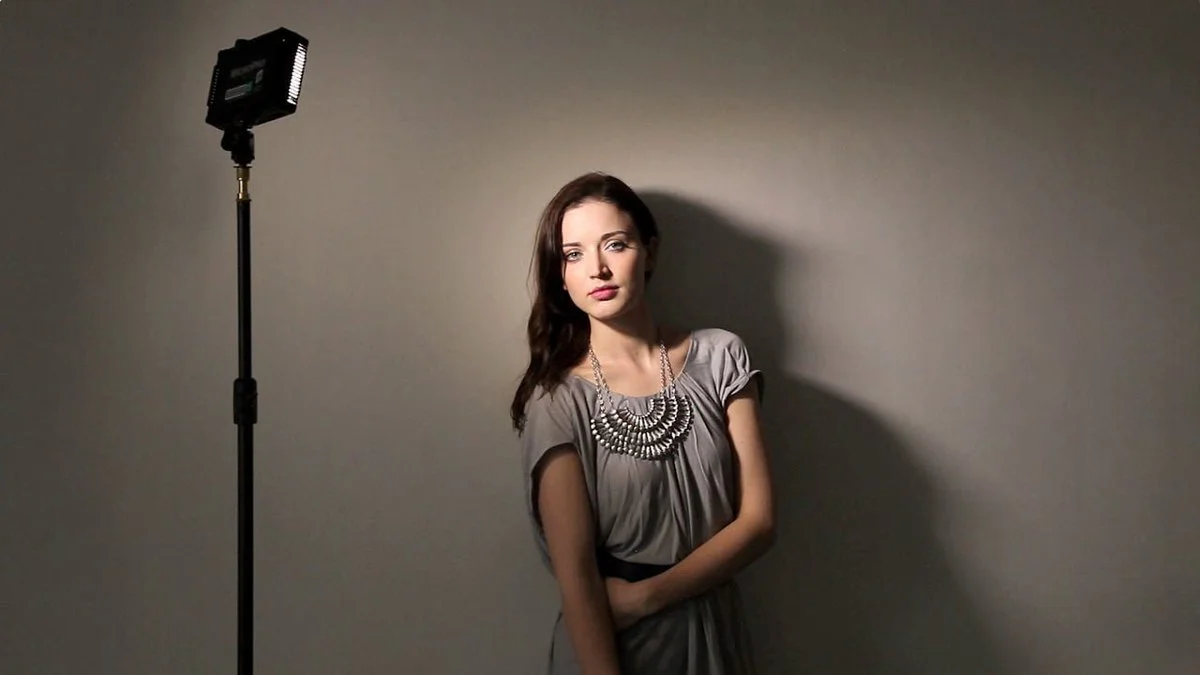
You have to maintain proper spacing between the subject and the backdrop. Then, angled lighting in the appropriate direction is essential to light only the subject. Thus, you can keep your issue in focus by reducing the light spreading onto the background.
If you want a perfect black background, the light should only fall on your subject. Try using a Rembrandt lighting scheme or a lateral light at an angle that doesn’t reach the backdrop. This technique is ideal for interior settings where you can employ (or prevent) window or artificial light sources because it demands greater control over the morning.
There are different ways to get perfect lighting on the subject. For example, you can place the light at a 45-degree angle without directly facing the subject. You can find an ideal spot for the subject by experimenting with the lighting setup.
Utilizing an External Light Meter | Black Background Wallpaper
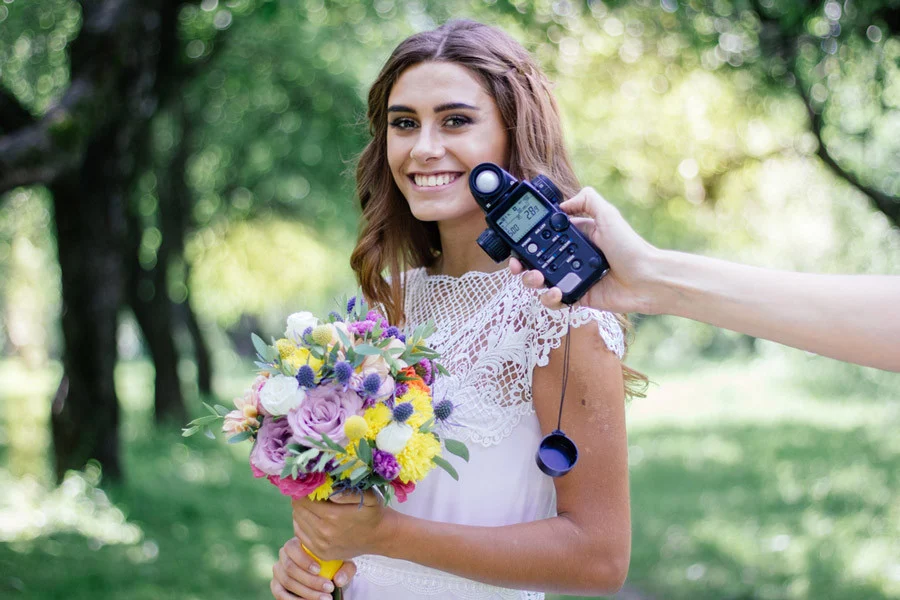
An external light meter lets you measure the light falling on the subject independently of the camera’s built-in metering system. It provides more precise exposure recommendations, which can help you achieve accurate exposure for a black background. You should experiment with different lighting conditions, metering modes, and adjustments to achieve the desired effect.
Thus, you can get rid of black backgrounds that look gray. Professional photographers use handheld incident light meters to determine exposure accurately.
Blacken The Backdrop Using Flags
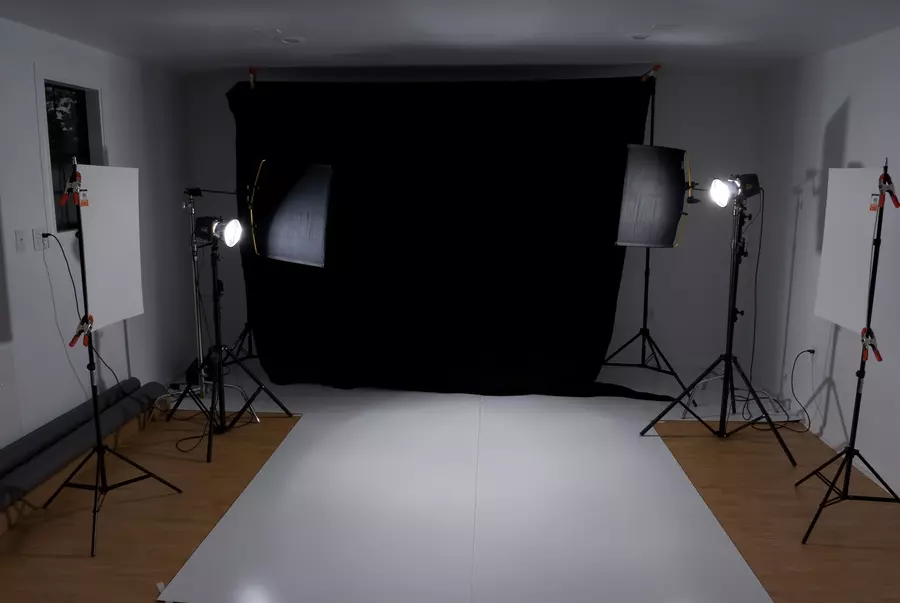
You can transform any backdrop into black by controlling the falling of light on it. However, it is not easy because light splits on the background, making it gray. That’s why professional photographers utilize flags to block light completely.
You can use large flags bigger than the light source to ensure adequate light control. This helps create a clean separation between the subject and the black backdrop. Now position the flags on the sides or above the light source. This will block any light that may spill onto the backdrop. You can use C-stands or clamps to hold the flags in place.
Furthermore, experiment with the positioning of the flags to achieve the desired effect. Move them closer or further away from the light source, angle them, or use multiple flags to shape the light and prevent it from reaching the backdrop.
Use A Speedlight | Black Background Texture
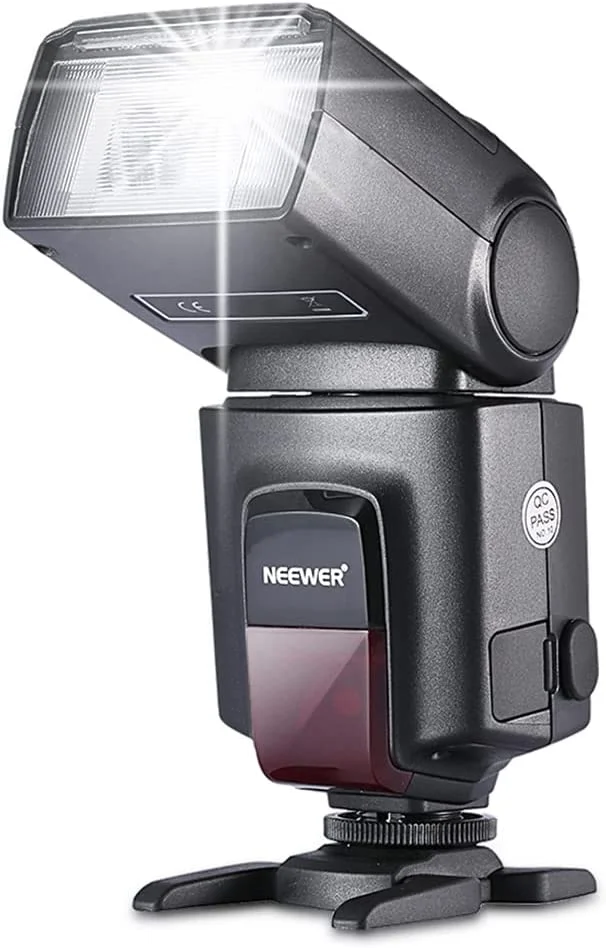
You can also use a Speedlight to create a black background for the photoshoot. Professionals have termed this process of creating a background as an “invisible background.” The mechanism is simple. You must utilize the speed light’s full power to illuminate the subject. Thus, the background will remain in complete darkness.
You may also need a light modifier, such as a softbox or umbrella. Professional photographers thus eliminate light spilling in the background.
Utilizing A Small Light Source | Textured Black Background
A small light source is necessary to get light directly on the subject. So you can get more contrast to isolate the subject from the background. You can use an external lamp or flash as the light source. However, you must still use a light blocker to prevent light from spilling onto the backdrop.
Look For Shadow Areas In Outdoor Shooting
Take a moment to assess the lighting conditions during outdoor shooting. Now, understand how the sun casts shadows. In outdoor shooting, you can not control lighting. That’s why you must look for shadow areas to get high-contrast photos.
Look for areas that are likely to be in shadow based on the position of the light source. For example, you can place the subject in front of a dark area, such as a doorway or a tunnel. Buildings, trees, or other elements obstructing the direct light path can create shadowed regions.
Use A Black Photo Booth | Red and Black Background
If you can access a photo booth, use the black backdrop option. Photo booths often provide a controlled environment for achieving consistent results. You can attach a black fabric or black backdrop curtain to the photo booth frame. Ensure the backdrop covers the entire area where the photos will be taken.
Use Photoshop To Create Images With a Black Background

Well, I do not like to recommend this. But you can use Photoshop as a second chance to fix the gray color in the background. Moreover, you can use Photoshop to create artificial experiences.
You can create a black background for Photoshop by selecting “File” and selecting “New” to create a new document. Enter the desired dimensions for your image and set the background contents to “Black.” Click “OK” to create the new record.
Use distinct layers and a non-destructive approach to prevent damaging the source image and get the desired results.
Final Thoughts | Cool Black Background
Black background plays an essential role in portrait photography and creates a mysterious look. Following the above-mentioned methods, you can also create perfectly looking black backgrounds. Try to practice more and more until you get the desired result.
Latest Articles-
- 15+ Best Trendy Graphic Hoodies for Men & Women
- How to Convert YouTube to MP3: 10 Best Easy Methods
- Top 15 Action Camera Protector For Photographers
FAQ | Black Background With Heart
What app makes the background of the photo black?
There are several options to make the background of your photos black. However, Photoshop is the first choice for professionals. Also, you can use Fotor, Lightroom, GIMP, and other programs.
How can I change my photo background?
First, you need to select the subject using a selection tool. Then take the subject to a new layer. You can take a unique background and place the cutout subject on it.