


Over the past decades, it’s been a common phenomenon to search for everything online. The real estate sector is not something different in this regard. Thanks to the internet now you get everything in one platform. The reality of the internet is, here people expect everything polished. For a real estate photographer, it is important to keep this simple fact in mind.
Source: https://bit.ly/2FE7cNq
Well, do you know real estate photography is not as simple as it seems? You might get embarrassed if you are not well prepared. You cannot ignore the fact that the better prepared you are, the more efficient your result will be. So, if you want to grab the attention through a stunning photo, you have to follow certain rules.
I know you don’t want to make silly mistakes as a beginner. To help you out in this matter, I have come up with some important tips for beginners. Without further ado, let’s get down the business.
Pick An Accurate Time
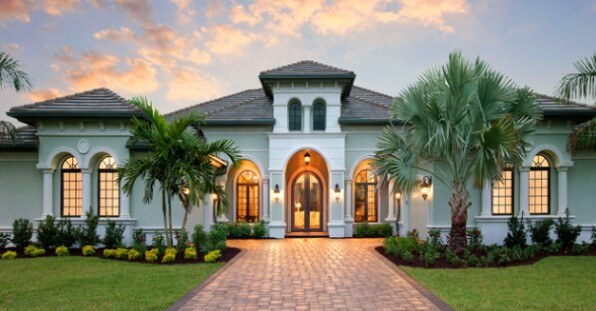
One thing where the real estate photographers get messed up is the timing of photo shoots. Selecting a perfect time for shooting is important. Apparently, it may look okay to shoot real estate photos at any period of the daytime. But to take advantage of natural light, pick the time according to the weather conditions.
Try to avoid cloudy days for shooting. Choose the time that will be perfect for your photo. Ask your clients about their preferences. Some people prefer sunset while others may love the bright sun above the structure. So, make sure the shooting time is suitable for the customer’s demand.
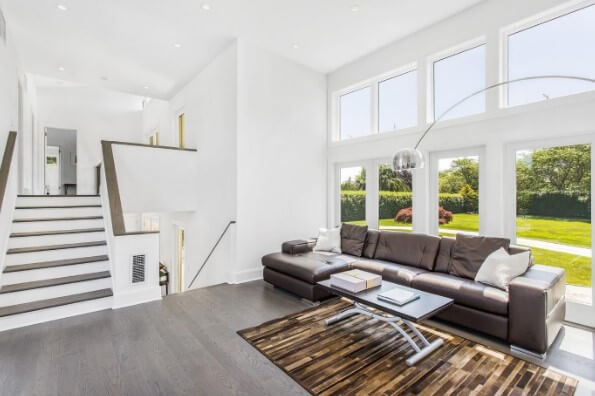
My personal suggestion to you would be, to keep the house in front if you are shooting during sunset. This angle will give better lighting for your photo shoot. The point is, that you cannot deny the fact that natural light is significant in shooting architectural structures. So, while going to shoot real estate properties, try to use the natural light as much as possible.
Visit the Property Before Shooting
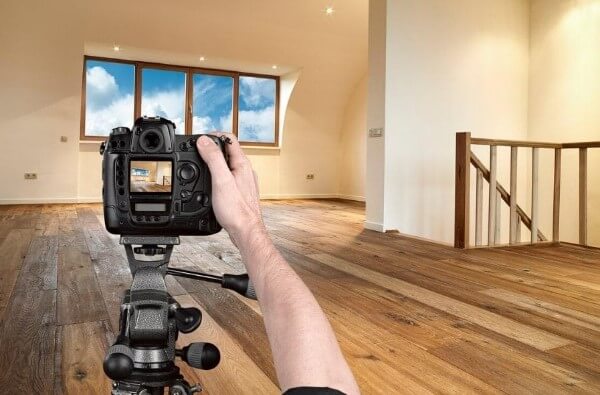
Before starting the shooting visit the house at least once. And take some preliminary photos to know in detail about the rooms, the façade, back yard, etc. Don’t make haste if you want a better result. Some newcomer photographers start shooting at the first visit.
As a result, the whole property comes to them as a surprise. This results in bad-quality photography. That’s why I think it is one of the crucial tips for beginners that they visit the house beforehand. However, when you have some initial photos of the house, make sure you don’t forget to analyze each of the photos. Securitize all the shots carefully.
This will help you focus on the small things you could have missed at first glance. After finishing this you should get ready for the final shoot.
Set Creative Angles
Source: https://bit.ly/2QGcZIM
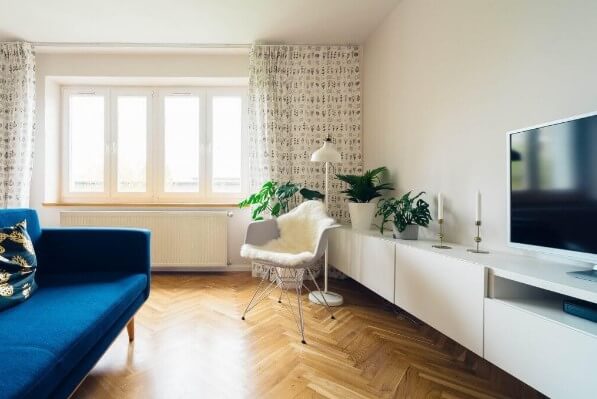
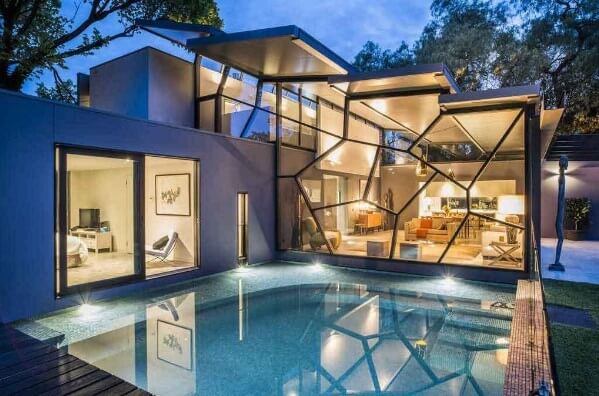
Some things are beyond the limit of photography tips. In that case, you have to be creative. For instance, Camera angles. In this type of photography, angles play a crucial role. Don’t get cliché while choosing the right angle. Brainstorm and find out some innovative angles for shooting the interior.
Try to do something that most photographers do not do. If you are shooting a room. You can take the photo from the door. It will let you focus on the maximum part of the interior.
Thus you can show the entire room and the spaces inside it. The same idea goes for exterior shooting. You have to apply your creativity to the maximum level. Only then you can hope for a better output.
Let the Light Come
Source: https://bit.ly/2FDwR9a
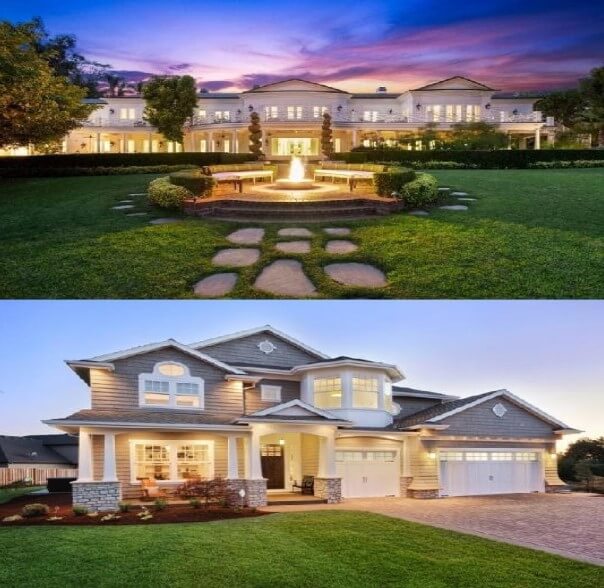
Everyone has to admit that there is no alternative to natural light. The sunlight is unreplaceable. So, when you are going to shoot make sure that there is enough light inside the house. You can open the blinds and windows. To enhance the effect of natural light use reflectors and LED panels.
Natural light makes the photos look more realistic. Clients can have a clear idea about the actual look of the house. You can easily highlight the small details. Metals and small artistic features of the furniture will not skip the sight.
Switch the Lights On or Off
I don’t know if you will agree with me or not, but in my opinion, a house without lights looks haunting. If you take shots without lights the same thing can happen to your photograph. Not only this, but lights prove that everything in this house is functioning and it is livable.
This is very primary advice that you should switch the lights on before shooting. This will make things lively. You can give your photograph a luxurious look with additional light. Well, it is another way to look at it.
You can use different techniques of switching on and off to get different effects. If you want to give your pictures an impassive look then go for turning the lights off. Your objective will determine whether you should turn on the lights or not. However, you have to remember about the light temperature correction during the editing.
Color Temperature Fixing
Source: https://bit.ly/2QGEuC7
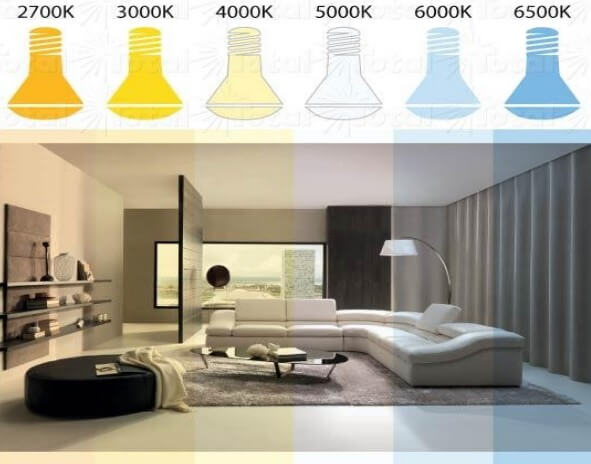
No matter how perfectly you take shots, if your color temperature is wrong this will ruin your photo. A wrong color temperature hits the eye at first glance. And it creates a bad impression. Image quality can be hampered by many factors. Wrong color temperature is one of them.
You should know how to fix light temperature. As a new photographer, if you haven’t yet learned it, do so as soon as possible. For example, if you are shooting in a bathroom, there can be an unpleasant yellow tint from the reflection of artificial lights.
To remove this, just move the orange or yellow slider as long as it doesn’t turn plain white. It occurs because of the combination of LED, halogen, or CFL lamps with natural light.
Choose the Right Camera
Source: https://bit.ly/2tPuNYM
You cannot use the same camera for different kinds of shooting. The same camera for every kind of shoot might work as a rescue but it is not a good option. Especially in shooting real estate properties, you need a specialized camera. I would suggest you go for a full-frame camera. The full-frame camera can cope with a lot of light whereas the cropped sense is not able to do so.
Yes, I agree that for a new photographer, it might not be possible to buy spare cameras. If this is the case, then go for the interchangeable lens camera. Thus, you can turn your ordinary camera into perfect for real estate shooting.
Have Enough Accessories
Source: https://bit.ly/30cmUc7
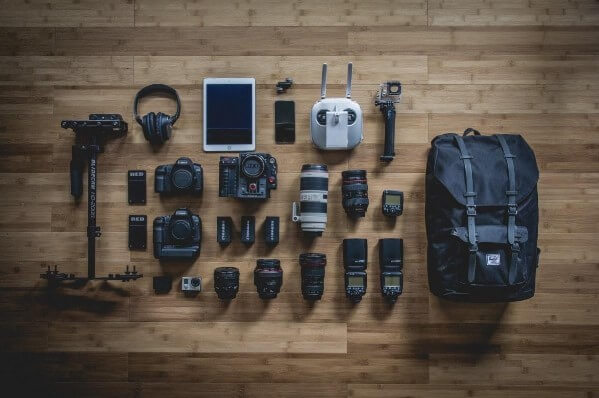
Little things can turn into an Achilles’ heel for you. I am talking about photo shooting accessories. You should always keep in mind that the importance of accessories is not to be taken lightly. For instance, keep some extra batteries. When your regular batteries will go dead in the workplace then you will need them. No matter if you use them often or not keep some extra batteries in your bag.
Moreover, you might need a sandbag to give support to your light stands or umbrella. Another important tool is a small step ladder that you can move from here to there with one hand. Along with these, be careful about some other accessories.
Such as white-balancing tools, spare memory cards or hard disks, cleaning kits, tripods, etc. Any problem related to these things can cause a waste of time and unnecessary trouble. Consequently, your client can get dissatisfied. So keep that in mind. You can prepare the camera gear the night before shooting.
Fix a Reasonable Price
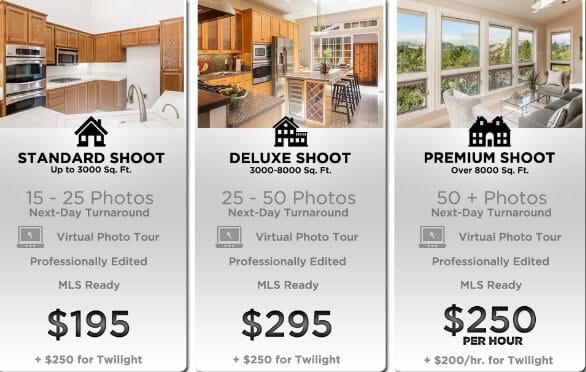
It is a bit confusing for the newcomer real estate photographer when it comes to real estate photography pricing. This is a huge field of work and is considered one of the highest-paid jobs.
So, when setting prices consider these factors. Study the real estate photography business first. Take the information about the current real estate photographers and compare your works with their works. Then come to a concluding amount that you will charge.
Camera, Lenses, and Other Settings
You have already known many things from the tips I shared about clicking real estate photos. Now it’s time to get some camera-related tips. Well, when it comes to camera it covers many things. Such as the camera settings, lenses, flash, tripod, shutter speed, aperture, and filters. Let’s start with that.
- Wide-angle lenses: You should use wide-angle lenses. Because as a real estate photographer you have to take shots from different angles of the object to cover as much space as possible. A wide-angle lens will help you to do this perfectly. It will help you to visualize the room larger than the reality.
- Using flash: Usually, we see that the standard flashes are not that strong. These are not compatible with taking professional images. They cannot highlight important details. You should add some external flashes to your camera toolkit.
- Using a tripod: Using a tripod can make your tasks easier. It is a vital part of real estate photography equipment. In low light, you need a tripod to avoid the blurry look and get good sharpness. Camera height is crucial for shooting both inside and outside. A tripod can help to determine the camera height.
- Polarizing filters: These usually fit in front of the lenses. It darkens the skies, helps cope with reflections, and overpowers the brightness from the lake or sea surfaces. Make sure the filter you use is a circular polarizing filter. Use it taking the filter off around 50% to 75% of the light.
- Aperture setting: Shallow depth is good for focusing on some objects. Otherwise, f/7.1 to f/9 is a standard aperture value.
- Shutter speed: The normal shutter speed should be between 1/60 and ½ a second. The amount of light in the room will determine the value.
- ISO settings: Too much ISO value can make your photography full of noise, similarly normal ISO value can make it eye-soothing. To make the best use of ISO value you should experiment with your camera and find out the perfect value. Just remember one thing, a higher shutter speed requires a higher ISO value.
- Managing white balance: White balance removes the unpleasant color cast in photography. To make a proper balance of this, you have to consider the color temperature and the light source. To avoid the gloomy look of the house, it is important to care about real estate photography’s white balance.
Lighting
Well, believe it or not, wrong use of light can make your real estate photos spooky. If you want to give the objects a lively look then make the best use of light. It’s not that easy to shoot some empty rooms. Only the proper use of light can make them lively.
The homebuyers will be attracted to the property if the image gives enough view of the property. Some common lighting challenges that professional photographers face are:
- Placing the interior lights in the right place
- Confusing the window light with interior lights.
- Using the same technique for bathrooms, living rooms, or kitchens.
To get you out of these problems I have come up with some simple tricks here. In the future, we can discuss these facts in detail but here, get a glimpse of the tricks.
- Make the best use of existing lights.
- Use multiple wireless flashes.
- Set a suitable time.
- Use high and dynamic range.
- Use bounced fill flash.
Use Props
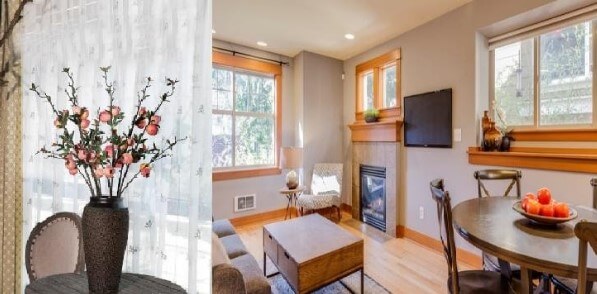
Source: https://bit.ly/309a8LB
Keep a fruit basket on the table along with a bouquet while shooting the dining hall. Do not use multiple colors. Go for single-color fruits and flowers. Keep clutters, and trash bin out of the frame.
Composition
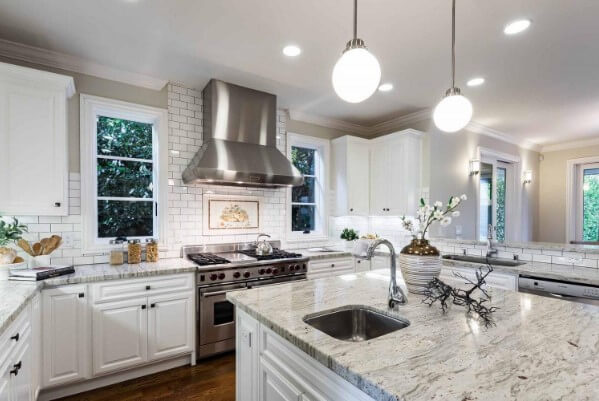
Source: https://bit.ly/2sgMOiA
Any form of art requires a touch of composition to make it classy. It encompasses the whole idea of photography. From shooting to editing. The term composition is described differently by different people. To some people, photography composition aims at making photography more aesthetic, pleasing, and gratifying.
However, the intention of the composition may vary according to the needs of the photographer. The same assumption goes for real estate photography composition. Depending on the customer’s need, a photographer accomplishes his composition of real estate images.
Take Photo Editing Services
The photography business is increasing day by day and the photographers are getting busier. As a beginner, you may get less amount of work but get ready for tone order in the near future if you do well. As a result, you will not get enough time to edit your photos.
In that case, you can take photo editing services. They will help you to get the final photo you need. It will cost you from $2-$10. There are numerous simple to advanced-level techniques to edit images. You can choose any option you want.
Consider Insurance
Perhaps it is the least considered thing for the photographers. But we are talking about real estate photography where you may need to move the precious property of the homeowner. In that case, god forbid, you might break some valuable staff. As a real estate photographer, it’s time you put a thought on this. If you don’t have standard liability insurance, have one immediately.
Make A Quick Turnaround
Your aim always should be to make your clients delighted with the services. One of the ways to make the clients delighted is, to make a quick turnaround. Make sure you don’t miss the deadline. Always try to deliver before the deadline.
Conclusion | Real Estate Photography
Well, I am at the end of this article. Hope this has been a helpful one for you, isn’t it? Before wrapping it up, I would like to remind you that you need to be consistent in this field. Be creative in thinking, never rush, and try to make the best use of what you have.
If you want to be a professional real estate photographer, I hope these tips can be helpful. Wishing you luck as a beginner in this world of photography.