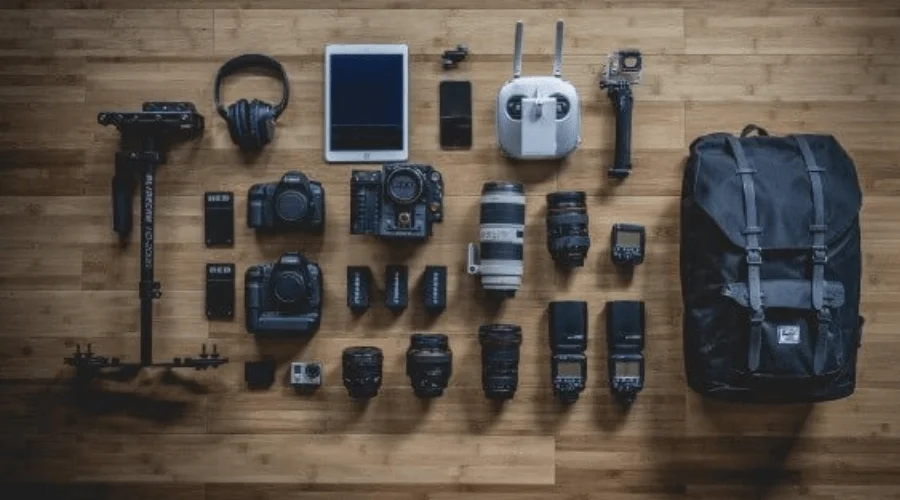
Are you looking for the best camera for photography professionals? Then you should possess a professional camera to start with. You might have been clicking photos as a hobby for a long time. Now your skill is good, and you are enthusiastic enough to make it a career goal. Or you just want to be a professional photographer.
Anyway, you will need good-quality cameras for sure. As a beginner, you can feel puzzled by the available brands. Their quality, price, and durability vary. I am here to get you out of this problem. Stay with me till the end to learn about the best professional camera for beginners.
What is the best camera, according to you? Well, it depends on the configurations you need and the brand you are looking for. I consider shooting speed, picture quality, popularity, and ergonomics of a camera to judge it. You don’t need to scratch your head anymore.
I am here to get you out of this trouble. You will find a list of cameras that most professional photographers recommend.
Let Me Tell You The 8 Best Cameras for Professionals
Sony A7R III | Best Camera for Photography
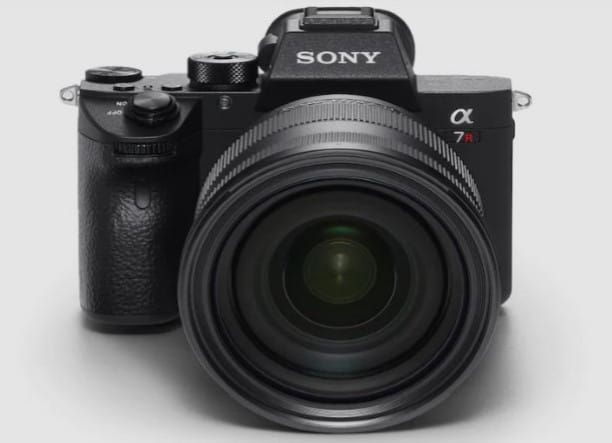
I will keep this at the top of the list of the best cameras for beginners. Let me share the things that I love about this camera. Sony A7RIII can work in poor lighting. Moreover, it has a speed of 10 frames per second.
Besides that, a default stabilizer and high-quality battery make it stand out among other cameras. In both high and minimum ISO, this camera works with a wide dynamic range.
You can shoot at night and get a surprising result. Moreover, you can publish photos with higher resolutions. I can keep on writing about all the good features it has. E.g.
The autofocusing system has 425 focus points. An articulating touchscreen to change settings, and mirrorless silence are the main features that make it best for weddings. RAW shooting will help you in post-production editing.
The ISO range of this camera is expandable, which enables it to work well even in minimal light.
Camera Type: Mirrorless
Weight: 1.4 lbs.
Recommended camera lens: Sony FE 85mm f/1.8
Lens Mount: Sony E
Sensor: Full-frame 42.4 MP
Image Stabilization: Yes
Price: $2,498.00
Pros
- Detailed images and dynamic range
- Good autofocus in frame mode
- Outstanding control
- Swivel touchscreen display with touchpad mode
- USB-charging compatibility
Cons
- Heavy-weight
- Costly
Nikon D850
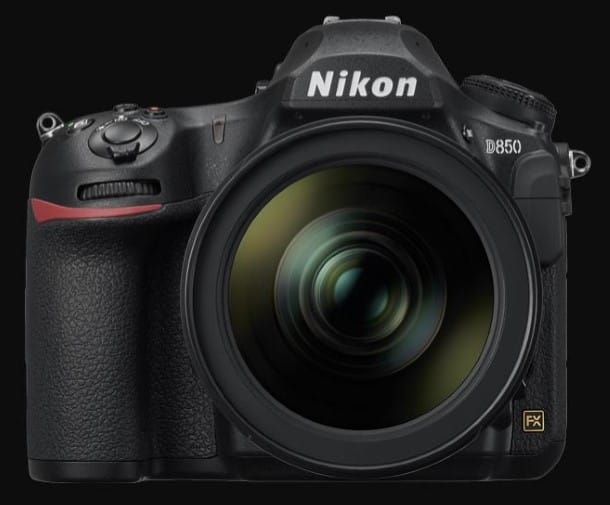
Probably, this is the best camera for photography that Nikon has ever produced. Nikon D850 has the best autofocus system in the market. Very few cameras other than the Nikon D850 have this kind of autofocus system within this price range.
With a 7 frames per second shooting speed, this camera is a dream for any professional photographer. Moreover, it has an amazing sensor and a perfectly designed ergonomic body. Nikon D850 is the best professional video camera available in the market now.
Having 45.7 megapixels, it is almost competing with the medium format resolution. In terms of videos, it does take 220fps at full HD, but it does not have any color profile at this price point. Though the autofocus for photos is fantastic, the autofocus for video is terrible.
By the way, this camera is not good for video, but it has a fantastic time-lapse mode. The Nikon D850 is very good at automatically metering, and you won’t get flicker. But, because of the 45.7 megapixels, you will get over 8K time-lapse video.
Despite the camera having a few drawbacks in the video department, you can do a lot of amazing things with this.
Pros
- Slow-motion in 8K and UHD
- Low-light high-performance.
- Flip touchscreen display
- Excellent image quality at high ISO
- Fast autofocus
- Huge optical viewfinder
- Long battery life
Cons
- Poor video performance
- Slow live View autofocus
- Poor Snapbridge
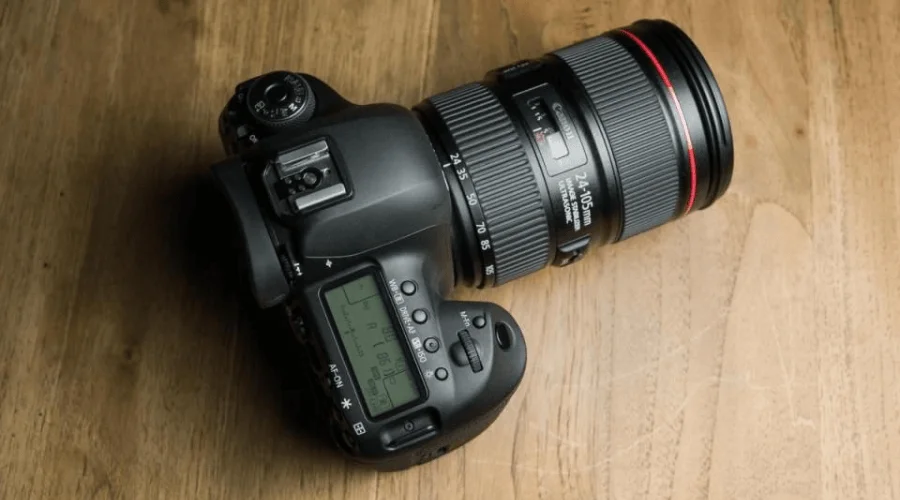
Canon EOS 5D Mark IV
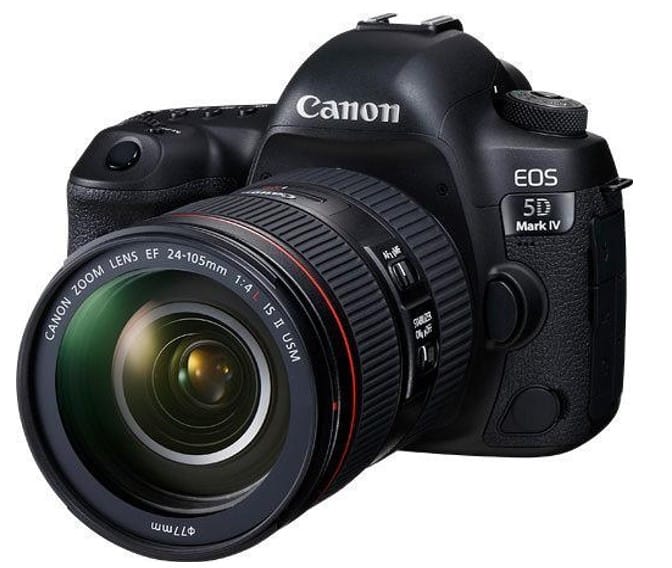
Canon is always on the list of producers of professional digital cameras. Keeping that record going, Canon has produced another variation of a professional camera. When Canon released this camera in 2016, it earned a lot of criticism from people. Because it could not live up to the really high expectations of people.
Nevertheless, now, after several years, it is one of the most popular photography cameras. 5D Mark IV targeted enthusiasts as well as professionals who want to get into photography and videography. When you hold it in your hand, it definitely feels lighter than the 5D Mark.
The first impression you will get is that its current grip and ergonomics are viable for long-time shooting. On the left side of the camera, you have a couple of connecting ports. A mic port, a headphone port, and a USB 3 port for fast tethering to transfer.
And an HDMI port as well on the right side. In terms of memory card slots, it takes a compact flash and one SD card. At the back, you have got a really large 3-inch LCD screen for nice playback as well as great viewing in the daytime. The balance at the back is super responsive, and you will get a really large wheel to set the camera aperture.
Pros
- Advanced controlled touchscreen
- Extremely sensitive and fast autofocus
- Relatively high speed of continuous shooting
- Built-in GPS receiver, WiFi/NFC module
Cons
- Lack of support
- Overly simplified video mode compared with competitors
- CFast and SD UHS-II cards are not supported
Canon EOS Rebel T7i / Canon EOS 800D
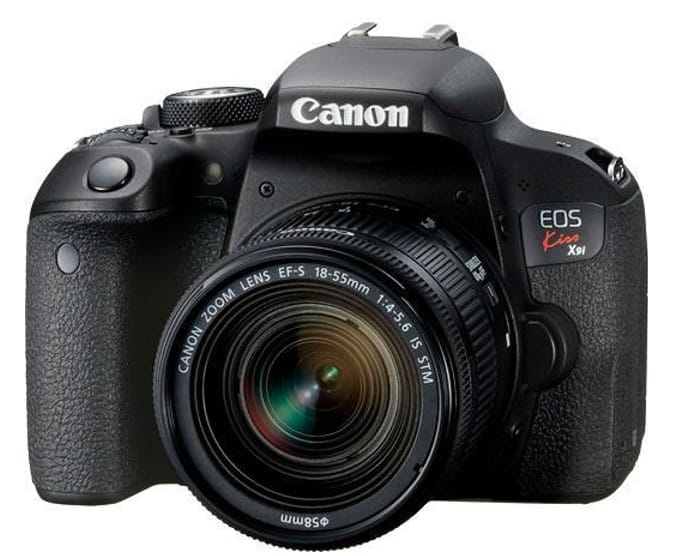
Let’s get started with the build quality of this camera. Well, if you have never used any DSLR before Canon EOS Rebel T7i might seem quite a large camera. In fact, it’s a small camera compared to most Digital DSLRs. For a beginner, it’s better to start with a light camera.
As it is a little bit smaller, more people will feel comfortable taking it out. On the top-right of the camera, you will have the main mode dial. Essentially, this is where you can change different settings as you want.
You can set whether you will shoot in automatic mode or manual mode. The build quality is definitely smaller than most DSLRs. The latest features added to this camera will give confidence to anyone. The Dual Pixel AF and swivel screen keep things simple.
Pros
- High picture standard at ISO as much as 3200
- Touchscreen display with swivel design
- 45 autofocus points when viewing live
- Screen assistant mode
Cons
- Not the largest image coverage in the viewfinder (95%)
- Can’t select the autofocusing point in the viewfinder
Fujifilm GFX 50S
Fujifilm GFX 50S is a new medium-format mirrorless camera. You will get a fixed 63-millimeter F2.8 lens that delivers standard coverage. And frankly, it’s not pretty, but certainly, it’s functional. A beautiful grip will give you the comfort to hold it.
They also have the screen on top, and that’s always on. Fuji has also decided to keep the same structure that they have on a lot of their X-series cameras. By that I mean we have got an ISO dial here on the left and you can lock it of course.
The shutter speed on the left is also lockable. Because of all these facilities, I consider this one of the best cameras for photography.
Pros
- ISO works up to 12,800
- High-quality photos in RAW and JPEG
- Detailed touch screen and function rotation
- Two memory card slots with UHS-II SDXC support
- Affordable medium-format digital camera
Cons
- Short battery life
- Continuous shooting is slow and short
Fujifilm X-T3 | Best Camera for Photography Professionals
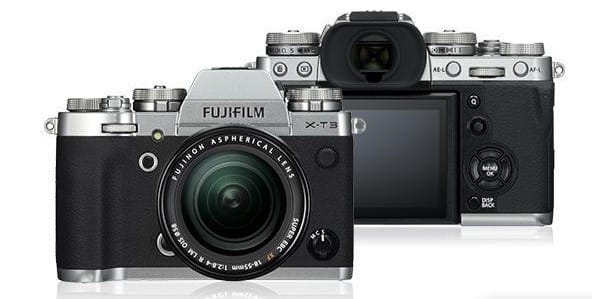
If you are fond of taking pictures with good-quality cameras, this can be your first choice for choosing the best camera for photography. I hope the Fujifilm X-T3 will definitely grab your attention for consideration as the best camera for photography. Fuji has improved the BSI sensor-based speed.
You will get the best speed among all the cameras in this class. Your photos will have very good sharpness, micro-contrast, and details.
Pros
- Up-to-date 26.1MP X-Trans CMOS 4 Sensor
- SD cards: Two slots
- In-built RAW processor
- Perfect for making videos
- Advanced X-Processor 4 Image Processor
Cons
- Imperfect battery life
- No stabilization
Hasselblad X1D-50c | First Mirrorless Medium Format Camera
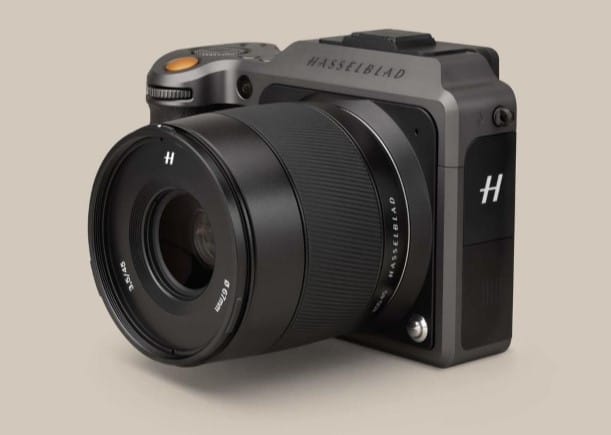
Hasselblad launched the world’s first mirrorless medium format camera in 2016. The unique selling proposition of this camera is portability. The lightness lets you hold it in your hand for a long time. You will have more mobility.
Hasselblad X1D-50c has got a 50 megapixel lens that enables you to see the nice details. You will like to look at the photos this camera takes. The manufacturer made this to take photos outside the studio. However, it is an ideal camera for studio shooting as well.
Pros
- ISO: 6400
- Slot for two SD cards UHS-II
- Dust and waterproof
- Autofocus lenses from the H series
Cons
- Super expensive
- Slow operating speed
- Viewfinder works slowly
- Video quality: not up to the mark.
Leica M10 | Best Camera for Photography
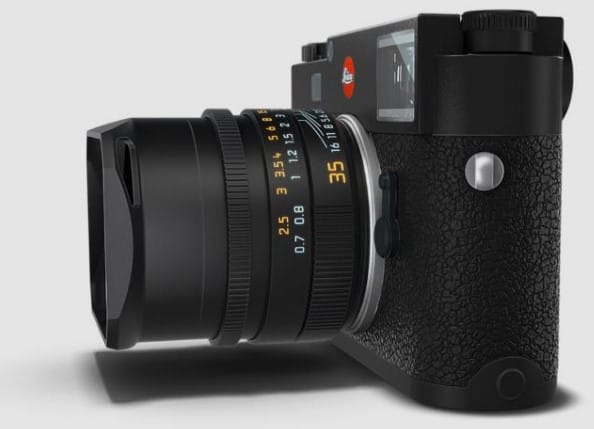
Leica has finally produced a full M series after two years. The M10 is a little bit expensive at $6500 for the body alone, but comes with a host of new things. If you have a concern about the professional camera price, then it is not the one you are looking for.
The things that it offers include image quality, wireless connectivity, and improved functionality. But at the same time, M10 brings back many old-school film camera qualities.
One thing you should keep in mind is that this camera is not the best camera for photography beginners. Shooting with M10 is a unique experience driven more by romance and nostalgia than value and performance. The focus is more on subjective qualities.
However, M10 is slimmer than the previous version from Leica. You will get the best camera body. But if you are a user of another camera or you don’t have any nostalgia for Leica, you should not go for it. Nevertheless, I can assure you of the picture quality.
Pros
- Long-lasting battery life
- High-quality rangefinder and viewfinder
- 24MP full-frame sensor
- Leica Fotos app support
- Large buffer for ongoing shooting
Cons
- Extremely high price
- Does not support video
- No electronic viewfinder
Conclusion|Best Camera for Photographers
Well, anyone can go on writing about this topic as long as they want. Because there are thousands of high-quality cameras out there. They are satisfying the minds of the buyers with updated facilities. But if you are new and thinking of starting a photography career, these cameras can be a good choice.
Check out Our Relevant Tutorials:
- Top 15+ Best Action Camera Flashlights for Professionals
- Top 15 Action Camera Protector For Photographers
FAQ | Best Camera for Photography
What should I look for in a good-quality camera for photography?
You have several things to consider the best camera for photography. Like Sensor Size, Megapixel Resolution, Brand Loyalty, Lenses, shutter speed, weight, etc.
What makes one lens “faster” than another?
A fast lens allows lots of light through the maximum aperture. As a result, you can experience a faster shutter speed. Y
ou can have an idea of shutter speed from the f-number designation on the lens. For example, the f/1.4 lens is very fast, f/2.8 is decently fast, and f/5.6 is usually slow.