Things to Consider While Choosing Photo Editing Services

Some basic but important factors to study before choosing an image editing company. Things that you should know while outsourcing your photographs to others. Hello everyone, hope you guys are doing well. I am here with another blog. At this point, I will talk about the factors you need to know if you want to outsource your photos.

Before getting started, let me ask you, “Are you thinking of outsourcing your images for the first time?” “Are you seeking for the best image editing service?” But thousands of options are getting you in trouble.

If yes, then go with this blog. Without wasting your time, let me start today’s article. We all know that business trends are changing every day. Most business houses are going online and they are keeping options for online shopping.

As a result, they need a lot of photographs to maintain their business. They need to showcase the photos of their products with an attractive look. Otherwise, they cannot grab the attention of the clients.

Moreover, professional photographers also have to outsource their images. Because they cannot handle everything alone. They also get in trouble about selecting image outsourcing companies. So, I am here to help you with this matter. Here you go.

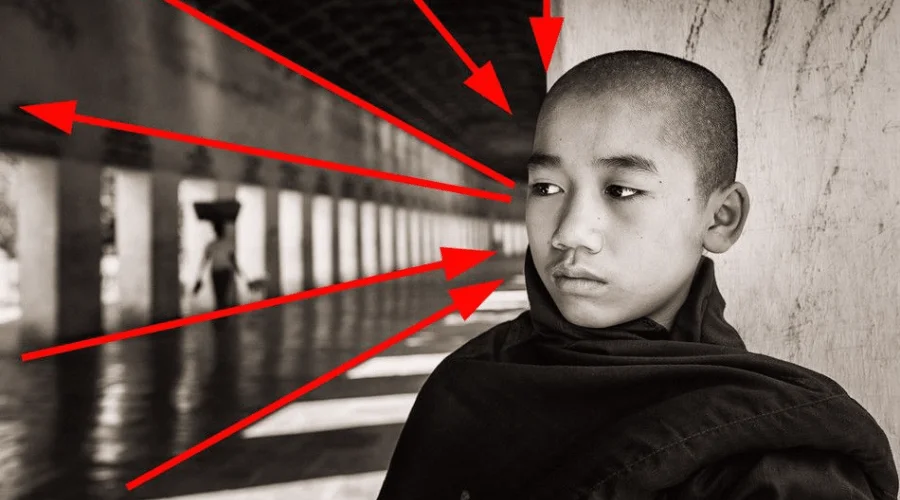
Do you need editing services? Well, this is not a rhetorical question. We can answer the question with so many facts and data. The first thing is, that photographers cannot deny the importance of image post-production editing.

In the initial part, a photographer can handle taking photos and editing them. Apart from this, there are some other reasons why you need photo editing services.

Things To Consider While Choosing Photo Editing Services

01. Experts Help

Ask the expert about your questions

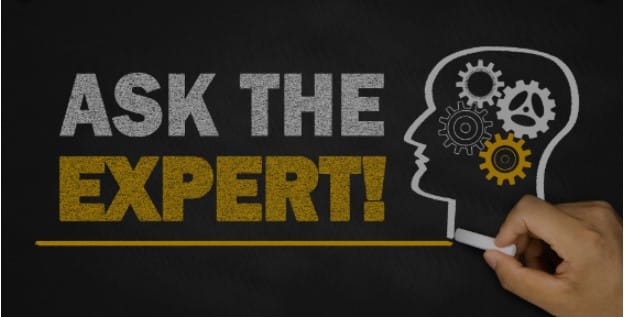
You may be passionate about photography but not editing. So let the expert do it because they can guide you about post-production photo editing services. If you take this responsibility on your shoulder it will produce a bad result.

  • Workflow: To keep the workflow you cannot perform all the tasks alone. Because later it will become an obstacle to your workflow.
  • Save Enough Time for Your Family and Business: If you don’t edit photos, it will save time. You can save enough time for your family and business.
  • Grow Your Business: To grow a business you have to work more. In that case, you should outsource the editing task to some other companies. Otherwise, your business will not grow as expected.

02. Networking

Networking

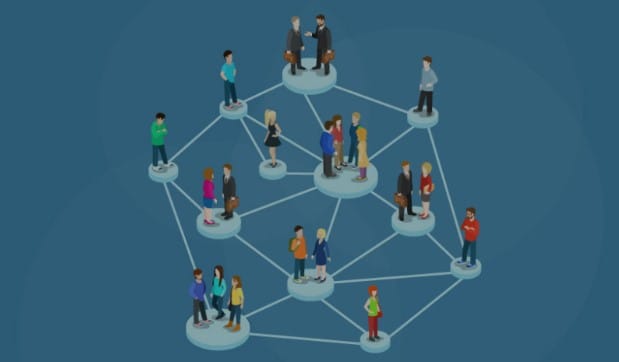
To get more work you have to build a strong network. For that, you have to give more time to that. A strong network building requires a huge effort. To ensure that effort you should search for a good image editing company. Therefore you can give more time to network building.

Through this strong network, you can find people who are doing photo editing outsourcing job work. So, these are the reasons why you need this service.

Let’s move on to the matters that you should take care of while outsourcing image editing.

Determine your needs. Selecting a random image editing company without knowing your needs will not be a good idea. If you do that you might end up having poor service. So, it is wise to determine what kind of photo editing services you need.

If you feel confused about your own needs then it’s better to consult with a possible photo editing service provider. The fact is, you cannot get all the services from one single service provider. Some may provide you with Raster image editing whereas others provide vector conversion.

Product photo editing is the strength of some companies. For example, clothing and electronics have different textures. These two types of photography require different types of expertise.

According to your needs, you can select the company. Once you are done with determining your need, collect information about the available services.

Try to know which companies are better at providing the editing you want. Make a list of potential companies you might work with. At this stage, you have to consider the things that I have discussed here in detail.

03. Browse Their Website

Browsing Google

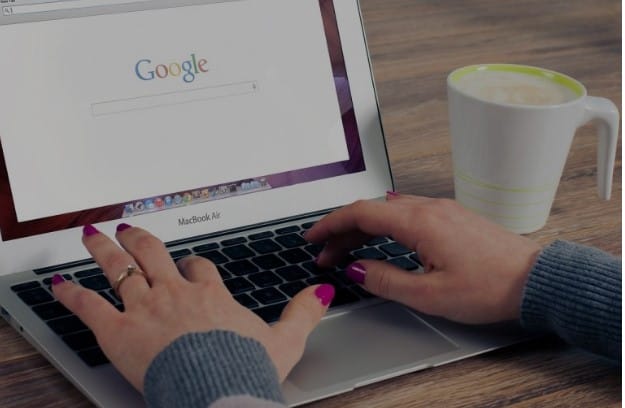
Browsing the website of any company is the primary source of getting information about it. Every website contains all the details of the services they provide.

You can get an overview of their services, pricing system, turnaround time, the capacity to process images, etc. So, before deciding on your service provider browse the websites of probable companies.

04. Customer Reviews

Customer Reviews, Choosing Photo Editing Services

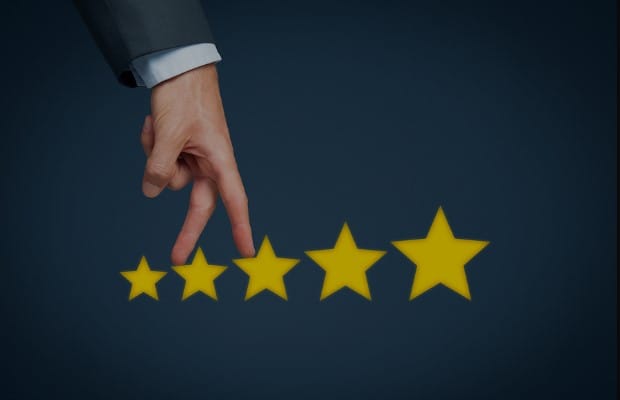
Do you know the best company that offers photography post-production services? Maybe you do, but you may not know the company that can please you. Thousands of people are opening photo editing businesses these days.

Well, if you want to know which company is doing well, read the customer reviews on their websites. Yes, you cannot depend on the mere word of mouth or buzzword. You need to check out for the real scenario.

Not only the small companies but also the renowned companies require a check. You will get an overview of their performance there in the comments. Go and check their social media platforms and read thoroughly how people are responding to them.

Nevertheless, you should contact the reviewers directly. Nowadays there are a lot of paid reviews available. If everything goes well, include them in the list of probable working partners.

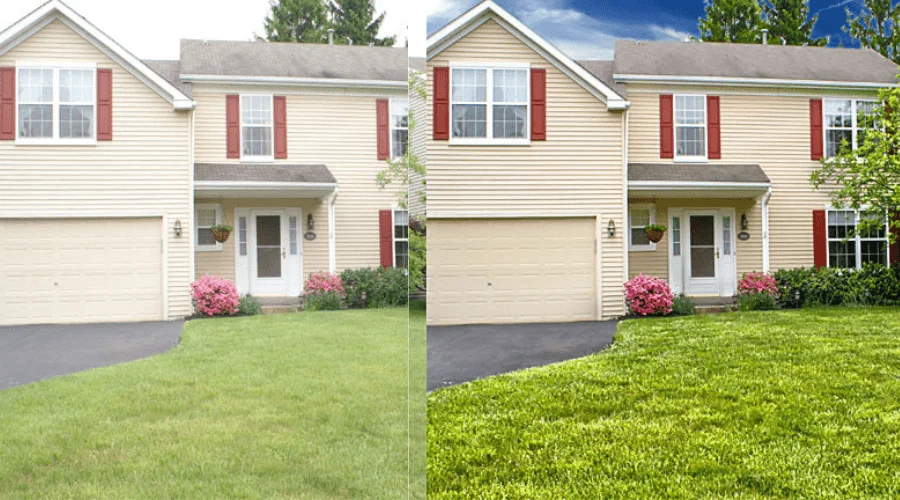
05. Sample Work and Experience

Image Manipulation Service

Now have a close look at their sample works and experience. You can have a glimpse of the quality of work from their sample works. Find their sample works on their website or social media.

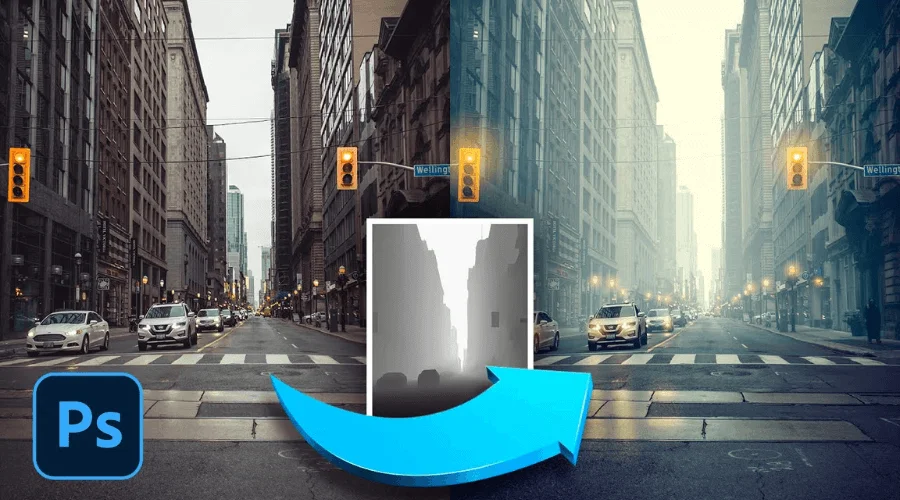
A page with before and after versions of their sample work will be there on the website. Also, figure out how many years they are in the business.

From these photos, you can guess the quality of their work. Do it carefully. Along with that, check the software they use.

A good company will always update them with time and adopt the best software. Moreover, you can go for a free trial at first. And then decide if you will work with them or not.

06. Turnaround Time
Turnaround Time

Understanding the urgency of the customer is a basic criterion for a photo editing company. They have to work according to the sharp deadlines of their customers. For instance, the Wedding photo editing Service Company has to follow the deadline strictly.

Notice if the company has a big working team. If yes, they can meet the deadline you have. They can give the output faster. Apart from that, look for a 24/7 support team. Through the support team, you can have any questions answered and share your views or suggestions.

Having a client support option is a sign of a good work ethic. Professional photo editing service providers follow the deadlines and appreciate customer suggestions. When you find a company that prioritizes customer needs, you should make it a long-term partner.

07. Security
Data Safety, Security

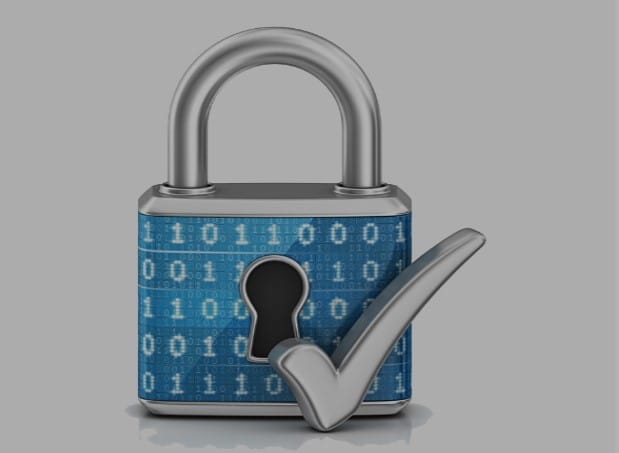
Security is a big concern for anyone. Before adopting outsourcing for professional photographers or e-commerce businesses, ensuring security is a must. The company should have a secure means of uploading and downloading images.

You should check their quality certifications. Make a nondisclosure agreement if there are any vulnerable photos of children or women.

08. Pricing
Pricing Icon

Are you thinking of saving money for your company? Well, everyone wants that. That’s why people look for something cheaper. What if you get a cheap photo editing service with quality work?

In that case, you should reject them. You can never compromise with quality if you want to grow your business.

Working with such companies may save you money momentarily, but you will lose clients eventually. While fixing a price for taking photo editing services you should keep these matters in mind.

09. Payment System
Payment System

Besides pricing you have to confirm the payment method. You should know how overseas companies handle and submit their invoices. Get all the information about the associated fees for international transfers. Never go for any unrecognized payment method.

Always stick to internationally known payment systems like PayPal, Venmo, Visa, Mastercard, etc. They ensure security through a multiple-layer security system.

10. Revisions
Revise Icon or Concept through image

When your service provider completes a project, you may not be satisfied with that. And you want the images to get checked again and have a retouch.

In this part, you can judge how the company is. They should be very friendly with revising the images multiple times. They will not ask for any extra payment for the revisions. Finding a good image editing service is not an easy task.

But if you do proper research, this can be a piece of cake. After all the points I raised above, there should not be any trouble finding an image editing service. Nevertheless, I have come up with some basic questions that can help you along the way.

Ask:

  • How much experience do they have?
  • How do their past clients rate them?
  • Do they process all kinds of image editing?
  • Do they have free trial options?
  • Is their pricing policy compatible with your budget?

Conclusion

So, before ending the article I would like to ask you “Don’t you think this is a proper way to find the best image editing service?” Well, the opinion may vary from person to person. However, you can have a clear direction towards selecting your image editing partner after reading this. Just follow the instructions I discussed. Best of luck with that. Go ahead.

Show your love

Real Estate Photography Important Tips For Beginners

Over the past decades, it has been a common phenomenon to search for everything online. Real estate photography is not something different in this regard. Thanks to the internet, now you get everything on one platform.

Well, do you know that real estate photography is not as simple as it seems? You might get embarrassed if you are not well prepared. You cannot ignore the fact that the better prepared you are, the more efficient your result will be.

I know you don’t want to make silly mistakes as a beginner. To help you out in this matter, I have come up with some important tips for beginners. Without further ado, let’s get down the business.

Real Estate Photography | Essential Tips for Beginners

Selling a house? High-quality photos are key to attracting buyers. This guide gives new real estate photographers essential tips to capture bright, clear, and inviting images.

01. Pick An Accurate Time

Pick An Accurate Time, Real Estate Photography

One thing where the real estate photographers get messed up is the timing of photo shoots. Selecting a perfect time for shooting is important. It may look okay to shoot real estate photos at any time of the daytime. But to take advantage of natural light, pick the time according to the weather conditions.

Try to avoid cloudy days for shooting. Choose the time that will be perfect for your photo. Ask your clients about their preferences.

Some people prefer sunset while others may love the bright sun above the structure. So, make sure the shooting time is suitable for the customer’s demand.

My suggestion to you would be to keep the house in front if you are shooting during sunset. This angle will give better lighting for your photo shoot. The point is, that you cannot deny the fact that natural light is significant in shooting architectural structures. So, while going to shoot real estate properties, try to use the natural light as much as possible.

02. Visit the Property Before Shooting

Visit the Property Before Shooting

Before starting the shooting, visit the house at least once. And take some preliminary photos to know in detail about the rooms, the façade, back yard, etc. Don’t make haste if you want a better result. Some newcomer photographers start shooting on their first visit.

As a result, the whole property comes to them as a surprise. This results in bad-quality photography. That’s why I think it is one of the crucial tips for beginners they visit the house beforehand. However, when you have some initial photos of the house, make sure you don’t forget to analyze each of the photos. Securitize all the shots carefully.

This will help you focus on the small things you could have missed at first glance. After finishing this you should get ready for the final shoot.

03. Set Creative Angles

Set Creative Angles, Real Estate Photography

Some things are beyond the limit of photography tips. In that case, you have to be creative. For instance, Camera angles. In this type of photography, angles play a crucial role. Don’t get cliché while choosing the right angle. Brainstorm and find out some innovative angles for shooting the interior.

Try to do something that most photographers do not do. If you are shooting a room. You can take the photo from the door. It will let you focus on the maximum part of the interior.

Thus, you can show the entire room and the spaces inside it. The same idea goes for exterior shooting. You have to apply your creativity to the maximum level. Only then can you hope for a better output.

04. Let the Light Come

Let the Light Come

Everyone has to admit that there is no alternative to natural light. The sunlight is irreplaceable. So, when you are going to shoot, make sure that there is enough light inside the house. You can open the blinds and windows. To enhance the effect of natural light, use reflectors and LED panels.

Natural light makes the photos look more realistic. Clients can have a clear idea about the actual look of the house. You can easily highlight the small details. Metals and small artistic features of the furniture will not go unnoticed.

05. Switch the Lights On or Off

Switch the Lights On or Off

I don’t know if you will agree with me or not, but in my opinion, a house without lights looks haunting. If you take shots without lights, the same thing can happen to your photograph. Not only this, but the lights prove that everything in this house is functioning, and it is livable.

This is very primary advice that you should switch the lights on before shooting. This will make things lively. You can give your photograph a luxurious look with additional light. Well, it is another way to look at it.

You can use different techniques of switching on and off to get different effects. If you want to give your pictures an impassive look, then go for turning the lights off. Your objective will determine whether you should turn on the lights or not. However, you have to remember the light temperature correction during editing.

06. Color Temperature Fixing

Color Temperature Fixing

No matter how perfectly you take shots, if your color temperature is wrong, this will ruin your photo. A wrong color temperature hits the eye at first glance. And it creates a bad impression. Image quality can be hampered by many factors. Wrong color temperature is one of them.

You should know how to fix the light temperature. As a new photographer, if you haven’t yet learned it, do so as soon as possible. For example, if you are shooting in a bathroom, there can be an unpleasant yellow tint from the reflection of artificial lights.

To remove this, just move the orange or yellow slider as long as it doesn’t turn plain white. It occurs because of the combination of LED, halogen, or CFL lamps with natural light.

07. Choose the Right Camera

Choose the Right Camera for Real Estate Photography

You cannot use the same camera for different kinds of shooting. The same camera for every kind of shoot might work as a rescue, but it is not a good option. Especially in shooting real estate properties, you need a specialized camera. I would suggest you go for a full-frame camera. The full-frame camera can cope with a lot of light, whereas the cropped sensor is not able to do so.

Yes, I agree that for a new photographer, it might not be possible to buy spare cameras. If this is the case, then go for the interchangeable lens camera. Thus, you can turn your ordinary camera into a perfect one for real estate shooting.

08. Have Enough Accessories

Have Enough Accessories

Little things can turn into an Achilles’ heel for you. I am talking about photo shooting accessories. You should always keep in mind that the importance of accessories is not to be taken lightly.

For instance, keep some extra batteries. When your regular batteries will go dead in the workplace, then you will need them. No matter if you use them often or not, keep some extra batteries in your bag.

Moreover, you might need a sandbag to give support to your light stands or umbrella. Another important tool is a small step ladder that you can move from here to there with one hand. Along with these, be careful about some other accessories.

Such as white-balancing tools, spare memory cards or hard disks, cleaning kits, tripods, etc. Any problem related to these things can cause a waste of time and unnecessary trouble. Consequently, your client can get dissatisfied. So keep that in mind. You can prepare the camera gear the night before shooting.

09. Fix a Reasonable Price

Fix a Reasonable Price

It is a bit confusing for the newcomer real estate photographer when it comes to real estate photography pricing. This is a huge field of work and is considered one of the highest-paid jobs.

So, when setting prices, consider these factors. Study the real estate photography business first. Take the information about the current real estate photographers and compare your work with their work. Then come to a concluding amount that you will charge.

10. Camera, Lenses, and Other Settings

Best Camera for Real Estate Photography

You already know many things from the tips I shared about clicking real estate photos. Now it’s time to get some camera-related tips. Well, when it comes to camera, it covers many things, such as the camera settings, lenses, flash, tripod, shutter speed, aperture, and filters. Let’s start with that.

A. Wide-angle Lenses

You should use wide-angle lenses. Because as a real estate photographer, you have to take shots from different angles of the object to cover as much space as possible. A wide-angle lens will help you to do this perfectly. It will help you to visualize the room larger than the reality.

B. Using Flash

Usually, we see that the standard flashes are not that strong. These are not compatible with taking professional images. They cannot highlight important details. You should add some external flashes to your camera toolkit.

C. Using A Tripod

Using a tripod can make your tasks easier. It is a vital part of real estate photography equipment. In low light, you need a tripod to avoid the blurry look and get good, sharpness. Camera height is crucial for shooting both inside and outside. A tripod can help determine the camera height.

D. Polarizing Filters

These usually fit in front of the lenses. It darkens the skies, helps cope with reflections, and overpowers the brightness from the lake or sea surfaces. Make sure the filter you use is a circular polarizing filter. Use it by taking the filter off around 50% to 75% of the light.

E. Aperture Setting and Shutter Speed

Shallow depth is good for focusing on some objects. Otherwise, f/7.1 to f/9 is a standard aperture value. The normal shutter speed should be between 1/60 and ½ a second. The amount of light in the room will determine the value.

F. ISO Settings

Too much ISO value can make your photography full of noise, similarly normal ISO value can make it eye-soothing. To make the best use of the ISO value, you should experiment with your camera and find out the perfect value. Just remember one thing: a higher shutter speed requires a higher ISO value.

G. Managing White Balance

White balance removes the unpleasant color cast in photography. To make a proper balance of this, you have to consider the color temperature and the light source. To avoid the gloomy look of the house, it is important to care about the real estate photography white balance.

11. Lighting

Real Estate Photo Editing Services

Well, believe it or not, wrong use of light can make your real estate photos spooky. If you want to give the objects a lively look, then make the best use of light. It’s not that easy to shoot some empty rooms. Only the proper use of light can make them lively.

The homebuyers will be attracted to the property if the image gives enough view of the property. Some common lighting challenges that professional photographers face are:

  • Placing the interior lights in the right place
  • Confusing the window light with the interior lights.
  • Use the same technique for bathrooms, living rooms, or kitchens.

To get you out of these problems, I have come up with some simple tricks here. In the future, we can discuss these facts in detail, but here, get a glimpse of the tricks.

  • Make the best use of existing lights.
  • Use multiple wireless flashes.
  • Set a suitable time.
  • Use high and dynamic range.
  • Use bounced fill flash.

12. Use Props

Use Props, Real Estate Photography

Keep a fruit basket on the table along with a bouquet while shooting in the dining hall. Do not use multiple colors. Go for single-color fruits and flowers. Keep clutter and the trash bin out of the frame.

13. Composition

Composition

Any form of art requires a touch of composition to make it classy. It encompasses the whole idea of photography. From shooting to editing. The term composition is described differently by different people. To some people, photography composition aims at making photography more aesthetic, pleasing, and gratifying.

However, the intention of the composition may vary according to the needs of the photographer. The same assumption goes for real estate photography composition. Depending on the customer’s need, a photographer accomplishes their composition of real estate images.

14. Take Photo Editing Services

Real Estate Photo Editing Services Provider

The photography business is increasing day by day, and the photographers are getting busier. As a beginner, you may get less amount of work but get ready for tons of orders shortly if you do well. As a result, you will not get enough time to edit your photos.

In that case, you can take photo editing services. They will help you to get the final photo you need. It will cost you between $2-$10. There are numerous simple to advanced-level techniques to edit images. You can choose any option you want.

15. Make A Quick Turnaround

Real Estate Photo Editing Tips

Your aim should always be to make your clients delighted with the services. One of the ways to make the clients delighted is to make a quick turnaround. Make sure you don’t miss the deadline. Always try to deliver before the deadline.

Don’t Miss Out

Conclusion | Real Estate Photography

Well, I am at the end of this article. Hope this has been a helpful one for you, isn’t it? Before wrapping it up, I would like to remind you that you need to be consistent in this field. Be creative in thinking, never rush, and try to make the best use of what you have.

If you want to be a professional real estate photographer, I hope these tips can be helpful. Wishing you luck as a beginner in this world of photography.

Show your love

How to Shoot the Best Interior Photos

How To Shoot Best Interior Photos

How to shoot the best interior photos is one of the most common questions photographers ask when they see stunning images in real estate magazines. Those perfectly lit rooms, balanced compositions, and elegant interiors often look impossible to recreate, especially for beginners.

Many photographers believe that interior photography is far more difficult than exterior photography — and they are absolutely right. Shooting interiors requires greater control over lighting, careful composition, accurate color balance, and a strong understanding of space.

If you’ve ever struggled with mixed lighting, distorted walls, cluttered rooms, or flat-looking interior images, this guide will help you. In this article, you’ll learn how to shoot the best interior photos using professional techniques applied by real estate and interior photographers worldwide.

By the end of this guide, you’ll know how to:

  • Control natural and artificial light indoors
  • Choose the right lens and camera settings
  • Create depth and balance in small spaces
  • Capture both wide shots and interior details
  • Edit interior photos for professional results

What Is Interior Photography?

Interior photography is the art of capturing rooms, kitchens, bathrooms, and all indoor spaces of a property in a visually appealing and accurate way. Although it is a part of real estate photography, interior photography requires more precision, patience, and technical control than exterior shots.

Interior shoots focus on:

  • Design
  • Space flow
  • Lighting balance
  • Materials & details

Unlike exterior photography, interiors challenge photographers with mixed lighting, limited space, and depth control.

How to Shoot the Best Interior Photos (Step-by-Step Guide)

1. Plan Everything Before the Shoot

Interior Photography

Before touching your camera, start with communication.

Talk to your client and ask:

  • Which rooms are the priority?
  • What design elements should be highlighted?
  • Where will the photos be used? (property listing, website, brochure, magazine)

If possible, visit the property before the shoot. This allows you to:

  • Understand the room layout
  • Identify clutter or distractions
  • Find strong focal points
  • Observe how natural light enters the space

Pay attention to the orientation of the building. Knowing where sunlight comes from helps you decide the best shooting time and angle for each room. Make a checklist of important design details so you don’t miss anything during the shoot.

2. Use Natural Light Whenever Possible

Use natural light in photography

Lighting is the most important factor in interior photography.

The best interior photos rely heavily on natural light. Cameras do not process light the way our eyes do, so natural lighting helps maintain realism and balance.

Best practices:

  • Shoot during midday, when sunlight is evenly spread
  • Avoid early morning or late afternoon light that creates harsh shadows
  • Turn all interior lights OFF to avoid mixed color temperatures
  • Use flash only to fill shadows or dark corners

Before using flash, test it on walls or ceilings to ensure it doesn’t cause reflections or hotspots. Natural light creates clean, professional-looking interior photos that buyers trust.

3. Avoid Going Too Wide With Your Lens

Wide angles in photography

Many photographers believe wide-angle lenses always work best for interiors. This is a common misconception. While wide lenses are useful in real estate photography, interior photography focuses on design accuracy, not exaggerated space.

Problems with ultra-wide lenses:

  • Distorted furniture
  • Curved walls
  • Unrealistic room proportions

The recommended focal length is 24mm (full-frame equivalent). This gives a natural perspective while maintaining accuracy.

If space allows:

  • Step back
  • Use a tighter lens
  • Reduce distortion
  • Maintain realistic proportions

4. Master Interior Photography Composition

Photographic Composition, How To Shoot Best Interior Photos

Composition is the foundation of strong interior photography. Your camera cannot decide composition—you must.

Good composition includes:

  • Balanced framing
  • Clear subject focus
  • Visual flow
  • Depth and layering

Key composition techniques:

  • Rule of thirds
  • Symmetry
  • Leading lines
  • Framing with doors or furniture
  • Foreground-to-background depth

Interior photos are not just documents. They are visual experiences. Your goal is to guide the viewer’s eye naturally through the space.

Remember: There is no single fixed rule. If the image looks balanced and engaging, the composition works.

5. Use Layers in Post-Processing

Layers in Photoshop

Editing interior photos using layers gives you flexibility and control.

Benefits:

  • Non-destructive editing
  • Edit specific areas only
  • Maintain original image quality
  • Adjust exposure, highlights, and shadows selectively

This approach is especially useful for:

  • Window balancing
  • Shadow recovery
  • Color correction

6. Create Depth in Interior Photography

Depth in Interior Photography

Depth adds luxury and realism to interior images.

Recommended settings:

  • Aperture range: f/8 – f/16
  • Use a lower f-stop selectively for depth separation

Ask yourself:

“Does anything distract the viewer’s eye?”

If yes, adjust composition or depth.

7. Always Shoot in RAW Format

RAW image format

RAW files preserve maximum image data.

Benefits:

  • Better white balance control
  • Improved highlight & shadow recovery
  • Higher editing flexibility
  • Professional-grade results

Shooting JPEG limits your post-production potential.

08. Remove All Visual Clutter

Clutter in photography, How to Shoot Interior Photos

Clutter ruins professional interior photos.

Before shooting:

  • Remove unnecessary objects
  • Align furniture
  • Clean surfaces
  • Hide personal items

If needed, guide your client — they hired you for your expertise.

09. Capture Vignettes & Detail Shots

Use vignette and detail

Interior photography isn’t only about wide shots.

Include:

  • Detail shots
  • Textures
  • Materials
  • Decorative elements

These images:

  • Add storytelling depth
  • Strengthen marketing impact
  • Appeal to designers, architects, and builders

10. Make Physical Room to Shoot

Interior Photography

Small spaces like bathrooms and kitchens can be challenging.

If needed:

  • Move plants
  • Shift furniture
  • Adjust décor temporarily
  • Create space for your tripod

Avoid extremely wide lenses. Making physical space helps maintain realistic proportions.

11. Use Exposure Bracketing

Bracket in photography

Interior scenes often have bright windows and dark interiors.

Solution: Exposure bracketing

Shoot:

  1. Normal exposure
  2. Underexposed
  3. Overexposed

Blend these images during editing for balanced lighting.

12. Perfect Your White Balance

white balance in photography

White balance affects the mood and realism of interior photos.

Best practices:

  • Use a color checker card
  • Adjust white balance in RAW processing
  • Maintain consistency across all images

Correct white balance prevents unnatural color casts.

13. Post-Production Editing

post-production editing

Editing is essential in interior photography.

Common editing steps include:

  • Exposure blending
  • Color correction
  • Perspective correction
  • Noise reduction
  • Final sharpening

If editing becomes overwhelming, outsourcing can help maintain quality and consistency.

Frequently Asked Questions

What is interior photography?

Interior photography is the professional capture of indoor spaces to showcase design, layout, and atmosphere.

What lens is best for interior photography?

A 24mm lens is ideal for interior photography because it balances realism and space.

Should lights be on or off for interior photography?

Lights should usually be off when shooting with natural light to avoid mixed color temperatures.

What aperture is best for interior photography?

An aperture between f/8 and f/16 is best for sharp interior photos.

Conclusion: How to Shoot the Best Interior Photos

Interior photography is a combination of technical knowledge, creative vision, and careful execution.

Great results come from:

  • Controlled lighting
  • Thoughtful composition
  • Accurate depth
  • Clean styling
  • Professional editing

When you master these techniques, you can consistently shoot the best interior photos that stand out in real estate listings, portfolios, and publications.

Show your love