The mobile app development process is a structured approach to planning, designing, building, testing, and launching high-quality apps. In 2026, it emphasizes AI integration, cross-platform development, and user-centered design to create scalable, competitive products while reducing risk and development costs.
What is the Mobile App Development Process?
The mobile app development process is a series of steps to design, build, test, launch, and maintain an app. It combines technical work, smart planning, and creativity to turn an idea into a working app for smartphones and tablets.
Types of Mobile Apps
There are three main types of mobile apps:
- Native apps – Made for just one platform, like iOS or Android, using the platform’s own coding language for the best performance.
- Hybrid apps – Built using cross-platform frameworks like Flutter or React Native, these apps run on both iOS and Android with a single codebase.
- Web apps – run in a mobile browser instead of being downloaded from an app store.
Each type has its own advantages and disadvantages. No matter which type you choose, the steps to develop it are usually the same.
Knowing the types of apps is just the beginning. To create an app that users love, you first need to ensure your idea solves a real problem. Let’s start with ideation and market research—the foundation of every successful app.
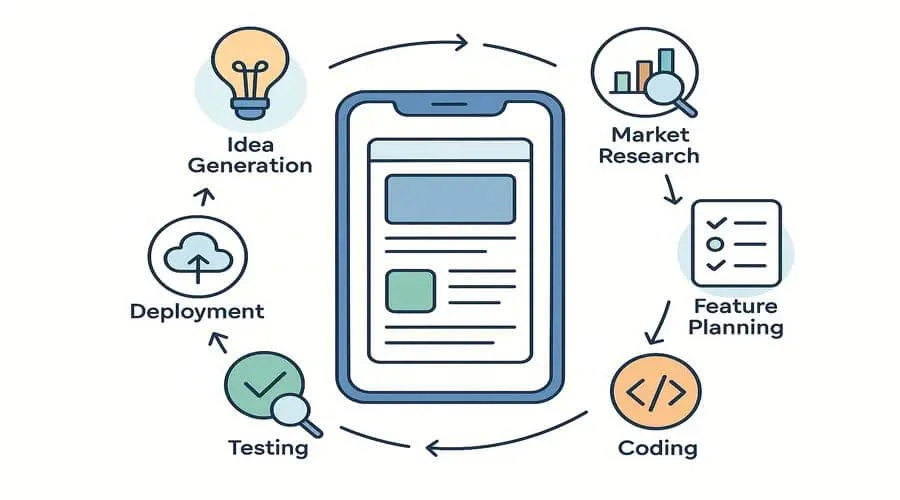
Mobile App Development Process: Step-by-Step
Creating a mobile app takes several important steps, each helping to turn your idea into an app that people will enjoy using. Let’s explore these steps in detail. For a faster overview, check out our Mobile App Development Quick Guide — perfect if you want to see all the steps at a glance.
Step 1: Ideation and Market Research

Every successful app starts with a strong idea — but not all ideas are worth building. That’s why market research is the foundation of the development process.
Start by pinpointing the challenge your app aims to fix. Consider asking yourself:
- Is this a real problem people are facing?
- Are there existing apps solving it?
- If yes, can mine do it better?
Next, study your competitors. Look at their app features, design, user reviews, and pricing. Tools like Google Trends, App Annie, and Statista can help you understand demand, track trends, and find gaps in the market.
Finally, understand your target audience. Who will use your app? What devices do they prefer? What kind of experience or features would make them choose and enjoy your app? Creating user personas — a clear picture of your ideal users — will guide your design and development decisions.
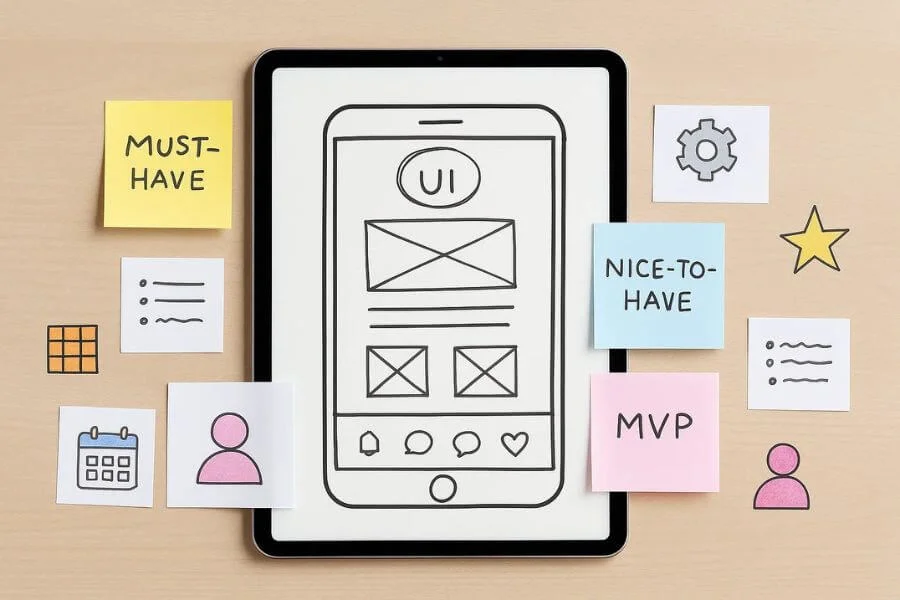
Step 2: Define Features and Functionalities
With your research done, it’s time to define your app’s core features. This is a crucial step that shapes the scope of your project, timeline, and budget.
Avoid the trap of trying to do everything at once. Focus on creating a Minimum Viable Product (MVP) — a stripped-down version of the app that delivers just enough functionality to solve the core problem and collect user feedback.
Create a list of must-have features (essential to your app’s purpose) and nice-to-have features (those that can be added later in future updates).
Also, build simple user stories like: “As a user, I want to receive reminders about my medication so I can stay consistent.” These stories help guide the UX flow and make sure each feature has real user value.
Step 3: Choosing the Right Tech Stack
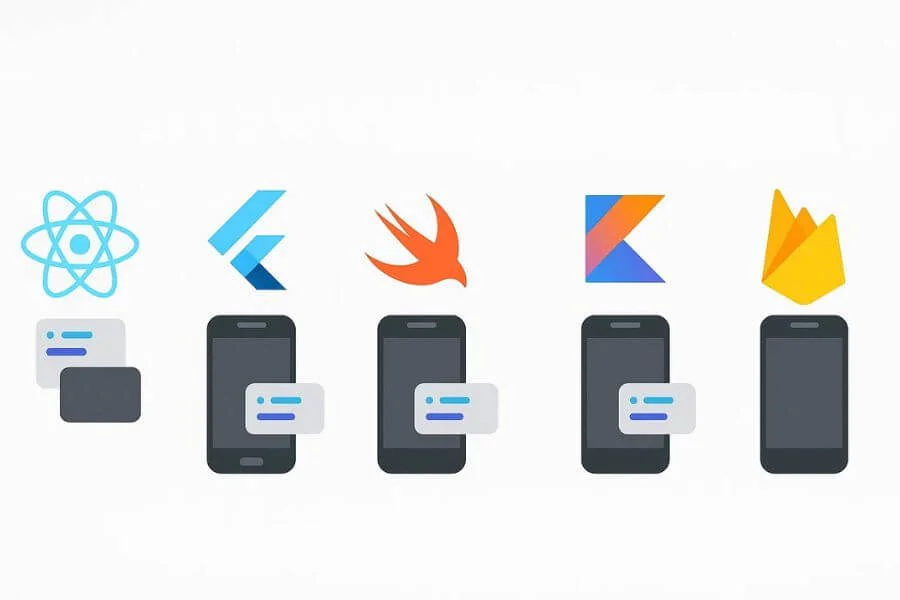
Your tech stack is the combination of programming languages, tools, and frameworks you use to create your app. Picking the right one early is important because it affects your app’s speed, performance, and ability to grow.
For example, if you’re developing a native iOS app, Swift would be the go-to language. For Android, you’d use Kotlin. If you’re targeting both platforms but want to save time and resources, cross-platform tools like Flutter or React Native may be ideal.
Don’t forget the backend, the part of your app that runs on the server and handles data, authentication, and other behind-the-scenes functions. Depending on your app’s complexity, you might use Node.js, Django, or Firebase for things like databases and user authentication.
Your tech choices will affect hiring, development time, and future updates, so choose carefully to make your app efficient and scalable.
Step 4: UI/UX Design
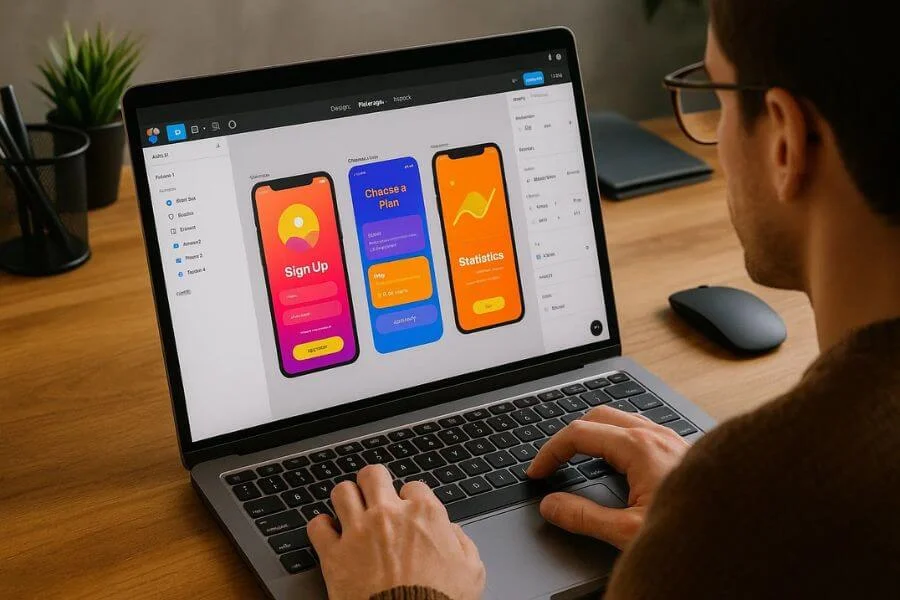
Great app design isn’t just about appearance — it’s about creating an experience that’s easy, enjoyable, and keeps users coming back while strengthening your brand.
The design phase typically starts with wireframes, which are simple sketches of each screen to establish layout and flow. Then, designers build interactive prototypes using tools like Figma, Adobe XD, or Sketch to simulate the user experience.
Keep these key design principles in mind:
- Ensure clarity in navigation and content
- Maintain consistency across screens
- Design for accessibility (e.g., readable fonts, color contrast)
User testing at this stage helps validate your design choices before development begins. Feedback from real users will reveal pain points and usability issues early.
Step 5: Mobile App Development (Frontend + Backend)

Now it’s time to bring the design to life with code.
Mobile app development usually happens in two layers:
- The frontend, which is the part users interact with — buttons, screens, animations
- The backend, which handles data, authentication, servers, and integrations
Most professional teams follow the Agile methodology, breaking the development process into short sprints that deliver specific features on a weekly or bi-weekly basis. This allows continuous iteration and feedback without waiting until the very end.
Use tools like Git or Bitbucket for version control, and test your code regularly to make sure the app works smoothly from the start.
Step 6: Testing and Quality Assurance
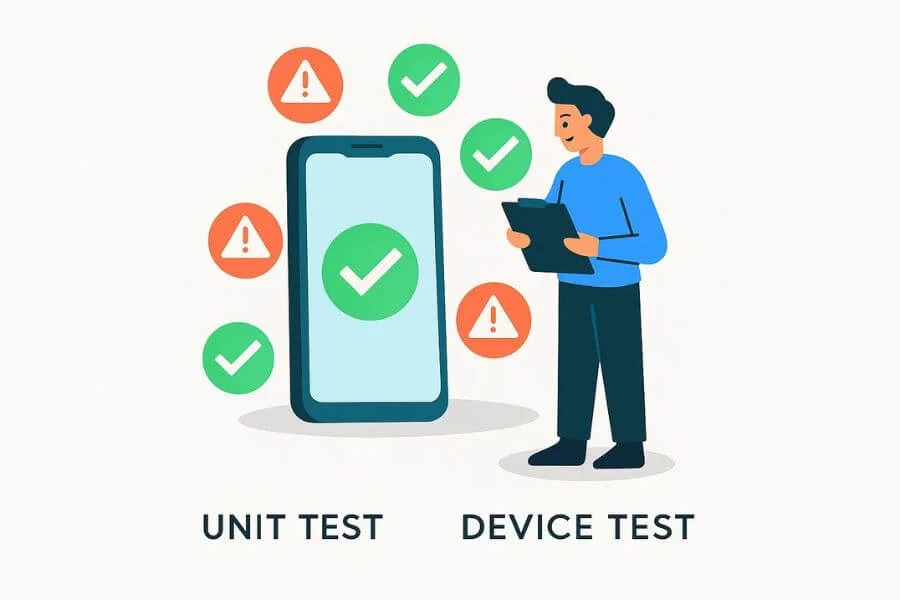
Even the most well-coded app can fail if it hasn’t been tested properly.
Your testing process should include:
- Unit testing (checking individual components)
- UI testing (ensuring the interface behaves as expected)
- Integration testing (verifying modules work together)
- Device testing (to confirm compatibility with various screen sizes and OS versions)
Also, don’t overlook performance testing to ensure the app loads quickly, handles data smoothly, and performs under pressure. Use tools like Appium, TestFlight (for iOS), and Firebase Test Lab to run thorough QA checks and catch issues early.
Step 7: Deployment and Launch
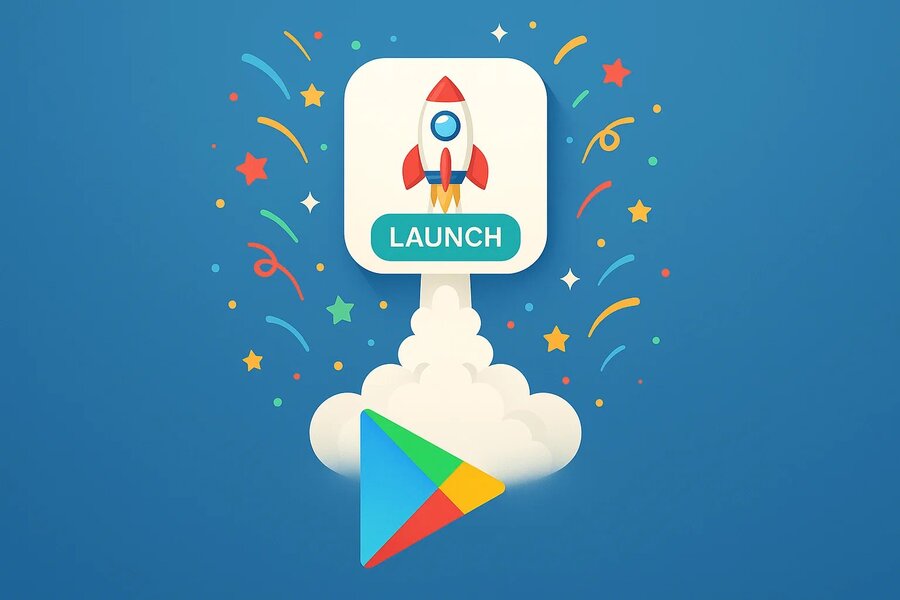
After thorough testing ensures your app is stable and user-friendly, the next step is deployment. Launching your app isn’t just pressing ‘publish’—it’s about carefully introducing it to the market for maximum impact.
For Android, upload your app package (APK or AAB) to the Google Play Console for review and publishing. Google’s review process typically takes a few hours to a couple of days.
For iOS, use Xcode to submit your app to the App Store via the Apple Developer Console. Apple reviews are often more stringent and can take longer.
For app store optimization (ASO), see resources like Apple’s App Store Guidelines and Google Play Console Help. These help you ensure your app meets store requirements and reaches the right audience.
To optimize your app store listing:
- Write a clear and compelling app description
- Use relevant keywords for app store optimization (ASO)
- Include high-resolution screenshots and a video preview
- Choose a simple, recognizable app icon
Consider a soft launch to a limited audience before going fully public. This allows you to fix last-minute issues based on real-world usage.
Step 8: Post-Launch Monitoring and Updates
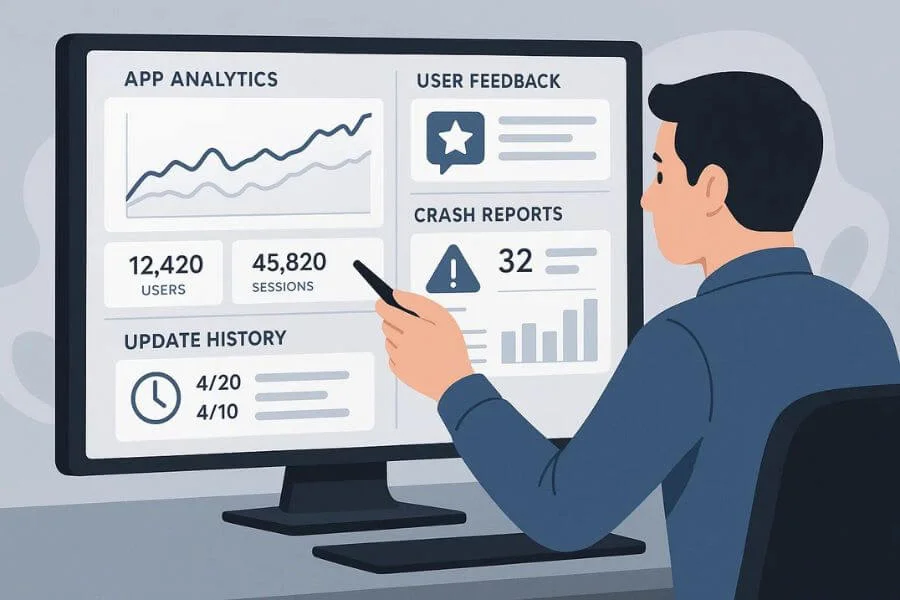
The app launch isn’t the end — it’s just the beginning of the real work.
Monitor your app’s performance using analytics platforms like Firebase, Mixpanel, or Amplitude. Keep an eye on important metrics like how often users return, how many are active, app crashes, and user activity within the app.
Listen to user feedback from reviews and support messages, and respond promptly to improve their experience. Prioritize bug fixes and plan regular updates to improve features and add functionality over time.
Building a loyal user base depends on your ability to listen and improve — consistently.
FAQs About the Mobile App Development Process
How long does mobile app development take?
It depends on the app’s complexity. A simple MVP can take 2–4 months, medium complexity apps 4–6 months, and advanced apps with custom features 6–12 months or more.
What is the cost of developing a mobile app?
Costs vary based on complexity, platform, and features. Simple apps may cost a few thousand dollars, while advanced apps with multiple features can cost much more.
Should I start with iOS or Android?
Choose iOS if your audience is mainly in North America or Western Europe and monetization is a priority. Choose Android for a broader global reach and more flexibility.
Should I hire a freelancer or a development agency?
Freelancers are ideal for smaller budgets and quicker projects. Agencies are better for complex apps requiring full-service teams and long-term support.
Final Thoughts: Navigating Your App Journey Successfully
Developing an app in 2026 comes with exciting opportunities like AI features, personalized experiences, and cross-platform accessibility. By following these clear, step-by-step phases, you can turn your idea into a competitive, future-ready app that users truly enjoy.
From testing your idea and designing an intuitive experience to launching on app stores and building a loyal user base, every stage contributes to your app’s success. Stay adaptable, learn from user feedback, and keep improving your app to create a strong, valuable digital product. Or partner with a trusted team — explore our mobile app development services.