How to shoot the best interior photos is one of the most common questions photographers ask when they see stunning images in real estate magazines. Those perfectly lit rooms, balanced compositions, and elegant interiors often look impossible to recreate, especially for beginners.
Many photographers believe that interior photography is far more difficult than exterior photography — and they are absolutely right. Shooting interiors requires greater control over lighting, careful composition, accurate color balance, and a strong understanding of space.
If you’ve ever struggled with mixed lighting, distorted walls, cluttered rooms, or flat-looking interior images, this guide will help you. In this article, you’ll learn how to shoot the best interior photos using professional techniques applied by real estate and interior photographers worldwide.
By the end of this guide, you’ll know how to:
- Control natural and artificial light indoors
- Choose the right lens and camera settings
- Create depth and balance in small spaces
- Capture both wide shots and interior details
- Edit interior photos for professional results
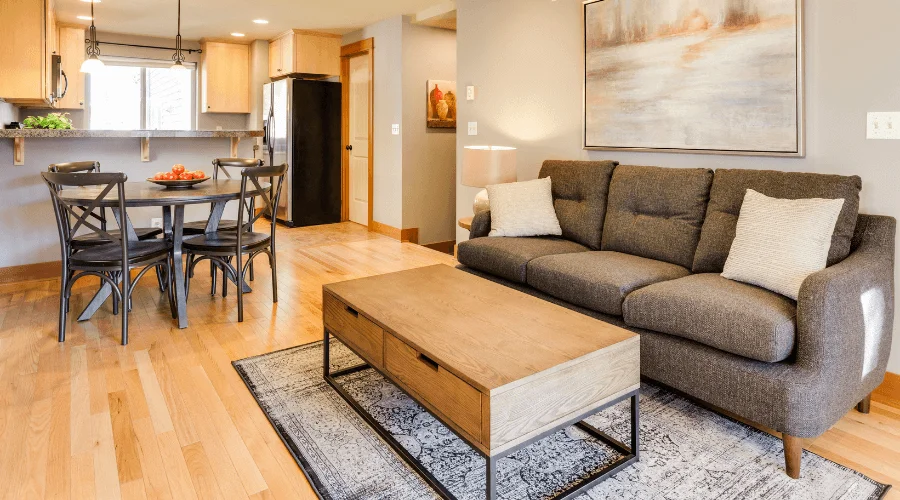
What Is Interior Photography?
Interior photography is the art of capturing rooms, kitchens, bathrooms, and all indoor spaces of a property in a visually appealing and accurate way. Although it is a part of real estate photography, interior photography requires more precision, patience, and technical control than exterior shots.
Interior shoots focus on:
- Design
- Space flow
- Lighting balance
- Materials & details
Unlike exterior photography, interiors challenge photographers with mixed lighting, limited space, and depth control.
How to Shoot the Best Interior Photos (Step-by-Step Guide)
1. Plan Everything Before the Shoot
Before touching your camera, start with communication.
Talk to your client and ask:
- Which rooms are the priority?
- What design elements should be highlighted?
- Where will the photos be used? (property listing, website, brochure, magazine)
If possible, visit the property before the shoot. This allows you to:
- Understand the room layout
- Identify clutter or distractions
- Find strong focal points
- Observe how natural light enters the space
Pay attention to the orientation of the building. Knowing where sunlight comes from helps you decide the best shooting time and angle for each room. Make a checklist of important design details so you don’t miss anything during the shoot.
2. Use Natural Light Whenever Possible

Lighting is the most important factor in interior photography.
The best interior photos rely heavily on natural light. Cameras do not process light the way our eyes do, so natural lighting helps maintain realism and balance.
Best practices:
- Shoot during midday, when sunlight is evenly spread
- Avoid early morning or late afternoon light that creates harsh shadows
- Turn all interior lights OFF to avoid mixed color temperatures
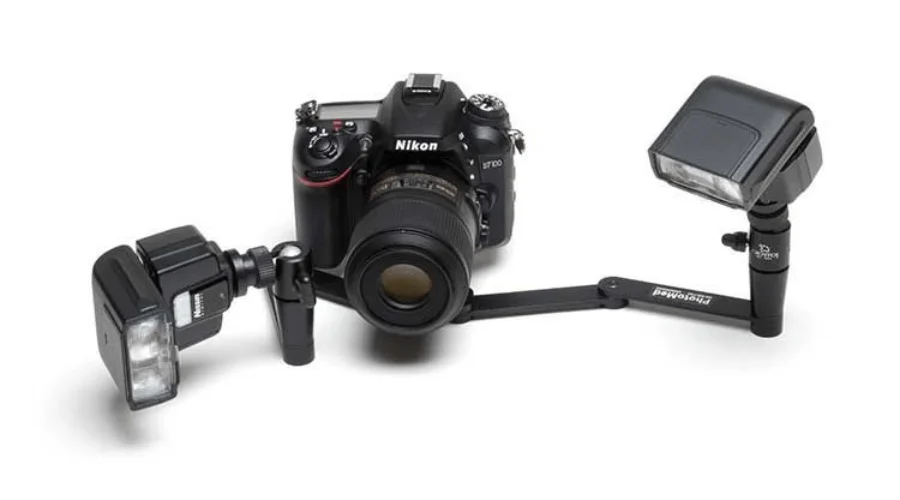
- Use flash only to fill shadows or dark corners
Before using flash, test it on walls or ceilings to ensure it doesn’t cause reflections or hotspots. Natural light creates clean, professional-looking interior photos that buyers trust.
3. Avoid Going Too Wide With Your Lens
Many photographers believe wide-angle lenses always work best for interiors. This is a common misconception. While wide lenses are useful in real estate photography, interior photography focuses on design accuracy, not exaggerated space.
Problems with ultra-wide lenses:
- Distorted furniture
- Curved walls
- Unrealistic room proportions
The recommended focal length is 24mm (full-frame equivalent). This gives a natural perspective while maintaining accuracy.
If space allows:
- Step back
- Use a tighter lens
- Reduce distortion
- Maintain realistic proportions
4. Master Interior Photography Composition
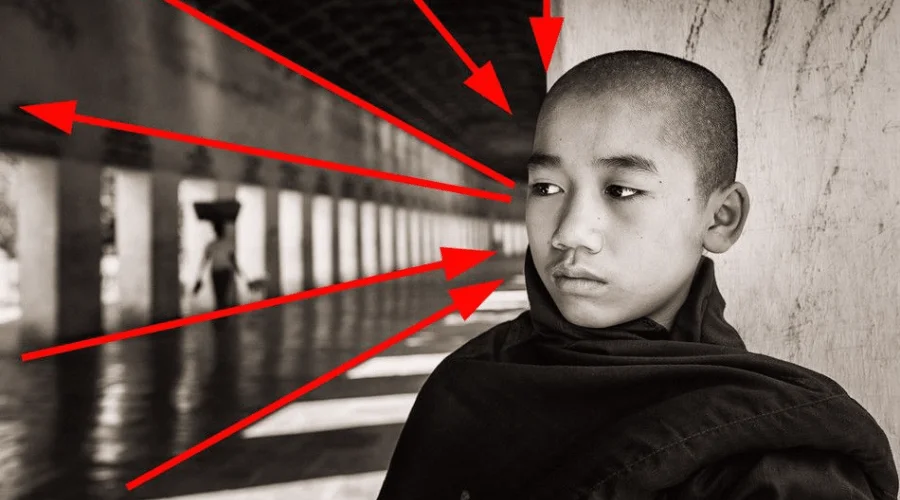
Composition is the foundation of strong interior photography. Your camera cannot decide composition—you must.
Good composition includes:
- Balanced framing
- Clear subject focus
- Visual flow
- Depth and layering
Key composition techniques:
- Rule of thirds
- Symmetry
- Leading lines
- Framing with doors or furniture
- Foreground-to-background depth
Interior photos are not just documents. They are visual experiences. Your goal is to guide the viewer’s eye naturally through the space.
Remember: There is no single fixed rule. If the image looks balanced and engaging, the composition works.
5. Use Layers in Post-Processing
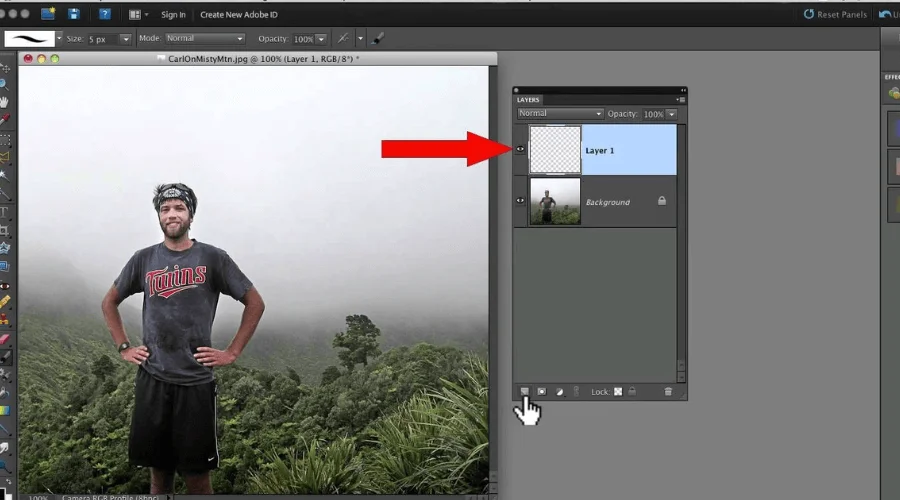
Editing interior photos using layers gives you flexibility and control.
Benefits:
- Non-destructive editing
- Edit specific areas only
- Maintain original image quality
- Adjust exposure, highlights, and shadows selectively
This approach is especially useful for:
- Window balancing
- Shadow recovery
- Color correction
6. Create Depth in Interior Photography
Depth adds luxury and realism to interior images.
Recommended settings:
- Aperture range: f/8 – f/16
- Use a lower f-stop selectively for depth separation
Ask yourself:
“Does anything distract the viewer’s eye?”
If yes, adjust composition or depth.
7. Always Shoot in RAW Format

RAW files preserve maximum image data.
Benefits:
- Better white balance control
- Improved highlight & shadow recovery
- Higher editing flexibility
- Professional-grade results
Shooting JPEG limits your post-production potential.
08. Remove All Visual Clutter
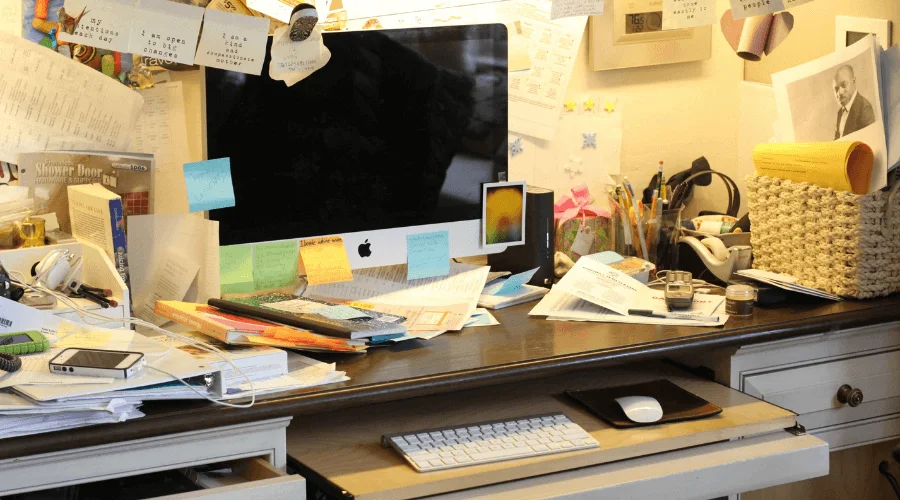
Clutter ruins professional interior photos.
Before shooting:
- Remove unnecessary objects
- Align furniture
- Clean surfaces
- Hide personal items
If needed, guide your client — they hired you for your expertise.
09. Capture Vignettes & Detail Shots
Interior photography isn’t only about wide shots.
Include:
- Detail shots
- Textures
- Materials
- Decorative elements
These images:
- Add storytelling depth
- Strengthen marketing impact
- Appeal to designers, architects, and builders
10. Make Physical Room to Shoot

Small spaces like bathrooms and kitchens can be challenging.
If needed:
- Move plants
- Shift furniture
- Adjust décor temporarily
- Create space for your tripod
Avoid extremely wide lenses. Making physical space helps maintain realistic proportions.
11. Use Exposure Bracketing
Interior scenes often have bright windows and dark interiors.
Solution: Exposure bracketing
Shoot:
- Normal exposure
- Underexposed
- Overexposed
Blend these images during editing for balanced lighting.
12. Perfect Your White Balance
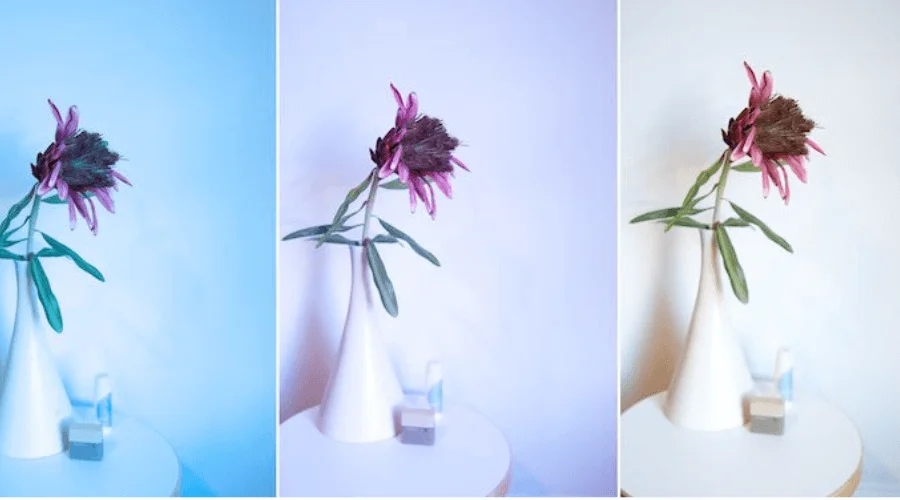
White balance affects the mood and realism of interior photos.
Best practices:
- Use a color checker card
- Adjust white balance in RAW processing
- Maintain consistency across all images
Correct white balance prevents unnatural color casts.
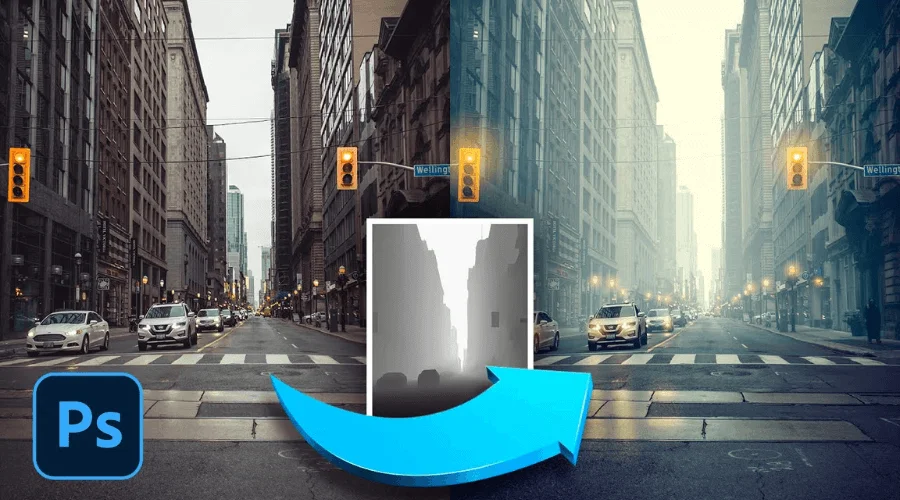
13. Post-Production Editing
Editing is essential in interior photography.
Common editing steps include:
- Exposure blending
- Color correction
- Perspective correction
- Noise reduction
- Final sharpening
If editing becomes overwhelming, outsourcing can help maintain quality and consistency.
Frequently Asked Questions
What is interior photography?
Interior photography is the professional capture of indoor spaces to showcase design, layout, and atmosphere.
What lens is best for interior photography?
A 24mm lens is ideal for interior photography because it balances realism and space.
Should lights be on or off for interior photography?
Lights should usually be off when shooting with natural light to avoid mixed color temperatures.
What aperture is best for interior photography?
An aperture between f/8 and f/16 is best for sharp interior photos.
Conclusion: How to Shoot the Best Interior Photos
Interior photography is a combination of technical knowledge, creative vision, and careful execution.
Great results come from:
- Controlled lighting
- Thoughtful composition
- Accurate depth
- Clean styling
- Professional editing
When you master these techniques, you can consistently shoot the best interior photos that stand out in real estate listings, portfolios, and publications.