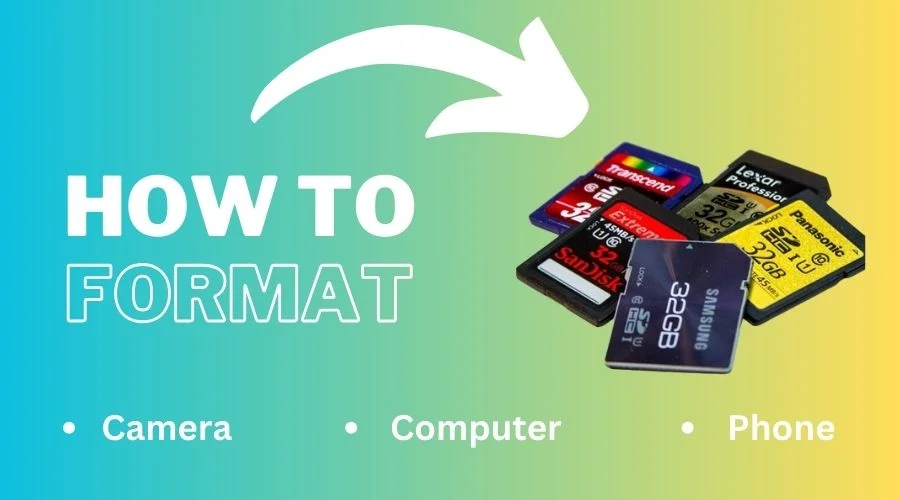
Sometimes, formatting is the only option left to make your memory card work again. At other times you need to format your memory card to remove all the old files at once. Here is “How To Format A Memory Card” to help you resolve this issue.
Formatting a memory card erases all the data stored on it. So, you will get a fresh and clean space to store your files again. Formatting the memory card seems to fix the problems of corrupted files and reading problems.
Meanwhile, you should format the appropriate file system to the card compatible with new devices. So, how can you do it on your camera, computer, and phone? Here you will get the detailed procedure to safely format your memory for different devices. Let’s start.
When Do I Need to Format My Memory Card?
You may need to format your memory card in several situations. Let’s discuss this one by one:
You need to format the memory card before using it for the first time. You may get a brand-new memory card, but to get its full efficiency format it before storing a file. Also, this ensures the card’s file system is compatible with your device. You also have to format the card if it is full. Formatting it will allow you to capture new photos, videos, or files.
Moreover, it is important for maintaining the performance. When your card is full, it raises the possibility of having unwanted files. Eventually, it affects the health of the card, making it slow and corrupted. That’s why it is recommended to format your memory card occasionally. You can do it once a month if you store many files.
Thus you can prevent file system fragmentation and improve the card’s performance. And, I already mentioned formatting the card before using it on a new device. So, keep that in your mind.
Things to Consider Before Formatting
- Formatting erases all data. Once you start, there is no guarantee of complete recovery. So, back up important files before formatting.
- Excessively frequent formatting can reduce the lifespan
So, try error-checking tools to find the error and solve it to avoid formatting. Proper file management is also an alternative to full format.
How to Format a Memory Card on Your Phone?
Formatting a memory card on your phone is super easy if you know the process. Let’s see how to format an SD card on Android, iPhone, and other operating systems:
Andoird
[Reminder: Back up your important data before starting formatting. ]
Here is how to format an SD card for Android:
- Step 1: Go to Settings. You can access it from the notification panel or search on the app drawer.
- Step 2: Under “Storage” in Settings, you will get an option related to Internal storage or SD card management.
Step 3: Tap on the option for “SD card” to access its management options. However, some devices name it “Portable storage”. - Step 4: Find the Format Option by clicking on the three vertical dots or tapping on the SD card.
- Step 5: Confirm formatting and it will begin.
iPhone
Well, iPhones don’t have built-in storage for SD cards. Here you will get internal storage and iCloud for storing your data. So, you cannot format an SD card directly on your iPhone.
However, the iPhone has a Lightning port to connect with the SD card reader and transfer files. Thus, you can then view, copy, or move files between the SD card and your iPhone’s storage.
So, you will have to insert the memory into other devices to format the memory card.
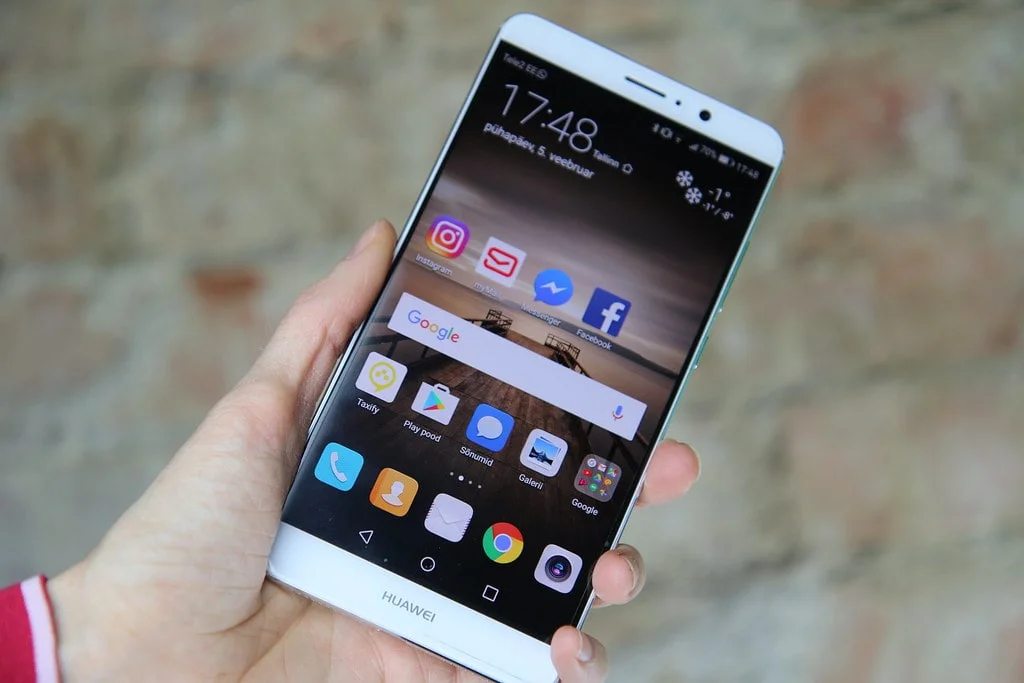
Huawei
Here is how to format an SD card for Huawei:
- Step 1: Insert the SD card into the SD card slot on your Huawei phone.
- Step 2: Open the Settings app on your Huawei phone.
- Step 3: Locate “Storage”:
- Step 4: Find “Format”
- Step 5: Confirm Formatting
On some Huawei phones, you can also format the memory card from the Files app. Navigate to the SD card within the Files App. Then tap and hold on the SD card to select the SD card and select Format from the three dots.
Format an SD card for the Samsung Galaxy
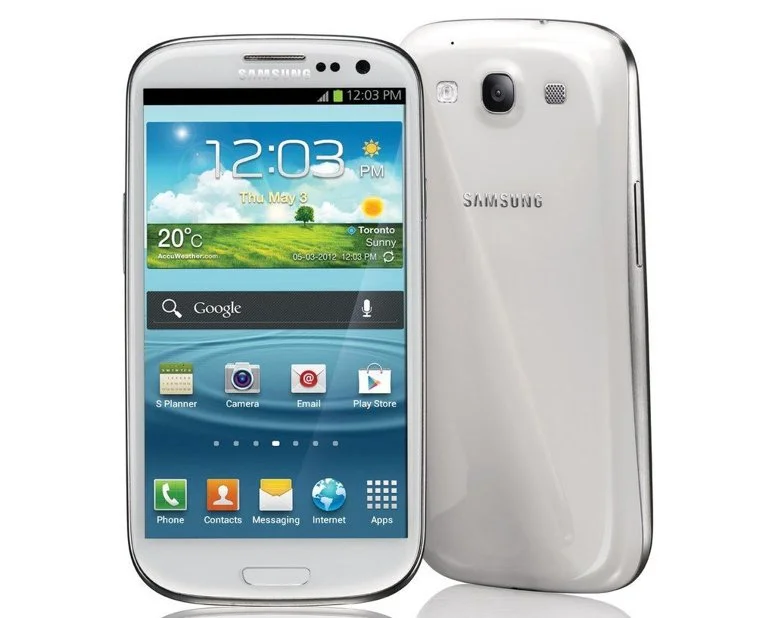
Here is how to format an SD card for a Samsung Galaxy:
- Step 1: Go to settings. To find the settings, you can swipe down from the top of your screen and the gear symbol.
- Step 2: Find the Device Care option. You will get it under the battery or device optimization option.
Step 3: Tap on “Storage” to find the SD Card. Swipe left to enter the SD card management screen. Then click the three dots from the top left corner and select Advanced. - Step 4: Now tap the SD card to get the format option. Then click “Format”.
- Step 5: Confirm Formatting
How To Format A Memory Card Using a Computer
There are different ways to format a memory card using a computer. Let’s learn how to format an SD Card on a PC:
Using CMD on Windows
Formatting Using DiskPart:
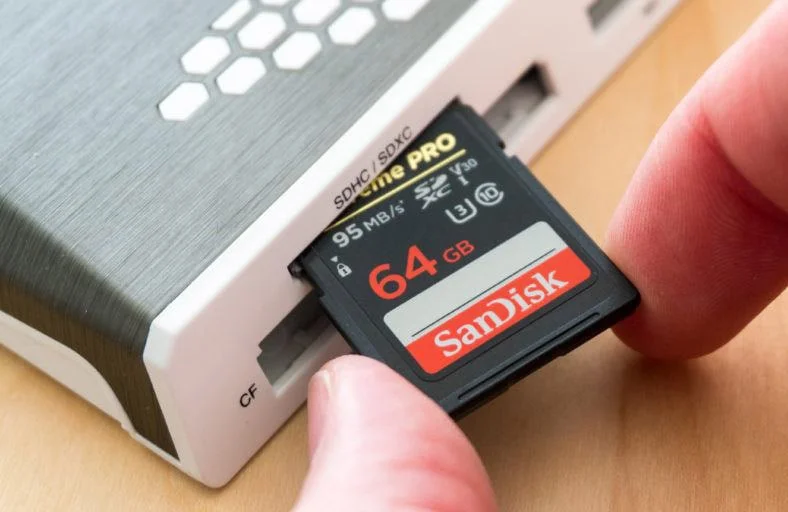
- Step 1: Insert the memory card into a card reader and connect it to a USB port.
- Step 2: Open the Command Prompt by typing “cmd” in the search bar (Windows key + S).
- Step 3: Right-click on “Command Prompt” and select “Run as administrator.”
- Step 4: Type “diskpart” and press Enter to open the DISKPART utility.
- Step 5: Type “list disk” and press Enter to display all connected disks.
- Step 6: Identify the disk number corresponding to your SD card.
- Step 7: Select the SD card by typing “select disk X” (replace X with the disk number).
- Step 8: Optionally, clean the SD card by typing “clean” and pressing Enter.
- Step 9: Create a new partition by typing “create partition primary” and pressing Enter.
- Step 10: Format the partition by typing “format fs=Y (quick)” (replace Y with the desired file system) and pressing Enter.
- Step 11: Optionally, assign a drive letter by typing “assign letter=Z” (replace Z with the preferred drive letter) and pressing Enter.
- Step 12: Exit Diskpart by typing “exit” and pressing Enter.
Format an SD Card on Windows 10 and 11
Formatting Using File Explorer:
- Step 1: After connecting the card reader, go to This PC to look for your SD card drive.
- Step 2: Right-click the SD card to select it.
- Step 3: Choose “Format”
- Step 4: Click “Start”
Mac
Here’s how to clear an SD card on a Mac using Disk Utility:
- Step 1: Insert your SD card into your Mac’s built-in SD card slot or a USB card reader connected to your computer.
- Step 2: Navigate to “Applications” > “Utilities” and select “Disk Utility”.
- Step 3: Select the SD card
- Step 4: Click the “Erase” button: This button is located in the top toolbar of the Disk Utility window.
- Step 5: Choose a format named “FAT32″. Compatible with most devices, but has a 4GB maximum file size limit. AND “exFAT” Supports larger files than FAT32
- HFS+: This is the default format for Mac drives but may not be compatible with other devices
- Step 6: Click “Erase”
Chromebook
- Step 1: Insert your SD card into the SD card slot on your Chromebook.
Step 2:Open the Files app - Step 3: Locate the SD card in the Files app
- Step 4: Right-click the SD card to select the SD card drive
- Step 5: Choose “Format device”
- Step 6: Click “Erase & format” (or “Format”)
How to Format a Memory Card on a Camera
You can easily format the memory card directly on your camera. Here’s a general guide on how to format SD card in Camera:
- Step 1: Turn on your camera and access the menu settings.
- Step 2: Navigate to the setup menu or settings. It might be represented as a briefcase icon.
- Step 3: Find the format option. In some models of cameras, you may find it as:
- Format (most common)
- Format Memory Card
- Memory Card Tool > Format
- Initialize
- Step 4: Select the memory card
- Step 5: Confirm formatting
GOPro
You can do it by using the camera’s menu or using your computer.
Formatting Using the GoPro Camera (HERO5 and Later):
- Step 1: Turn on your GoPro and insert the memory card.
- Step 2: Access the GoPro menu by swiping down on the touchscreen.
- Step 3: Find “Preferences”:
- Step 4: Select “Format SD Card”: It might be directly labeled “Format SD Card” or under a sub-menu like “Storage.”
- Step 5: Confirm Formatting
Why Does It Show “Camera Can not Format the SD card”?
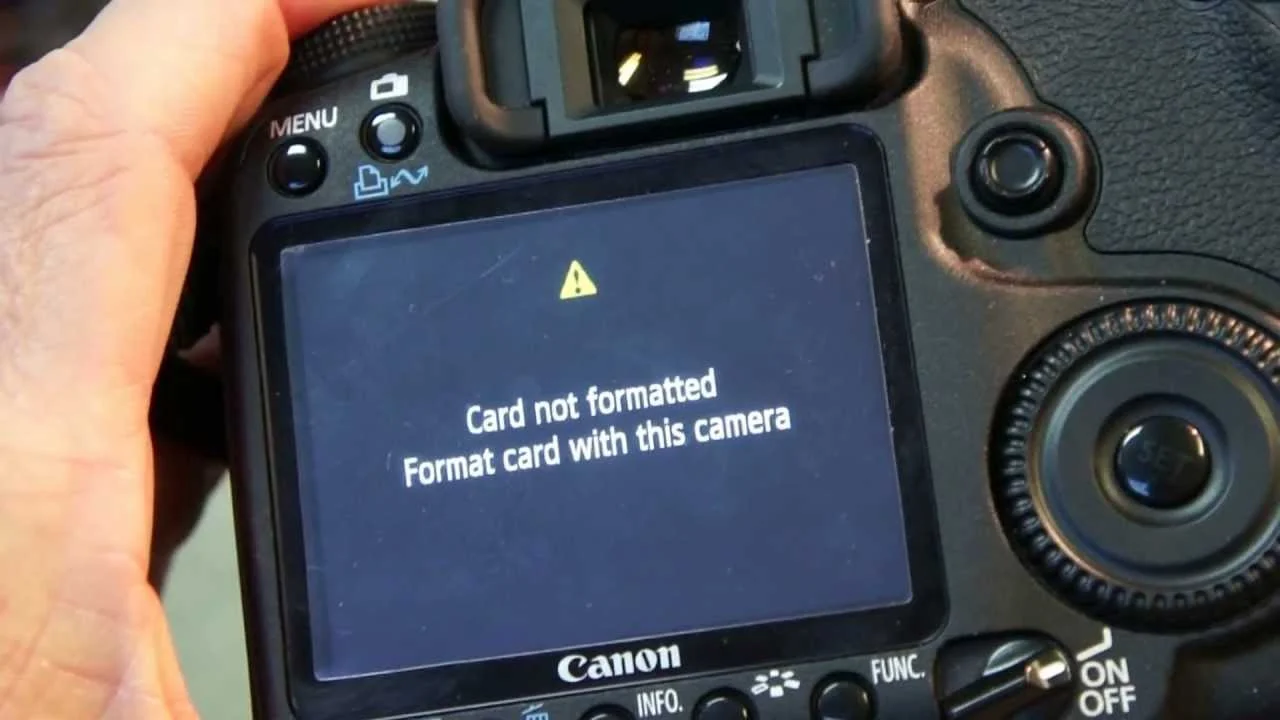
Here are the reasons that may cause the formatting failure:
- The SD Card may be write-protected.
- The low battery issue may cause this problem.
- The camera can’t read the card’s format. Try formatting to FAT32 on your computer.
- The SD card may be corrupted.
Format Write-protected Memory Card
Sometimes, it appears that the memory card is write-protected. In this situation, first, you have to remove the write protection. I suggest you first unplug your memory card and look for a small physical switch in it. Check if the switch is in the “locked” position (usually down). If so, slide it to the “unlocked” position (usually up).
If there is no physical lock, gently rub on the pins of the SD card using an eraser. Then insert it again. If this solution does not work, use a card reader and try to insert it into other computers.
- You can also use write protection removal tools such as AOMEI and EaseUS.
- Removing write protection using Disk Management (Windows):
- Open the Start menu and search for “Disk Management”.
- Locate your memory card drive in the list.
- Right-click the drive and select “Properties”.
- Go to the “Security” tab.
- Ensure the “Write” permission is allowed for your user account.
Using Command Prompt (Windows)
Type the following commands one by one, pressing Enter after each:
- disk part
- list disk (This will show a list of disks)
- select disk N (Replace N with the number corresponding to your memory card)
- attributes disk clear read-only (This attempts to remove write protection)
- Type exit to close Diskpart.
How to Retrieve the Formatted Data?
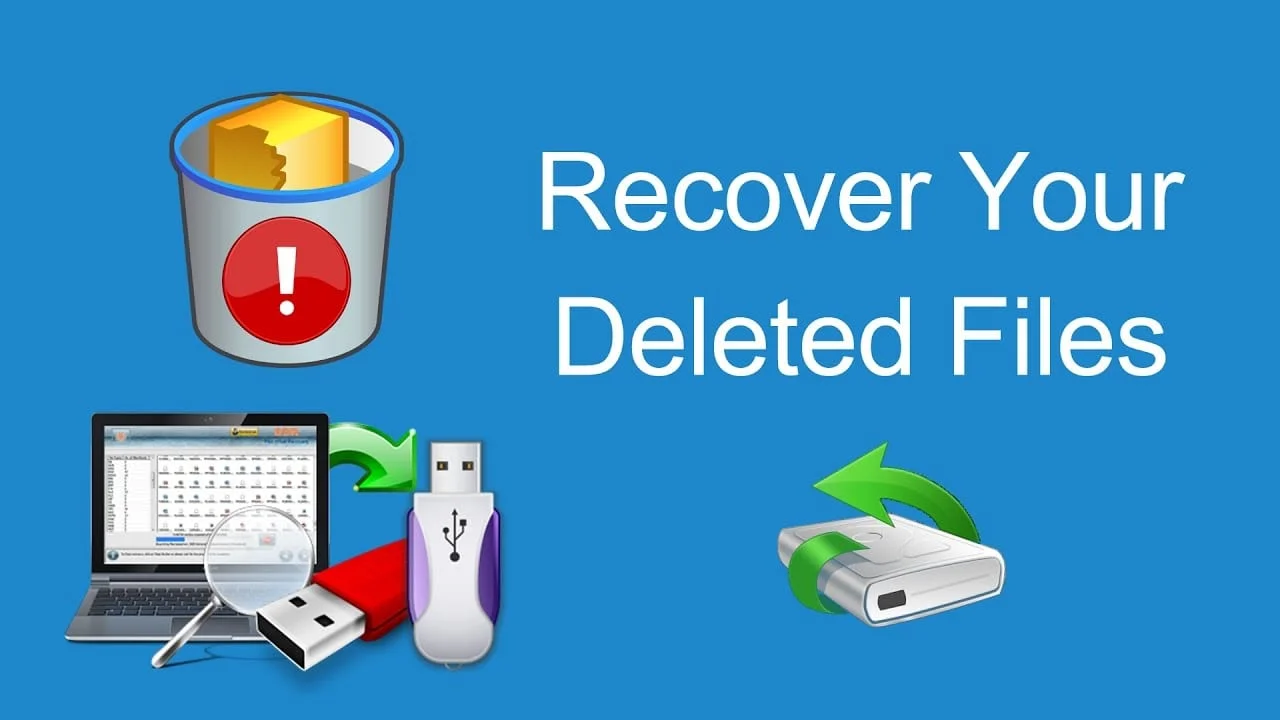
Well, it may happen that you have removed your important data while formatting the memory card. Do not worry. You can retrieve the deleted data.
However, there is no guarantee of retrieving the data in the same order. It depends on the previous storage occupancy of the card.
Here is How to Recover the Data
- Using Data Recovery Software: There is a lot of data recovery software available in the market. You can download any of them and scan your memory card for traces of deleted files. These programs have varying degrees of effectiveness, and some may require purchase.
- Professional Data Recovery Services: If the data recovery software can not give you a satisfying result, you can go to the companies that specialize in retrieving information from formatted storage devices. However, it may be expensive.
Final Thoughts
So, this is how to format a memory card on different devices. Here I have tried to provide you with generalized information on this issue. However, when you try to format your memory card, back up the important files. Also, do not format your memory at an excessive frequency. It will affect the card’s performance.
Don’t Miss Out
- 20 Best Drawing Apps for Android | Free & Paid Options
- Pixieset Review 2024 | Is It Best Software for Photographers
FAQs | How To Format A Memory Card
Do I have to format a new memory card before using it?
Yes, it’s a good idea. When you get a new memory card, formatting it helps make sure it works smoothly with your device. It also clears out any stuff from before, so you start fresh.
What if my camera or phone can’t format the memory card?
If your device is having trouble formatting the card, try a few things. Check if the card has a little lock switch on it and make sure it’s not locked. If that’s not the issue, try formatting it with your computer instead. If all else fails, the card might be broken, and you might need some help to fix it or get your stuff back.